
Oh, friends—let me tell you about my summer love affair with huckleberries. One morning at the farmers market, I spotted these little purple gems and immediately thought: “These belong in something warm, cozy, and slightly indulgent.” Thus, this Huckleberry Lemon Breakfast Loaf was born—my twist on classic pound cake with a sunny lemon kiss and bursts of juicy huckleberries in every bite.
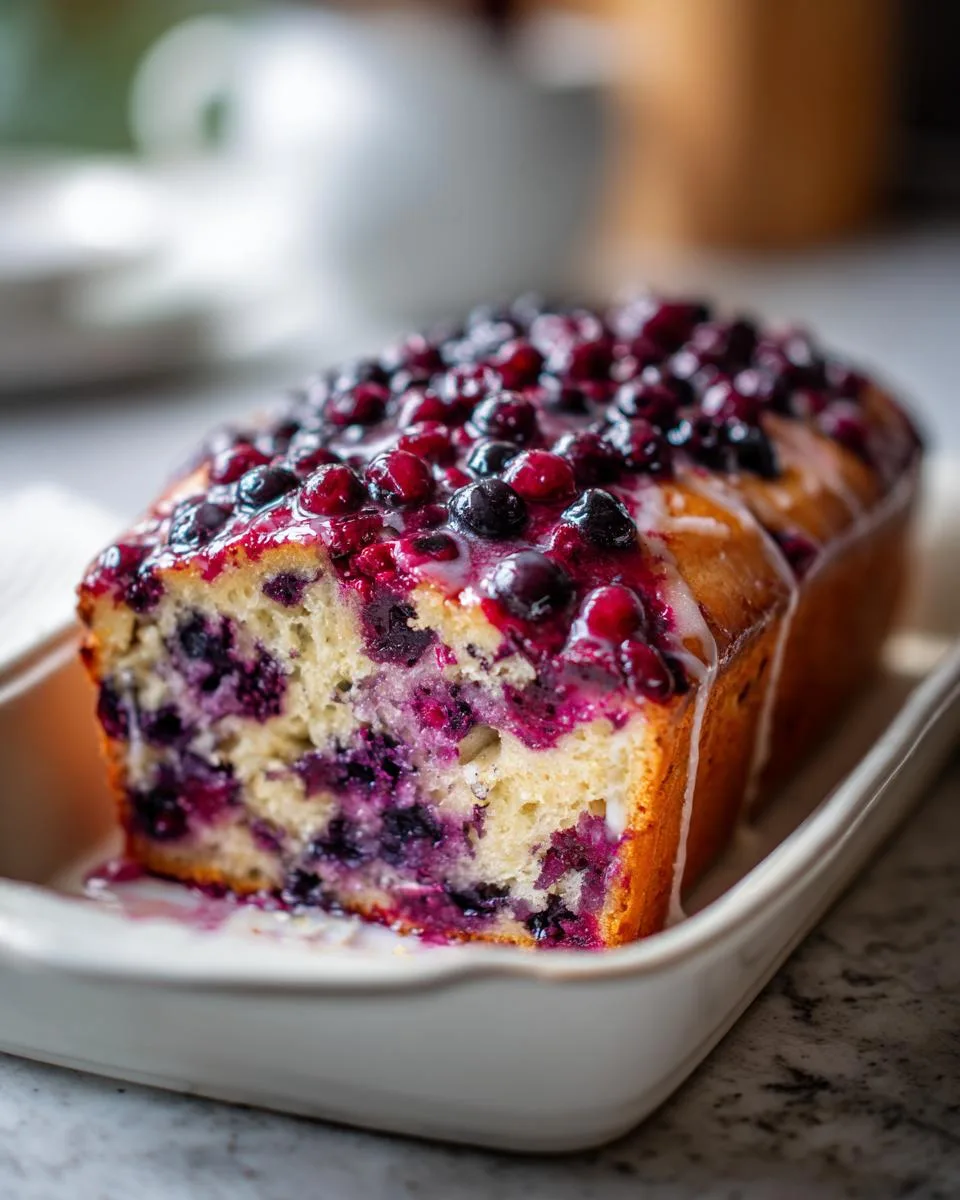
Table of Contents
Table of Contents
As a chef, I’ve baked countless loaves, but this one? It’s magic. The crumb stays impossibly moist (thank you, cream cheese!), while the zesty lemon glaze adds that perfect tangy-sweet punch. It’s the kind of recipe you’ll want to make on lazy Sundays, then smuggle into weekday breakfasts because, trust me, one slice is never enough.
Why You’ll Love This Huckleberry Lemon Breakfast Loaf
This isn’t just another loaf—it’s a little slice of morning joy. Here’s why it’s going to become your new favorite:
- Moist, tender crumb: Thanks to that dreamy cream cheese and butter combo, every bite practically melts in your mouth.
- Sunshine in every slice: The lemon zest and glaze give it that bright, tangy kick that balances the sweet huckleberries perfectly.
- Effortless elegance: No fancy techniques here—just simple mixing and baking for a loaf that looks (and tastes) like you spent hours.
- Berry bliss: Those huckleberries burst with flavor, turning an ordinary breakfast into something special.
- Keeps like a champ: Stays fresh for days, if it even lasts that long!
Ingredients for Huckleberry Lemon Breakfast Loaf
Gather these simple ingredients—each one plays a special role in creating that perfect tender crumb and bright flavor. And here’s my golden rule: room temperature matters (more on that below)!

- 8 tablespoons (113 g) unsalted butter, at room temperature – Plus a bit extra for greasing the pan. Cold butter won’t cream properly, so let it soften until your finger leaves a gentle dent.
- 6 tablespoons (85 g) cream cheese, at room temperature – The secret weapon for moisture! Block-style works best here—not the spreadable kind.
- 1 ¼ cups granulated sugar – Sweetens without overpowering the tart huckleberries.
- Finely grated zest of 2 lemons – Use a microplane for fluffy zest with no bitter white pith.
- 3 large eggs, at room temperature – Cold eggs can make the batter separate—I leave mine out for 30 minutes before baking.
- 1 teaspoon vanilla extract – The cozy background note that ties everything together.
- 1 ½ cups all-purpose flour – Spoon and level it—don’t scoop straight from the bag or you’ll pack too much.
- ½ teaspoon baking powder – Just enough lift without making the loaf cakey.
- ½ teaspoon fine sea salt – Balances the sweetness and enhances all the flavors.
- 1 ½ cups fresh or frozen huckleberries – No need to thaw frozen berries! Toss them in straight from the freezer to prevent color bleed.
- ½ cup powdered sugar (sifted if clumpy) – For that dreamy glaze—sifting avoids lumps.
- Juice of ½ a lemon – Start with half, then add more until the glaze ribbons off your whisk.
Pro tip: If you can’t find huckleberries, wild blueberries work beautifully—just don’t use regular blueberries, as they’re too watery!
Equipment You’ll Need
You don’t need fancy gadgets—just a few trusty tools to make this loaf shine:
- Stand mixer or hand mixer – For creaming that butter and sugar into fluffy perfection (though a sturdy wooden spoon and elbow grease work too!).
- 8×4 or 9×5-inch loaf pan – Metal or ceramic both work—just avoid dark pans that can over-brown the edges.
- Parchment paper – A sling makes lifting the loaf out a breeze—no sticking disasters!
- Microplane or fine grater – For that fluffy lemon zest without any bitter pith.
- Flexible spatula – Gently folding in those precious huckleberries requires a light touch.
That’s it—now let’s bake some magic!
How to Make Huckleberry Lemon Breakfast Loaf
Alright, let’s get to the fun part—transforming those simple ingredients into a loaf that’ll make your kitchen smell like a sunny morning! Follow these steps, and I promise you’ll be rewarded with the most tender, berry-packed slice of heaven.
Preparing the Batter
First things first: cream that butter and sugar like your life depends on it (okay, maybe not that dramatic, but close!). In your stand mixer with the paddle attachment, beat the softened butter, cream cheese, sugar, and lemon zest on medium speed until it’s light, fluffy, and pale—about 3 to 4 minutes. Scrape down the bowl and paddle halfway through to make sure everything’s getting evenly mixed. This step is key for that melt-in-your-mouth texture!
Now, add the eggs one at a time, letting each fully incorporate before adding the next. Don’t rush—this prevents the batter from breaking. If it looks a little curdled, don’t panic! Just scrape the bowl well and keep mixing until it smooths out. A splash of vanilla goes in next, giving everything that warm, cozy depth.
Time for the dry ingredients: sift the flour, baking powder, and salt right into the bowl. Mix on low speed just until combined—overmixing here leads to a tough loaf. Trust me, a few flour streaks are fine! Finish by folding the batter a few times with a spatula to catch any hidden pockets of flour. Now, gently fold in those gorgeous huckleberries. Frozen? Toss them in straight from the freezer—no thawing needed!
Baking the Loaf
Pour the batter into your parchment-lined loaf pan (I like to grease the exposed ends for extra insurance) and smooth the top with your spatula. Slide it into a 325°F oven—the lower temp ensures even baking without over-browning. Now, the hardest part: waiting!
This beauty takes 75 to 90 minutes, but start checking at the 70-minute mark. A toothpick inserted into the center should come out with just a few moist crumbs—no wet batter. If the top’s browning too fast, tent it loosely with foil.
Glazing and Cooling
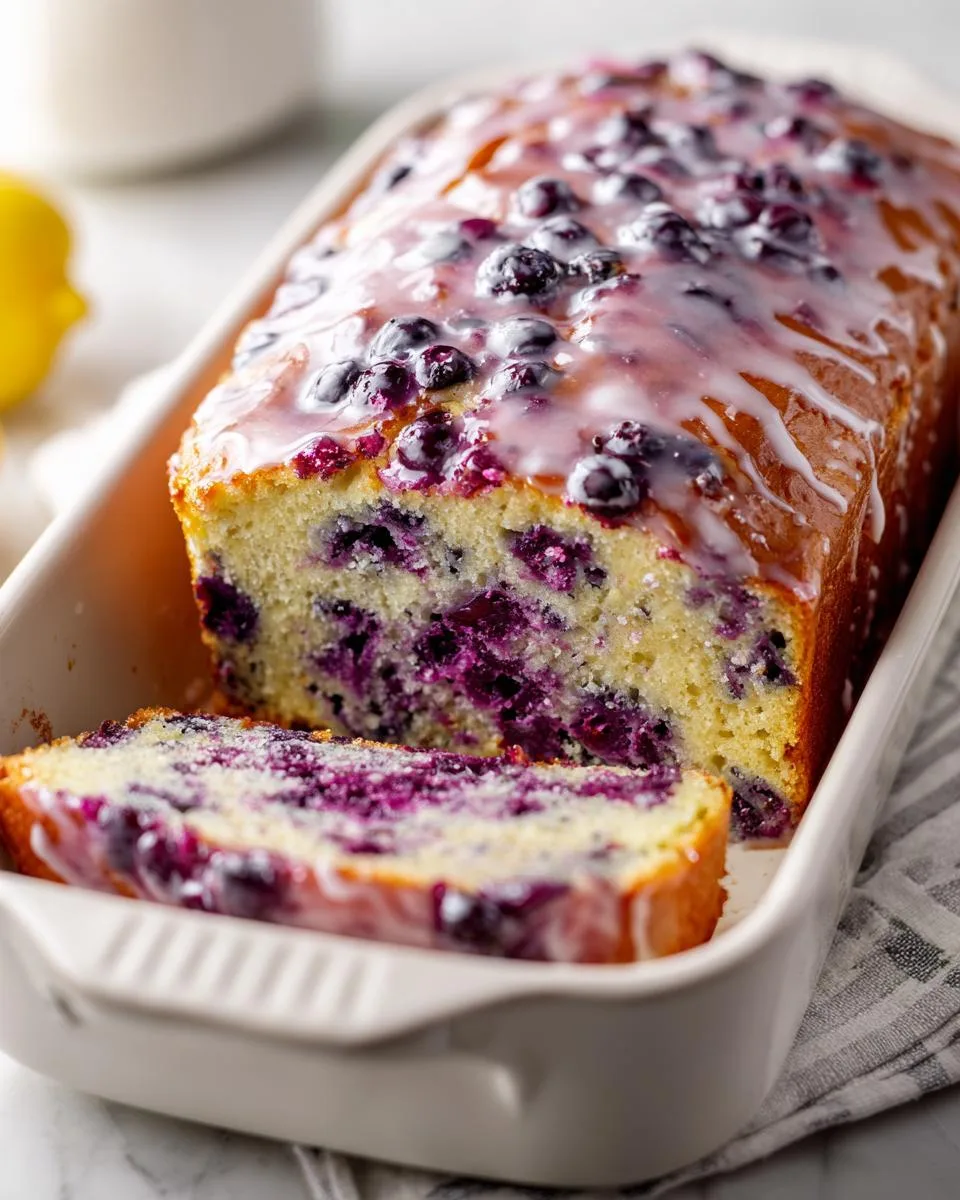
Let the loaf cool in the pan for 10 to 15 minutes—this helps it set without sticking. Then, lift it out using the parchment sling and transfer to a wire rack. While it’s still warm (but not hot!), whisk together the powdered sugar and lemon juice until you’ve got a glaze that ribbons off the whisk. Too thick? Add a splash more juice. Too thin? More sugar.
Brush or drizzle it all over the loaf, letting it soak in slightly. Resist cutting in right away! Let it cool completely—about an hour—so the crumb firms up for perfect slices. (But hey, if you sneak a warm bite, I won’t judge.)
Print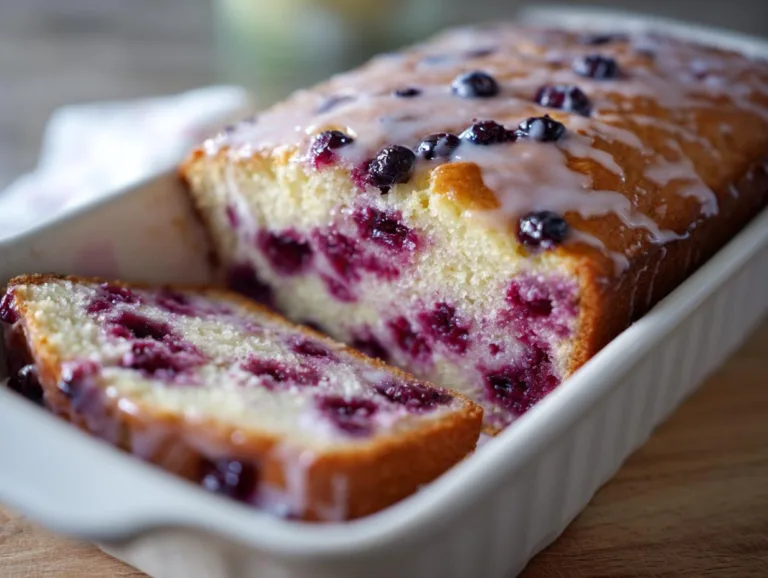
Heavenly Huckleberry Lemon Breakfast Loaf in 5 Easy Steps
A moist and tangy Huckleberry Lemon Breakfast Loaf with a sweet lemon glaze. Perfect for breakfast or a snack.
- Total Time: 105 minutes
- Yield: 1 loaf 1x
Ingredients
- 8 tablespoons (113 g) unsalted butter, at room temperature, plus a bit for the pan
- 6 tablespoons (85 g) cream cheese, at room temperature
- 1 ¼ cups granulated sugar
- finely grated zest of 2 lemons
- 3 large eggs, at room temperature
- 1 teaspoon vanilla extract
- 1 ½ cups all-purpose flour
- ½ teaspoon baking powder
- ½ teaspoon fine sea salt
- 1 ½ cups fresh or frozen huckleberries (or wild blueberries; if frozen, don’t defrost first)
- ½ cup powdered sugar (sifted if clumpy)
- juice of ½ a lemon, or enough to make a thin glaze
Instructions
- Position a rack in the center of the oven and preheat to 325ºF. Line an 8×4 or 9×5-inch loaf pan with a sling of parchment paper. Lightly grease the parchment and exposed ends of the pan.
- Combine the butter, cream cheese, sugar, and lemon zest in the bowl of a stand mixer fitted with the paddle attachment. Beat on medium until light and fluffy, 3 – 4 minutes, scraping down the paddle and sides of the bowl once or twice.
- Add the eggs one at a time, beating until combined after each addition, and scraping down the sides of the bowl and the paddle as needed.
- Sift the flour, baking powder and salt into the butter mixture and beat on low speed until just combined. Fold the batter a few times with a flexible spatula to ensure thorough mixing.
- Gently fold in the huckleberries. Scrape the batter into the pan and smooth the top.
- Bake the cake until a tester inserted into the center comes out clean, or with a few moist crumbs attached, 75-90 minutes.
- Let the cake cool for 10 or 15 minutes, then turn the cake out onto a wire rack.
- Whisk together the powdered sugar and lemon juice to make a runny glaze.
- Brush the glaze all over the top and sides of the warm cake. Let the cake cool completely, at least one hour.
Notes
- The cake keeps well, wrapped, at room temperature or in the fridge, for up to a week.
- If using frozen huckleberries, do not defrost before adding to the batter.
- Prep Time: 15 minutes
- Cook Time: 90 minutes
- Category: Breakfast
- Method: Baking
- Cuisine: American
- Diet: Vegetarian
Nutrition
- Serving Size: 1 slice
- Calories: 280
- Sugar: 25g
- Sodium: 120mg
- Fat: 12g
- Saturated Fat: 7g
- Unsaturated Fat: 4g
- Trans Fat: 0g
- Carbohydrates: 40g
- Fiber: 1g
- Protein: 4g
- Cholesterol: 80mg
Tips for the Perfect Huckleberry Lemon Breakfast Loaf
After baking more loaves than I can count (and eating my fair share of “test batches”), I’ve nailed down the little tricks that make all the difference. Here’s how to guarantee your loaf turns out flawless every time:
- Mix with a light hand: Overmixing after adding flour develops gluten—which means a tough, dense loaf instead of that dreamy tender crumb. Stop the mixer as soon as the flour disappears, and finish blending with a few gentle folds of your spatula.
- Keep berries frozen: Toss frozen huckleberries straight into the batter without thawing—they’ll hold their shape better and won’t bleed color everywhere. If using fresh, pat them dry and toss with a spoonful of flour first to prevent sinking.
- Glaze consistency is key: Aim for a ribbon-like texture—thick enough to coat the back of a spoon but thin enough to drizzle. Too thick? Add lemon juice drop by drop. Too runny? Whisk in more powdered sugar until it’s just right.
- Check for doneness early: Ovens vary, so start testing at 70 minutes. The loaf should spring back when lightly pressed, and a skewer should emerge with just a few clinging crumbs (not wet batter). Underbaked loaves collapse; overbaked ones dry out.
Remember: baking is equal parts science and love—don’t stress if your first loaf isn’t perfect. Mine certainly wasn’t! Each batch teaches you something new.
Variations and Substitutions
No huckleberries? No problem! This loaf is wonderfully forgiving—here are my favorite easy swaps to make it work with what you’ve got:
- Wild blueberries make the closest match flavor-wise (regular blueberries can be too watery, but in a pinch, toss them with a tablespoon of flour first).
- Plain Greek yogurt can stand in for cream cheese—just reduce any other liquids slightly.
- No lemons? Use oranges—their zest and juice bring a lovely floral sweetness.
- Dairy-free? Vegan butter and coconut yogurt work beautifully—just watch the baking time as they may brown faster.
Serving and Storing Huckleberry Lemon Breakfast Loaf
Oh, the joy of slicing into this loaf—warm, fragrant, and glistening with that lemony glaze! Here’s how to serve it up like a pro (and make it last for days of deliciousness).
Serving ideas: My favorite way? Thick slices straight from the oven, when the berries are still slightly jammy and the crumb is at its most tender. If you can wait (bless your patience!), room temperature lets the flavors shine even brighter. For an extra treat, slather a slice with honey butter or dollop of lemon curd—though honestly, it’s spectacular all on its own with a cup of coffee.
Storing secrets: Once cooled completely, wrap the loaf tightly in plastic or pop it into an airtight container. It’ll stay moist and yummy for up to a week at room temperature, though mine never lasts that long! In warmer weather, I stash it in the fridge—just let slices come to room temp or warm briefly in the microwave to revive that just-baked softness.
Freezing tip: This loaf freezes like a dream! Wrap unglazed portions tightly in plastic, then foil, and freeze for up to 2 months. Thaw overnight in the fridge, then drizzle with fresh glaze before serving. Perfect for surprise guests or those “I need cake NOW” emergencies.
One warning: the glaze may get slightly sticky after a day or two—that’s just the lemon juice doing its thing! A quick zap in the microwave for 10 seconds brings back the glossy perfection.
Nutritional Information
Now, I’m no nutritionist (just a chef who loves butter a little too much), but here’s a rough breakdown per slice—because sometimes you just gotta know what you’re indulging in! Remember: these are estimates based on my ingredients, and your actual values may vary depending on berry size, exact measurements, or that extra lick of glaze you couldn’t resist.
- Calories: 280 – A perfect excuse for that second slice with your morning coffee.
- Fat: 12g – Mostly from that glorious butter and cream cheese—worth every gram!
- Saturated Fat: 7g – Hey, flavor’s gotta come from somewhere.
- Carbohydrates: 40g – Mostly from the natural sugars in those juicy huckleberries and our touch of granulated sugar.
- Fiber: 1g – Every little bit counts, right?
- Sugar: 25g – The glaze and berries bring most of this, but that’s what makes it a treat.
- Protein: 4g – Eggs and cream cheese lend a little staying power to your breakfast.
- Sodium: 120mg – Just enough salt to make all those flavors pop.
My philosophy? Life’s too short to stress over every number—this loaf is meant to be savored with joy. (But if you’re watching portions, cutting slightly thinner slices shaves off calories while still delivering all that berry-lemon happiness!)
Frequently Asked Questions
I get it—baking with huckleberries can feel a little adventurous if you’re new to them! Here are answers to the questions I hear most often (and trust me, I’ve asked them all myself at some point too).
Can I use fresh huckleberries?
Absolutely! Fresh huckleberries are a dream—just give them a gentle rinse, pat them dry thoroughly (wet berries = soggy batter), and toss them with a spoonful of flour before folding into the batter. This helps them stay suspended instead of sinking to the bottom.
Why do my berries keep sinking to the bottom?
Ah, the eternal berry battle! Three tricks: 1) Use frozen berries straight from the freezer (they’re firmer and hold up better), 2) Toss them in a bit of flour first (like little berry life jackets!), and 3) Fold them in last, just until combined—overmixing breaks them down.
My glaze is too runny/thick. Help!
No stress—glaze moods change like the weather! Too thin? Add powdered sugar a tablespoon at a time until it ribbons off your whisk. Too thick? Drizzle in lemon juice drop by drop. Remember: it should coat the back of a spoon but still drip slowly. (And if you mess up? Just call it “rustic” and eat it anyway.)
Can I make this loaf ahead?
Yes, and it actually tastes better the next day! Bake it the night before, let it cool completely, then wrap tightly in plastic. The flavors meld beautifully overnight. Add the glaze fresh in the morning—it keeps the top from getting sticky.
What’s the difference between huckleberries and blueberries?
Great question! Huckleberries are smaller, tarter, and pack more intense flavor with tiny seeds that give a lovely texture. Wild blueberries are the closest substitute, but regular blueberries work in a pinch—just expect a slightly sweeter, juicier result. (And maybe reduce sugar by a tablespoon if using supersweet berries.)
Still have questions? Drop them in the comments—I love geeking out over baking details with fellow loaf enthusiasts!
Final Thoughts
There you have it—my beloved Huckleberry Lemon Breakfast Loaf in all its sticky-fingered, crumb-covered glory! This recipe holds a special place in my heart (and my recipe box) because it’s the perfect balance of nostalgic comfort and bright, berry-filled joy. Whether you’re baking it for a lazy Sunday brunch or sneaking slices into weekday lunchboxes, I promise it’ll bring a little sunshine to your table.
Don’t be surprised if this becomes your new go-to—it’s that kind of recipe. The kind where friends ask, “How did you make this?!” and you get to smile knowingly because, honestly, it’s almost too easy for how impressive it tastes.
So grab those huckleberries (or wild blueberries—no judgment here!), zest those lemons with abandon, and let’s bake some happiness. And when you do? Tag me @Dishivia—I live for those crumb shots and “OMG this is amazing” messages. Happy baking, friends!
For More recipes, Follow me on Facebook!