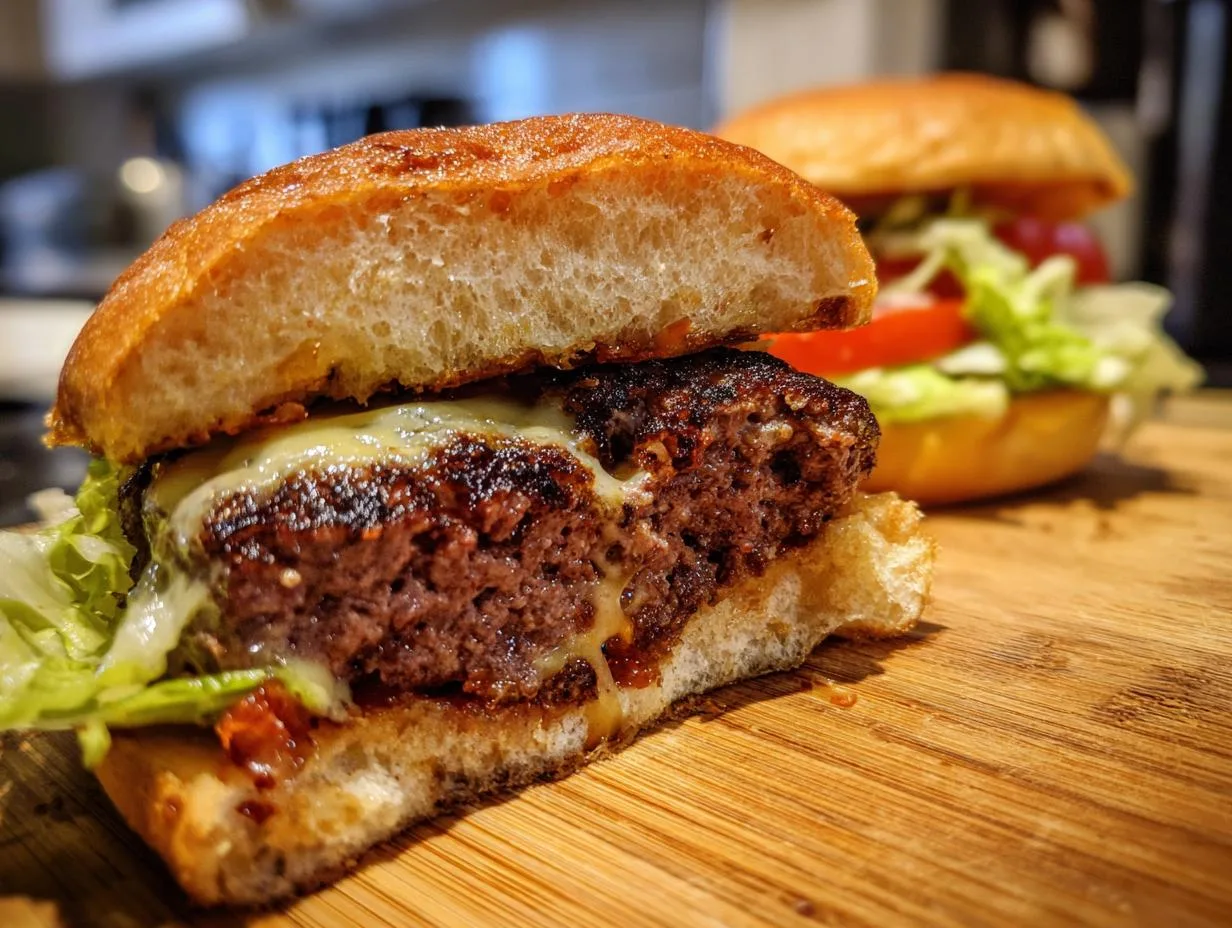
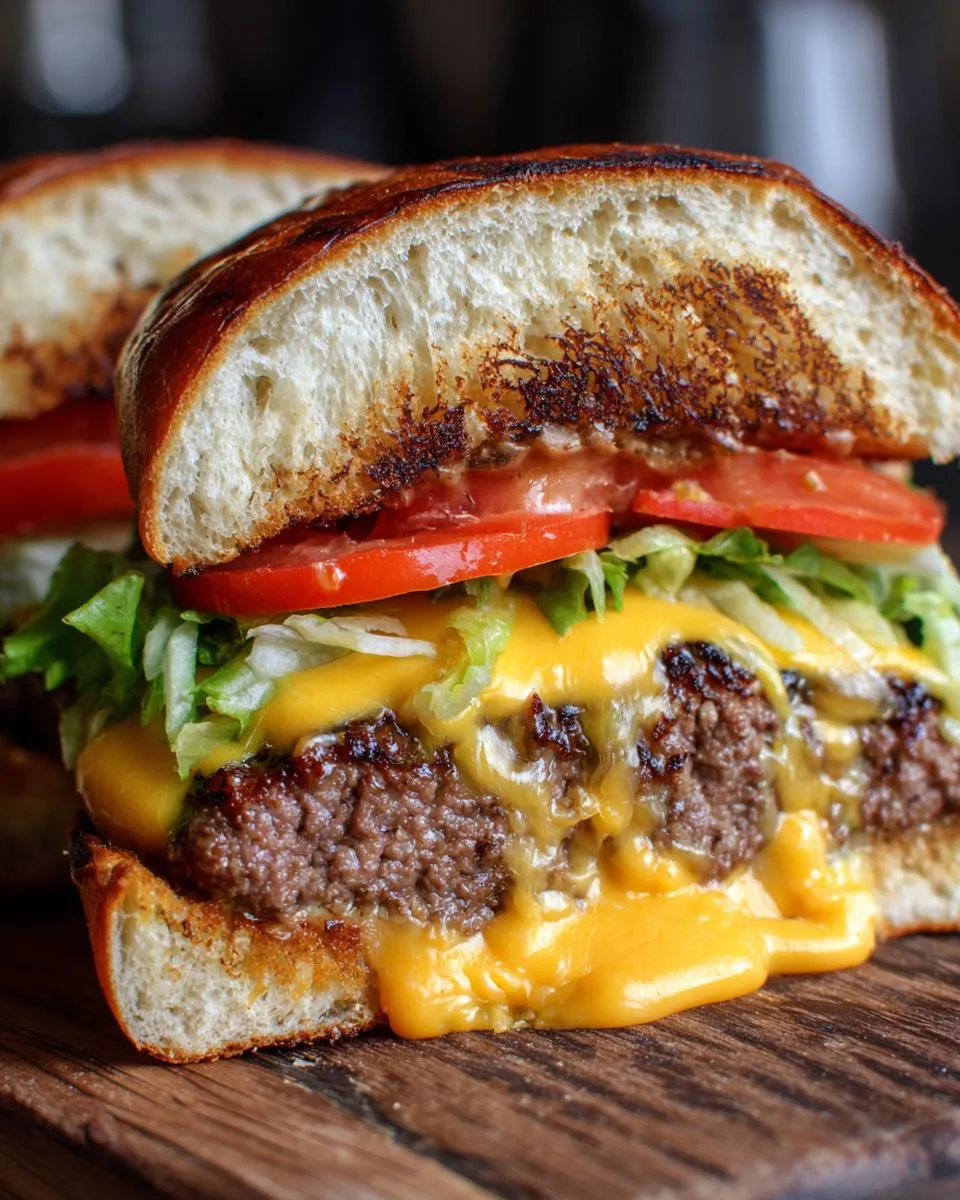
Oh my stars, let me tell you about the burger that changed my summer cookouts forever—Juicy Lucy Cheddar Burgers! Picture this: you take a bite, and instead of cheese just sitting on top, there’s this glorious river of melted cheddar inside the patty. I first had one at a tiny Minnesota diner years ago, and I’ve been obsessed with recreating that magic at home ever since.
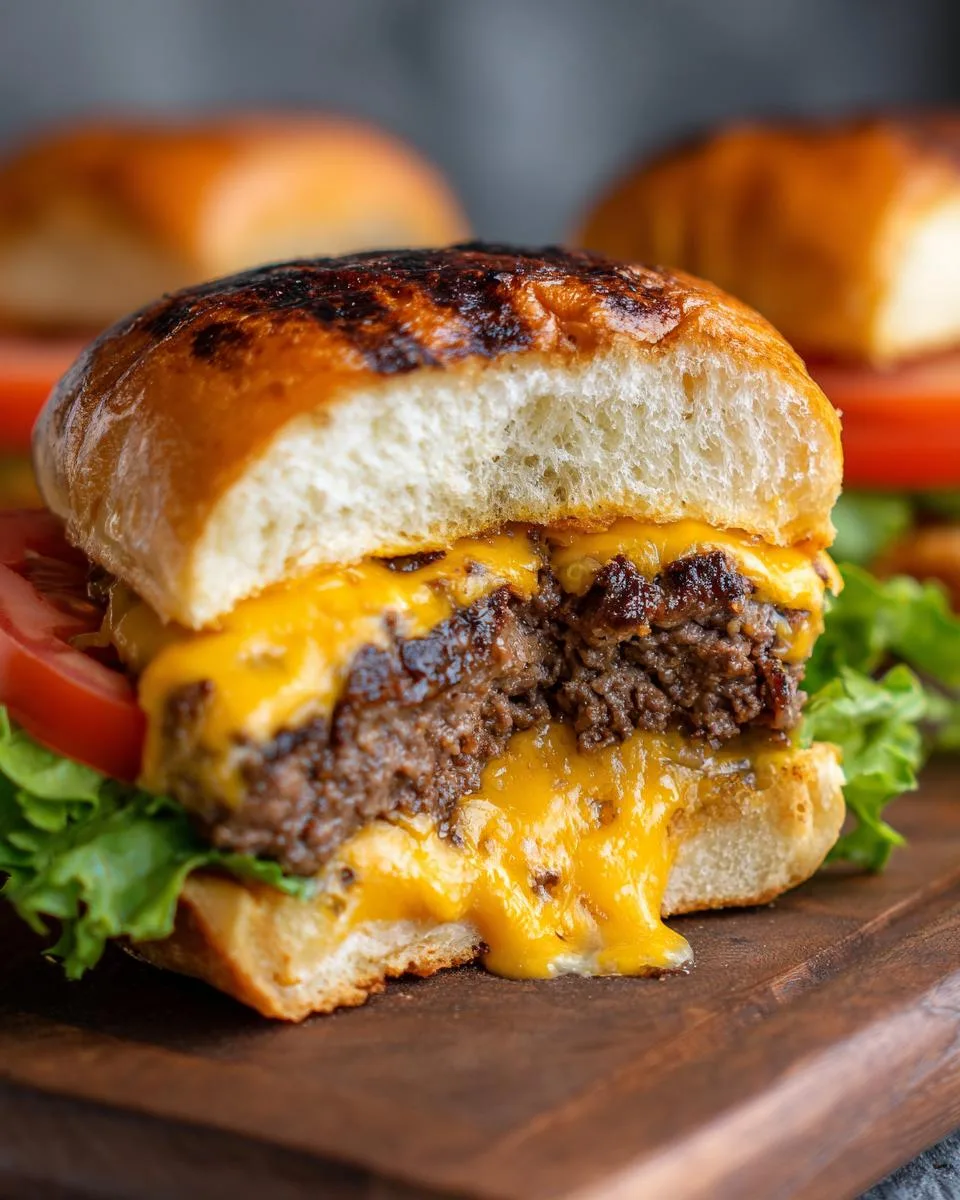
Table of Contents
Table of Contents
What makes my version special? It’s all about keeping things simple but packed with flavor. Just good-quality ground beef, a splash of Worcestershire for depth, and the perfect blend of spices to make that beef sing. And the cheese? Sharp cheddar, because it melts beautifully and gives that tangy punch. Trust me, once you try a burger with the cheese stuffed inside, you’ll never go back to the old way!
These aren’t fussy or complicated—just honest, messy, delicious burgers that’ll have everyone at your table begging for seconds. The best part? That moment when someone takes their first bite and their eyes light up as the cheese oozes out. Pure burger bliss, my friends.
Why You’ll Love These Juicy Lucy Cheddar Burgers
Listen, I know you’ve had burgers before, but these? These are next-level. Here’s why they’ll become your new favorite:
- That melty cheese surprise – There’s nothing like cutting into a burger and watching molten cheddar come pouring out like golden lava. It’s pure joy in every bite!
- Perfectly seasoned beef – My secret blend of Worcestershire, garlic, and black pepper makes the meat itself taste incredible, even without the cheese.
- Grill-ready in minutes – No fancy techniques here – just simple steps that lead to burger perfection on any grill (or even a skillet!).
- Total crowd-pleaser – Kids go wild for the cheesy center, adults appreciate the gourmet twist – it’s a win-win.
The first time I made these, my neighbor actually came over to ask what smelled so good. That’s when I knew I had something special!
Ingredients for Juicy Lucy Cheddar Burgers
Okay, let’s gather our burger-building supplies! Here’s what you’ll need for four gloriously cheesy masterpieces:
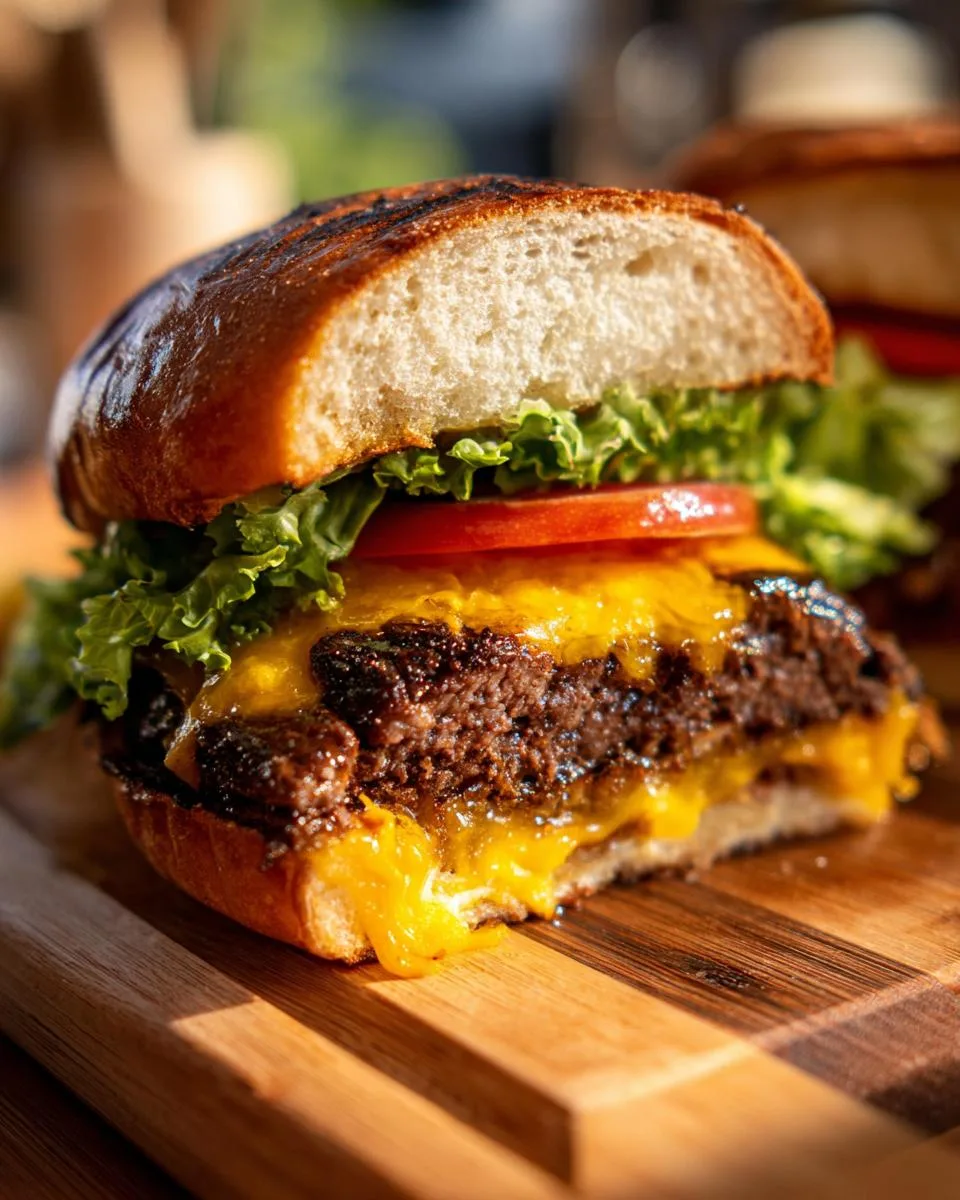
- 1 1/2 pounds ground round (80/20 fat ratio) – That bit of fat keeps our burgers juicy without being greasy. Trust me, leaner meat just doesn’t work as well here.
- 1 tablespoon Worcestershire sauce – My secret flavor booster! It adds that umami depth that makes people wonder “what’s in these?”
- 1 teaspoon salt – Plain ol’ table salt is perfect for bringing out all the other flavors.
- 1 teaspoon freshly ground black pepper – Please, please use fresh-ground – it makes all the difference!
- 3/4 teaspoon garlic powder – The quick way to get garlic flavor without chopping.
- 6 slices sharp cheddar cheese, cut into quarters – Sharp melts beautifully and gives that tangy punch against the rich beef.
- 4 burger buns – Toasted, obviously! Nothing worse than a great burger on a wimpy bun.
- Your favorite toppings – I’m partial to crisp onion slices, dill pickles, and a swipe of mayo, but you do you!
See? Nothing fancy – just good ingredients treated right. Now let’s make some magic!
How to Make Juicy Lucy Cheddar Burgers
Alright, let’s get our hands dirty and make these cheesy wonders! I’ll walk you through each step – it’s easier than you think, but there are a few tricks to get that perfect cheese-stuffed burger.
Preparing the Patty Mixture
First things first – grab that beautiful ground beef and plop it into a big bowl. Now, here’s the key: don’t go crazy mixing it! Sprinkle in the Worcestershire sauce, salt, pepper, and garlic powder, then gently fold everything together with your fingers just until combined. Overmixing makes tough burgers, and we want tender, juicy patties that melt in your mouth.
Stuffing and Sealing the Burgers
Divide your meat into 8 equal portions – I use a kitchen scale for precision, but eyeballing works too. Flatten 4 portions into thin patties (about 1/4 inch thick). Now the fun part – pile those quartered cheddar slices right in the center, leaving a good border. Top with another patty and pinch those edges like you’re sealing a pie crust – no cheese escape routes allowed! Pro tip: wet your fingers slightly to help seal without sticking.
Grilling Juicy Lucy Cheddar Burgers
Fire up that grill to medium-high heat (about 375°F). Carefully place your burgers on the grates and don’t touch them for 4 minutes – this builds those gorgeous grill marks. Flip gently when they release easily. Cook another 3-4 minutes until the center puffs slightly (that’s your cheese melting beautifully inside!). Resist the urge to press down – we’re not making hockey pucks here!
See? Simple as can be. Now let’s talk about making these burgers absolutely perfect every time…
Print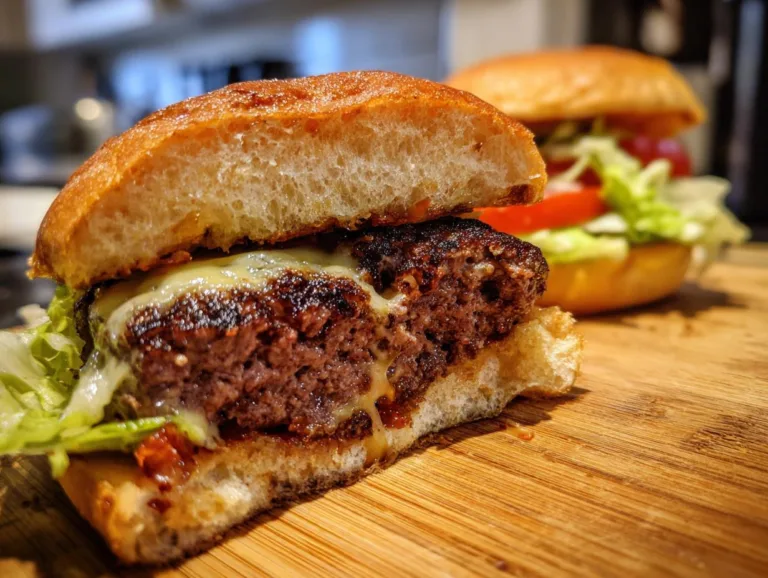
Irresistible Juicy Lucy Cheddar Burgers with Cheesy Secrets
Juicy Lucy Cheddar Burgers are a delicious twist on the classic burger, featuring melted cheddar cheese stuffed inside a perfectly seasoned beef patty.
- Total Time: 23 minutes
- Yield: 4 burgers 1x
Ingredients
- 1 1/2 pounds ground round
- 1 tablespoon Worcestershire sauce
- 1 teaspoon salt
- 1 teaspoon freshly ground black pepper
- 3/4 teaspoon garlic powder
- 6 slices Cheddar cheese, cut into quarters
- 4 burger buns, toasted
- onion slices, pickle slices, mayonnaise, mustard, and ketchup for serving
Instructions
- Combine ground beef, Worcestershire, salt, pepper, and garlic powder in a bowl. Mix meat mixture gently to combine and shape into 8 patties.
- Stack quartered cheese slices, 6 pieces per burger, onto the center of 4 of the burger patties. Top each burger with a second patty and pinch the edges to seal the burger tightly.
- Preheat an outdoor grill for medium-high heat. Cook burgers undisturbed on one side for 4 minutes, or until grill marks appear and burger releases easily from the grill.
- Flip and continue to cook until burger has puffed in the center slightly and is browned on the other side.
- Serve burgers on toasted buns with desired toppings.
Notes
- Use high-quality ground beef for the best flavor.
- Do not overmix the meat to keep the burgers tender.
- Seal the edges tightly to prevent cheese from leaking.
- Prep Time: 15 minutes
- Cook Time: 8 minutes
- Category: Main Course
- Method: Grilling
- Cuisine: American
- Diet: Low Lactose
Nutrition
- Serving Size: 1 burger
- Calories: 450
- Sugar: 3g
- Sodium: 800mg
- Fat: 25g
- Saturated Fat: 10g
- Unsaturated Fat: 12g
- Trans Fat: 1g
- Carbohydrates: 25g
- Fiber: 2g
- Protein: 30g
- Cholesterol: 90mg
Tips for Perfect Juicy Lucy Cheddar Burgers
After making hundreds of these beauties, I’ve learned all the tricks to burger perfection! Here’s what makes the difference between good and oh-my-goodness amazing:
- Keep everything cold – Chill your meat mixture before shaping patties. Warm meat sticks to your hands and makes sealing tougher.
- Seal like your cheese depends on it – Really work those edges together with firm pinches. I do a double-seal by pinching, then rolling the edge slightly inward.
- Let them rest – After grilling, give your burgers 2-3 minutes to settle. This keeps all that glorious cheese inside when you bite!
- Go thicker on the bottom patty – Make your base patty slightly thicker than the top to prevent cheese from leaking downward.
Oh! And if you see a little cheese sneaking out while grilling? No stress – that just makes for delicious crispy bits!
Serving Suggestions for Juicy Lucy Cheddar Burgers
Now that you’ve made these glorious cheese-stuffed wonders, let’s talk about how to serve them up right! First rule: always toast those buns – it adds crunch and keeps them from getting soggy from all that cheesy goodness. My favorite way? A quick butter toast in the same pan I cooked the burgers in.
For toppings, keep it simple to let that melty cheddar center shine:
- Crisp red onion slices – Their sharp bite cuts through the richness
- Cold dill pickle chips – That tangy crunch is magic with the cheese
- A swipe of mayo – Just enough to add creaminess without overpowering
Side dish ideas? Oh honey, you’ve got options! My go-tos are:
- Classic crispy fries (duh!)
- Cool, creamy coleslaw
- Grilled corn on the cob in summer
- Simple potato chips when I’m feeling lazy
Pro tip: Have plenty of napkins ready – these burgers are gloriously messy in the best possible way!
Storing and Reheating Juicy Lucy Cheddar Burgers
Okay, let’s be real – leftovers rarely happen with these burgers! But if you do have extras (impressive self-control!), here’s how to keep them tasty. Store cooled burgers in an airtight container in the fridge for up to 3 days. For longer storage, wrap each burger individually in foil before freezing – they’ll keep for 2 months.
When reheating, skip the microwave unless you want rubbery meat! Instead, warm them gently in a 300°F oven for about 10 minutes, or until heated through. The cheese will get melty again without drying out the beef. Pro tip: Add a tiny pat of butter on top before reheating for extra juiciness!
Juicy Lucy Cheddar Burgers FAQs
I get asked these questions all the time when I make these burgers for friends – here’s everything you need to know!
Can I use other cheeses besides cheddar?
Absolutely! While sharp cheddar is my favorite for its meltability and tang, you can experiment with other cheeses. Pepper jack adds a nice kick, Swiss melts beautifully, and even blue cheese crumbles make an amazing surprise center. Just avoid super soft cheeses like brie – they tend to disappear into the meat.
How do I prevent cheese from leaking out while cooking?
Two secrets: First, make sure your edges are sealed tighter than a drum – I pinch mine twice for good measure. Second, don’t overload the center with cheese – about 6 quartered slices per burger is the sweet spot. If a little leaks, no worries – those crispy cheese bits are delicious!
Can I cook these indoors if I don’t have a grill?
You bet! A cast iron skillet works perfectly – get it screaming hot first. Cook times stay the same, and you’ll still get that gorgeous crust. Just turn on your vent fan – things might get a little smoky!
How do I know when the burgers are done without cutting them open?
Watch for the center to puff up slightly – that’s your cheese melting beautifully inside! The burgers should feel firm but still slightly springy when pressed. If you’re nervous, an instant-read thermometer should read 160°F in the thickest part.
Nutritional Information
Here’s the scoop on what you’re biting into with these Juicy Lucy Cheddar Burgers (because let’s be real – we all pretend we don’t care about nutrition when there’s melty cheese involved, but it’s good to know!). Each burger clocks in at about 450 calories, with 30g of protein to keep you satisfied.
A quick heads up: these numbers are estimates based on using 80/20 ground beef and standard cheddar slices. Your actual nutrition may vary depending on the exact ingredients and brands you use – especially if you go wild with toppings (no judgment here!). The important thing? Every cheesy, beefy bite is worth it!
Share Your Juicy Lucy Cheddar Burgers
Alright, burger lovers – now it’s your turn! I want to see your cheesy masterpieces. Did you add a special twist? Maybe some jalapeños in with the cheddar? Or found the perfect bun? Drop a comment below or tag me on social media – let’s make this a Juicy Lucy party! And hey, if this recipe made your taste buds happy, do me a favor and give it a rating. Nothing makes me happier than knowing I helped create someone’s new favorite burger!
For More recipes, Follow me on Facebook!