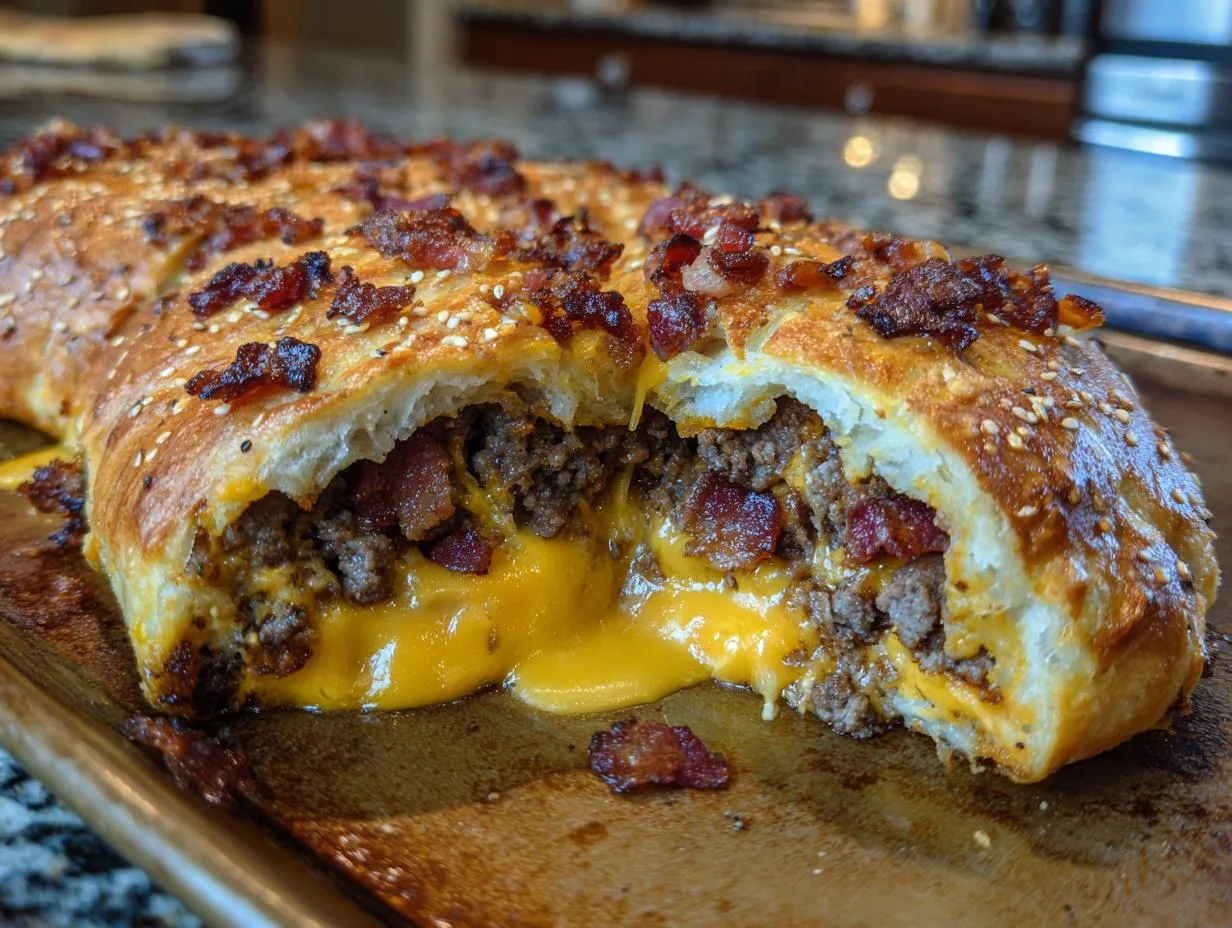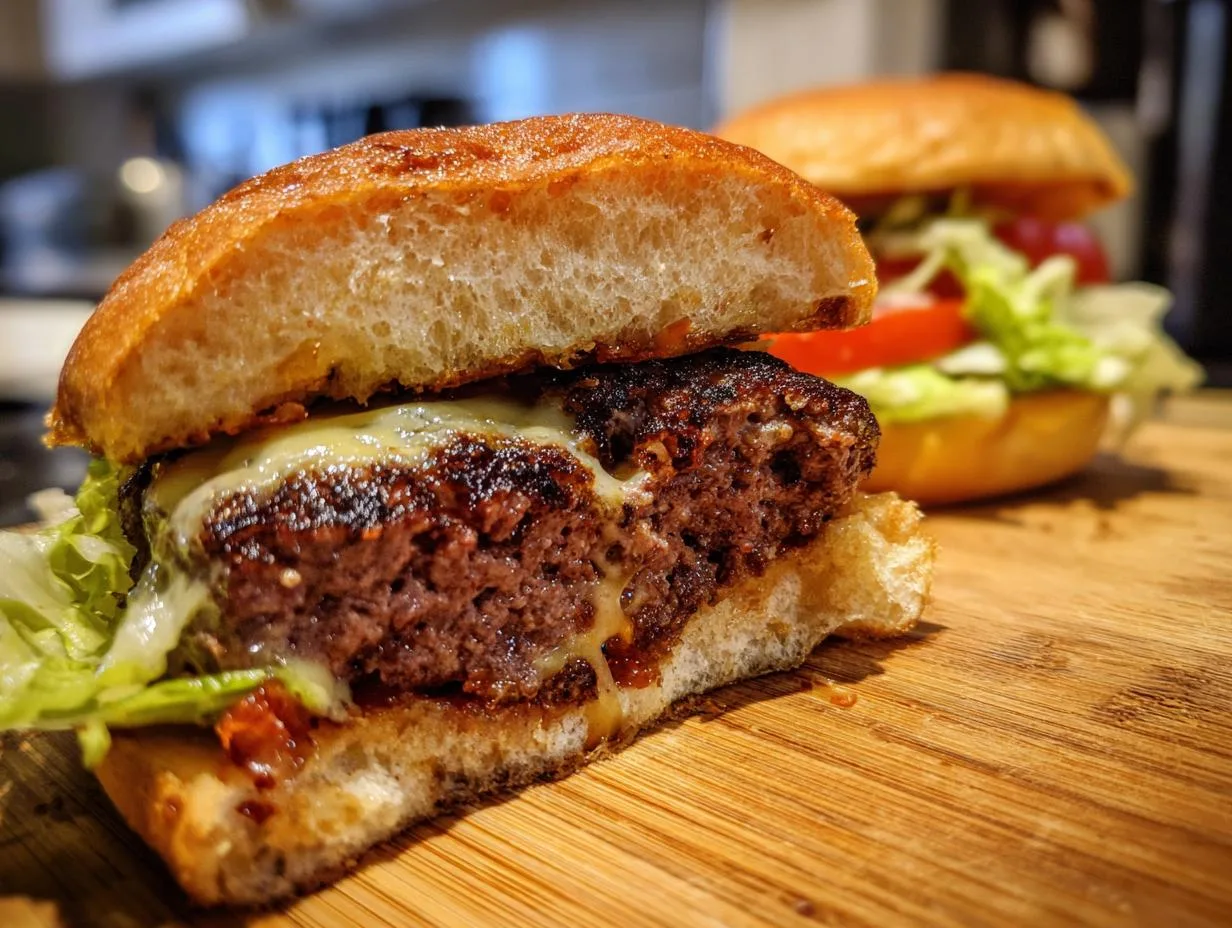
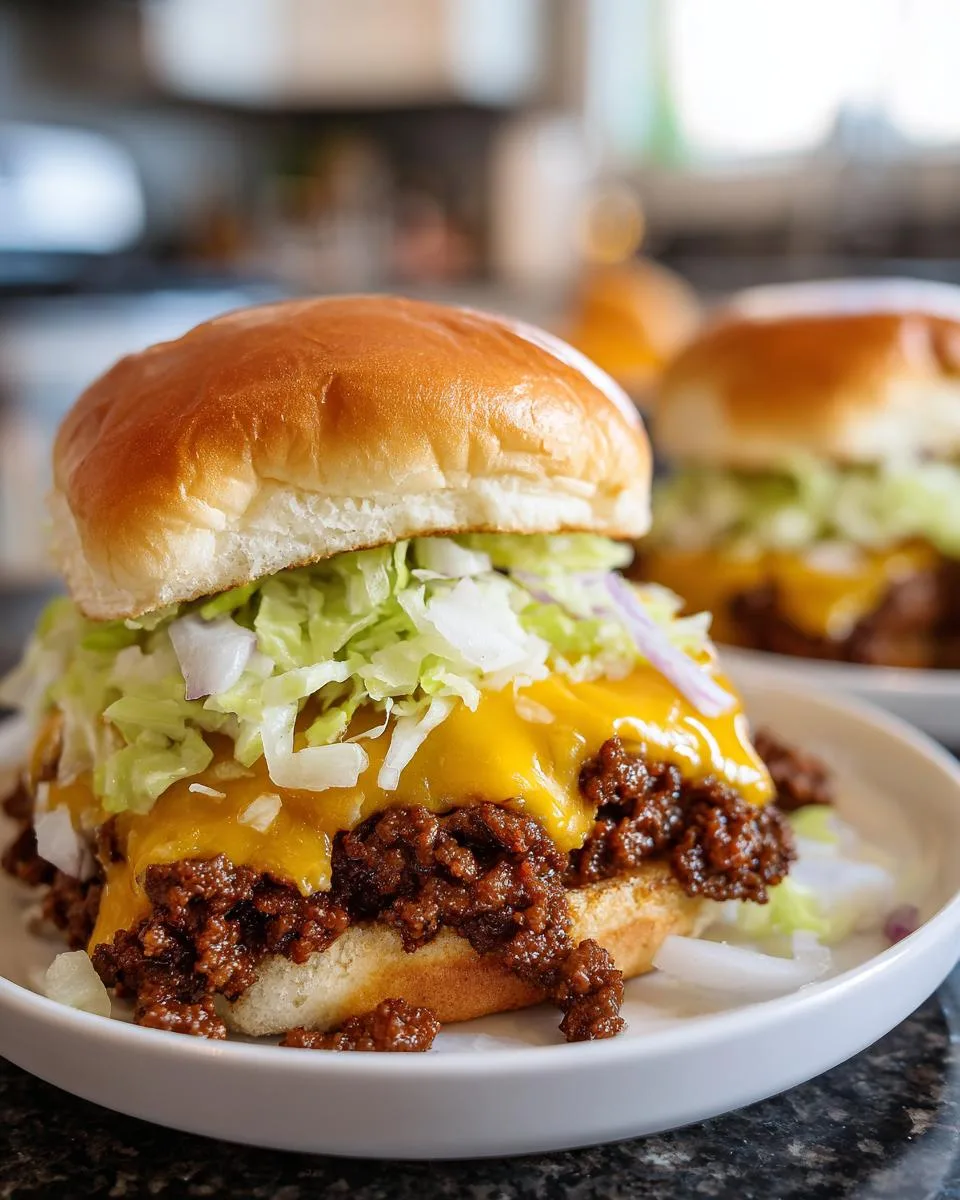
Oh my gosh, you guys – these chopped cheese sliders are my latest obsession! I first tried them at this tiny bodega in Brooklyn and immediately knew I had to recreate that magic at home. The best part? They come together in under 30 minutes with ingredients you probably already have. That perfect combo of juicy beef, melty cheese, and soft Hawaiian rolls makes these sliders irresistible for game day, potlucks, or just when you need a seriously satisfying meal fast.
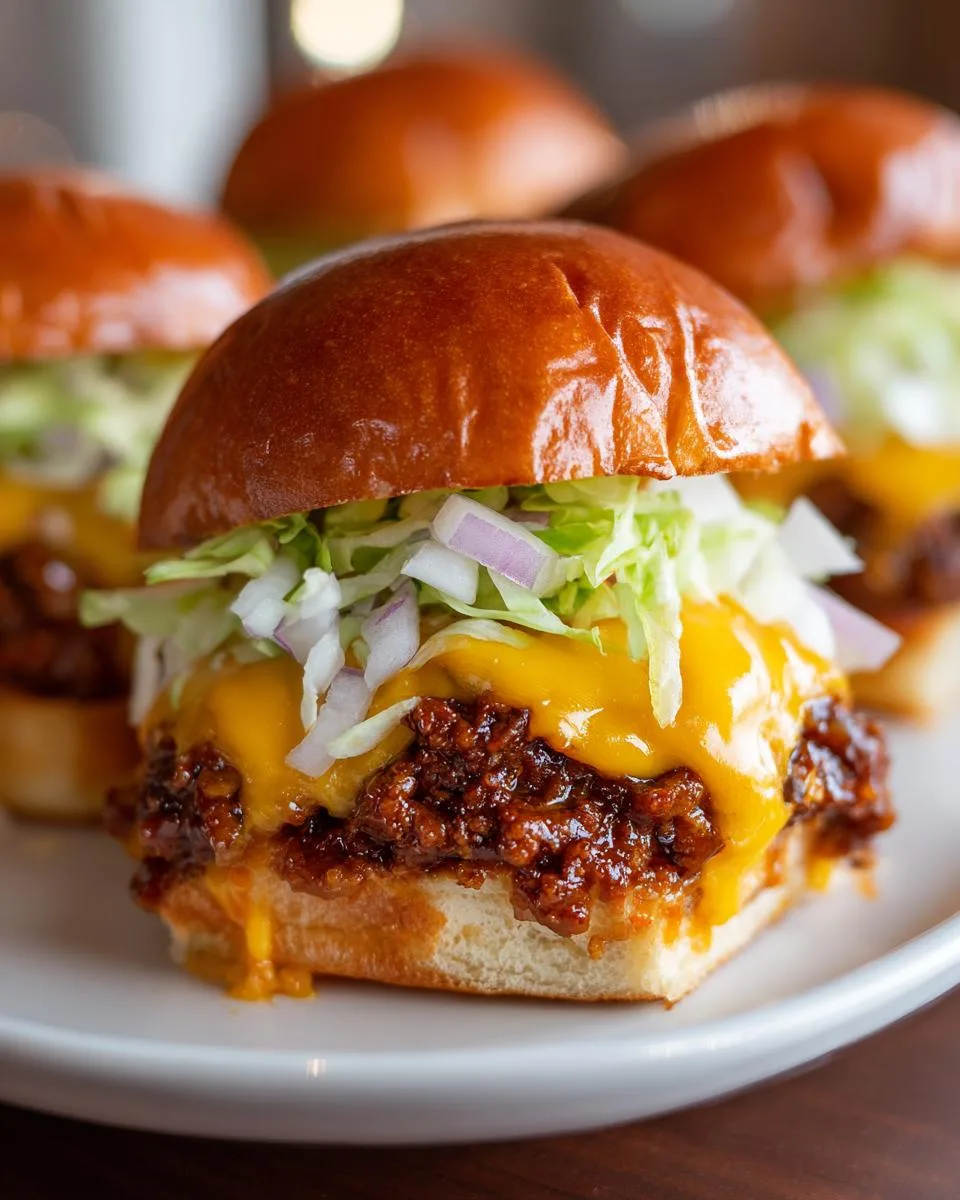
Table of Contents
Table of Contents
What I love most is how versatile they are – add extra cheese if you’re feeling indulgent (I always do), throw in some pickles for tang, or spice up the sauce with a dash of hot sauce. These little sandwiches pack big flavor, and trust me, once you make them, they’ll become your new go-to crowd pleaser!
Why You’ll Love These Chopped Cheese Sliders
Let me tell you why these sliders are about to become your new best friend in the kitchen:
- Weeknight lifesaver: Ready in under 30 minutes – faster than pizza delivery!
- Flavor bomb: That melty cheese and special sauce combo? Absolute perfection.
- Crowd magnet: I’ve never brought these to a party without getting recipe requests.
- Pantry-friendly: Uses simple ingredients you likely have right now.
- Kid-approved: My picky nephew devours three at a time (okay, so do I).
Seriously, what’s not to love? They’re the ultimate comfort food with minimal effort.
Ingredients for Chopped Cheese Sliders
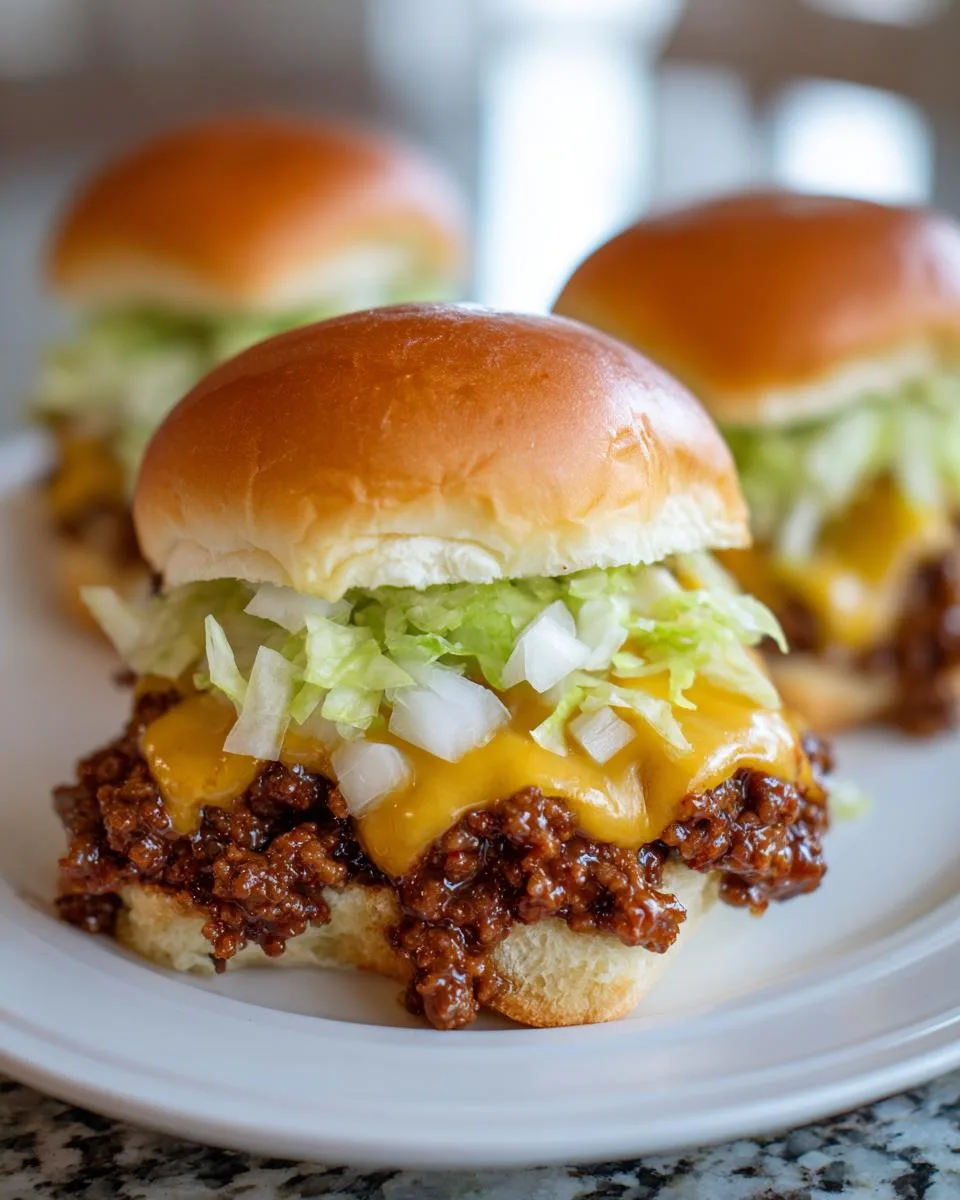
Okay, let’s gather our goodies! Here’s what you’ll need to make these irresistible chopped cheese sliders (and yes, I’ve included all my little tweaks that make them extra special):
- 1/4 cup mayonnaise – the creamy base for our magic sauce
- 2 tablespoons ketchup – trust me, it’s not too much!
- 1 tablespoon yellow mustard – gives that perfect tang
- 1/2 teaspoon garlic powder – my secret flavor booster
- 1/4 teaspoon smoked paprika – adds that subtle smoky depth
- Salt and freshly ground black pepper – to taste (don’t skimp!)
- 1 pound 80% lean ground beef – that fat equals flavor, friends
- 6 slices American or cheddar cheese – or mix both like I do when I’m feeling wild
- 1 (12 oz) package Hawaiian sweet rolls – King’s® brand makes all the difference
- 1 cup shredded iceberg lettuce – for that perfect crunch
- 1 small white onion, finely diced – about 1/4 cup
- Dill pickle chips (optional) – my Brooklyn bodega always adds them!
See? Nothing fancy – just good, honest ingredients that come together to make something magical. Pro tip: Have everything prepped and ready before you start cooking – it makes the process so much smoother!
How to Make Chopped Cheese Sliders
Alright, let’s get cooking! I promise this is easier than you think – just follow these simple steps and you’ll have the most delicious chopped cheese sliders ready before you know it.
Preparing the Sauce
First things first – let’s make that special sauce that takes these sliders to the next level! Grab a small bowl and whisk together the mayo, ketchup, mustard, garlic powder, and smoked paprika. Taste it – that’s right, chef’s privilege! – and adjust the salt and pepper until it’s just right for you. Set this aside while we work on the beef – the flavors will meld beautifully.
Cooking the Beef and Cheese
Now for the main event! Heat a large skillet over medium heat and add your ground beef. Break it up with a wooden spoon as it cooks – we want nice small crumbles. After about 8 minutes, when it’s nicely browned (but not dry!), drain any excess fat if you’d like.
Here’s the crucial part: lower the heat slightly and lay those cheese slices right over the beef. Let them melt for about 3 minutes – resist the urge to stir too soon! Once they’re gloriously gooey, chop everything together with your spoon until you’ve got that perfect chopped cheese texture.
Assembling the Sliders
Time to build our masterpiece! Take your Hawaiian rolls and slice the whole package in half horizontally – keep them connected for easy serving. Spread that delicious sauce we made on both halves.
Pile the beef and cheese mixture evenly on the bottom halves, then top with shredded lettuce, diced onion, and those optional pickles if you’re using them (which I highly recommend!). Gently press the top buns back on, slice into individual sliders if needed, and get ready for the compliments to roll in!
Print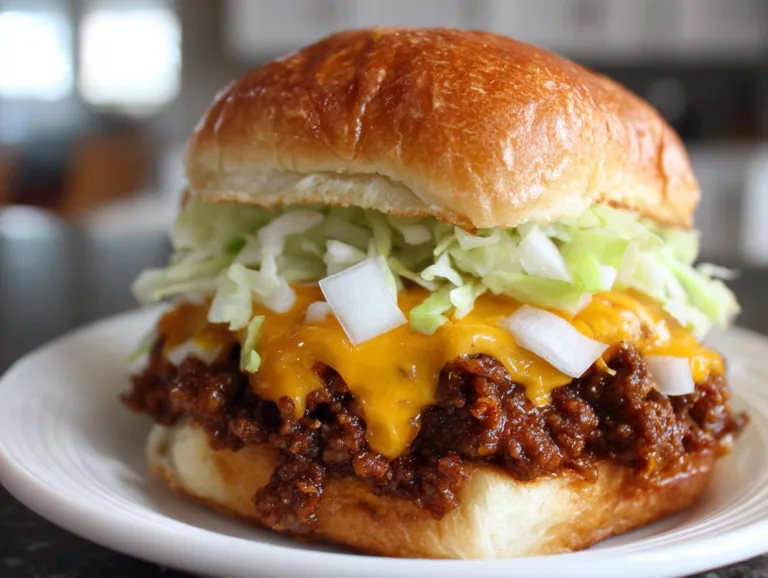
30-Minute Chopped Cheese Sliders: Irresistible Melty Bliss
These chopped cheese sliders are a delicious and easy-to-make meal, perfect for gatherings or a quick dinner.
- Total Time: 25 minutes
- Yield: 6 sliders 1x
Ingredients
- 1/4 cup mayonnaise
- 2 tablespoons ketchup
- 1 tablespoon yellow mustard
- 1/2 teaspoon garlic powder
- 1/4 teaspoon smoked paprika
- salt and freshly ground black pepper to taste
- 1 pound 80% lean ground beef
- 6 slices American cheese or Cheddar cheese, or a combination, plus more as needed
- 1 (12 ounce) package Hawaiian sweet rolls, such as King’s®
- 1 cup shredded iceberg lettuce
- 1 small white onion, finely diced
- dill pickle chips or chopped pickles, as needed (optional)
Instructions
- Gather all ingredients.
- Stir mayonnaise, ketchup, mustard, garlic powder, and paprika together in a small bowl; season with salt and pepper. Set aside.
- Heat a large skillet over medium heat. Add ground beef, season with salt and pepper, and cook until browned, about 8 minutes. Drain excess fat, if desired.
- Lower heat to avoid overcooking beef, and lay cheese slices directly over beef. Allow to melt, about 3 minutes more, then chop beef and cheese together to create that signature chopped cheese texture.
- Slice Hawaiian rolls in half horizontally, keeping them attached. Spread chopped cheese sauce on both halves of rolls. Evenly distribute beef and cheese mixture over bottom half.
- Top with chopped lettuce, onion, and pickles. Place top buns back on and enjoy!
Notes
- Adjust cheese quantity to taste.
- Pickles add a tangy crunch but are optional.
- Prep Time: 10 minutes
- Cook Time: 15 minutes
- Category: Sandwiches
- Method: Stovetop
- Cuisine: American
- Diet: Low Lactose
Nutrition
- Serving Size: 1 slider
- Calories: 320
- Sugar: 8g
- Sodium: 480mg
- Fat: 18g
- Saturated Fat: 7g
- Unsaturated Fat: 9g
- Trans Fat: 0.5g
- Carbohydrates: 24g
- Fiber: 1g
- Protein: 18g
- Cholesterol: 60mg
Tips for Perfect Chopped Cheese Sliders
After making these sliders more times than I can count (no regrets!), here are my foolproof tips for chopped cheese perfection:
- Cheese lovers unite: Don’t be shy with the cheese – I often add an extra slice or two because melty goodness is life.
- Skillet smarts: Keep the heat medium-low when melting cheese to prevent rubbery texture.
- Bun freshness: Warm your rolls slightly before assembling – just 2 minutes in a 300°F oven makes them pillowy soft.
- Drain wisely: Leave a bit of beef fat in the skillet for maximum flavor (your taste buds will thank you).
- Chop technique: Use a metal spatula to chop beef and cheese together – it creates that authentic bodega texture!
Follow these simple tricks and you’ll have sliders worthy of any NYC corner store!
Variations for Chopped Cheese Sliders
One of my favorite things about this recipe is how easily you can mix it up! Here are some delicious twists I’ve tried (and loved):
- Meat swap: Ground turkey works great for a lighter version – just add an extra slice of cheese to keep it moist.
- Cheese adventure: Try pepper jack for some heat or provolone for extra meltiness.
- Spice it up: Stir a teaspoon of hot sauce into the mayo mixture – my go-to when I want some kick!
- Veggie boost: Add sautéed bell peppers or mushrooms to the beef mixture for extra flavor and texture.
The possibilities are endless – make it your own and have fun with it!
Serving Suggestions
Oh, let me tell you how I love to serve these sliders! They’re perfect with a pile of crispy fries (sweet potato fries are my weakness) or a simple side of tangy coleslaw. For the full NYC bodega experience, don’t forget extra pickles on the side – the vinegary crunch cuts through all that cheesy richness beautifully. And if you’re feeling fancy? A cold craft beer or creamy milkshake makes everything better!
Storage and Reheating
Okay, confession time – I rarely have leftovers because these sliders disappear so fast! But if you’re lucky enough to have some, here’s how to keep them tasting fresh:
- Fridge magic: Store assembled sliders in an airtight container for up to 2 days (though the buns get softer – still delicious!).
- Skillet revival: Reheat beef mixture in a pan over medium-low with a splash of water to keep it moist.
- Oven trick: Wrap sliders in foil and warm at 350°F for 10 minutes – the cheese gets melty all over again!
Pro tip: Keep components separate if you can – the lettuce stays crisper that way!
Nutritional Information
Here’s the scoop on what you’re biting into with these sliders (per serving): about 320 calories, 18g protein, and all that cheesy goodness! Remember – nutrition varies based on your specific ingredients and brands. I always say enjoy every bite and savor the flavor!
Frequently Asked Questions
I get asked about these chopped cheese sliders all the time – here are the most common questions that pop up (and my tried-and-true answers!):
Can I use ground turkey instead of beef?
Absolutely! I’ve done it many times when I want a lighter option. Just add an extra slice of cheese to keep it moist – turkey tends to dry out faster than beef. The flavor’s different but still delicious!
How do I keep sliders warm for a party?
My go-to trick? Wrap them tightly in foil and keep them in a 200°F oven until serving. The low heat keeps them toasty without drying out. For longer parties, I’ll sometimes use a slow cooker on the “warm” setting too.
What’s the best cheese for authentic chopped cheese flavor?
Honestly? American cheese melts like a dream and gives you that classic bodega taste. But I often mix in some sharp cheddar for extra flavor – do what makes your taste buds happy!
Can I make these ahead of time?
You bet! Prep the beef mixture and sauce separately up to 2 days ahead, then just assemble when ready. The buns get softer if assembled in advance, but they’re still tasty – promise!
Final Thoughts
There you have it – my absolute favorite way to make chopped cheese sliders at home! I can’t wait for you to try them and see how easy (and crazy delicious) they are. Be sure to let me know how yours turn out – tag me on social or leave a comment below. Happy cooking, friends! You can also find more slider recipes and other easy dinners on my page.
Juice Bar & Smoothie Shop