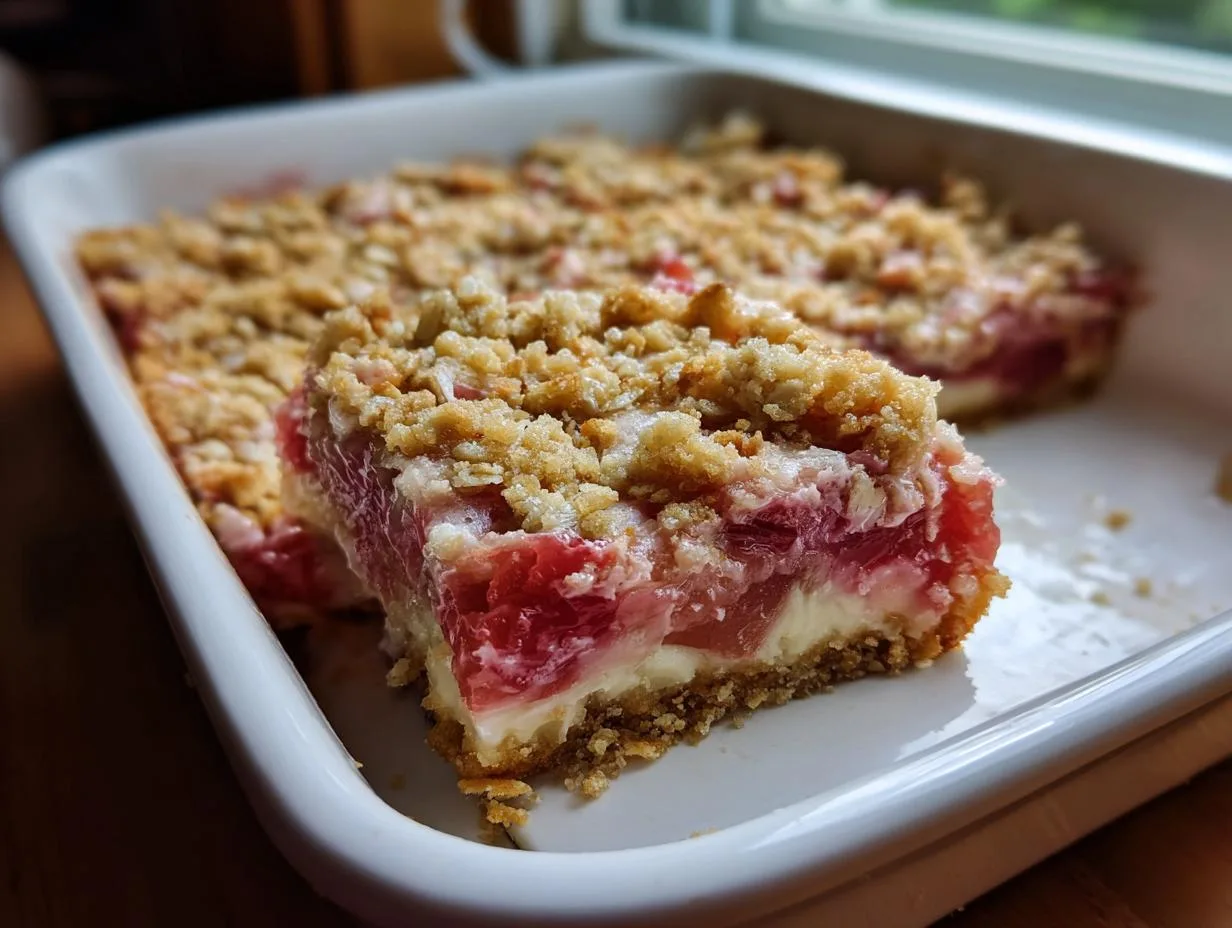
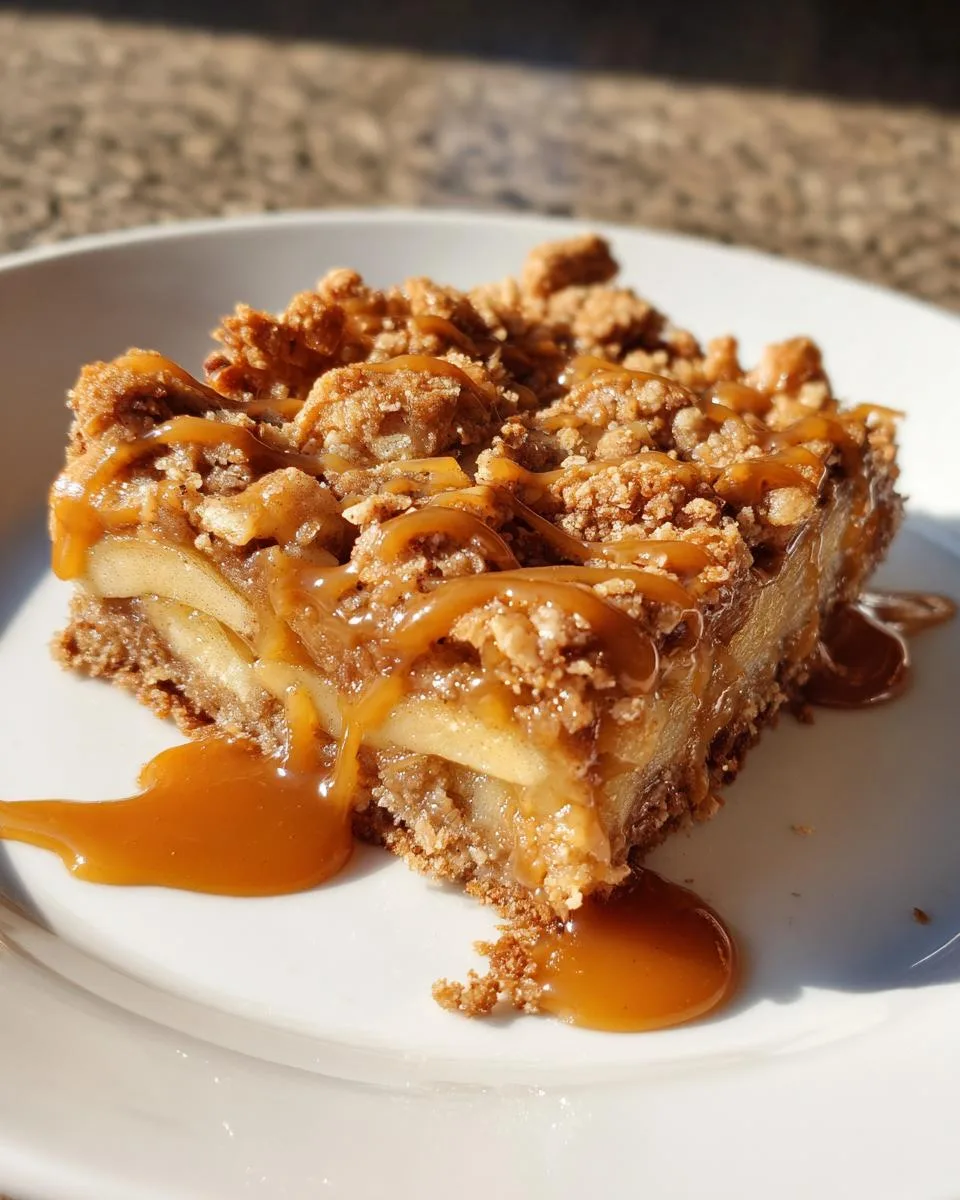
Oh my goodness, if there’s one thing that screams “fall” to me, it’s the smell of cinnamon and apples baking in my kitchen. I’ll never forget the first time I made these salted caramel apple bars – my entire family descended on the kitchen like a pack of hungry wolves! That perfect balance of buttery crust, tender spiced apples, and that gooey salted caramel topping? Absolute magic.
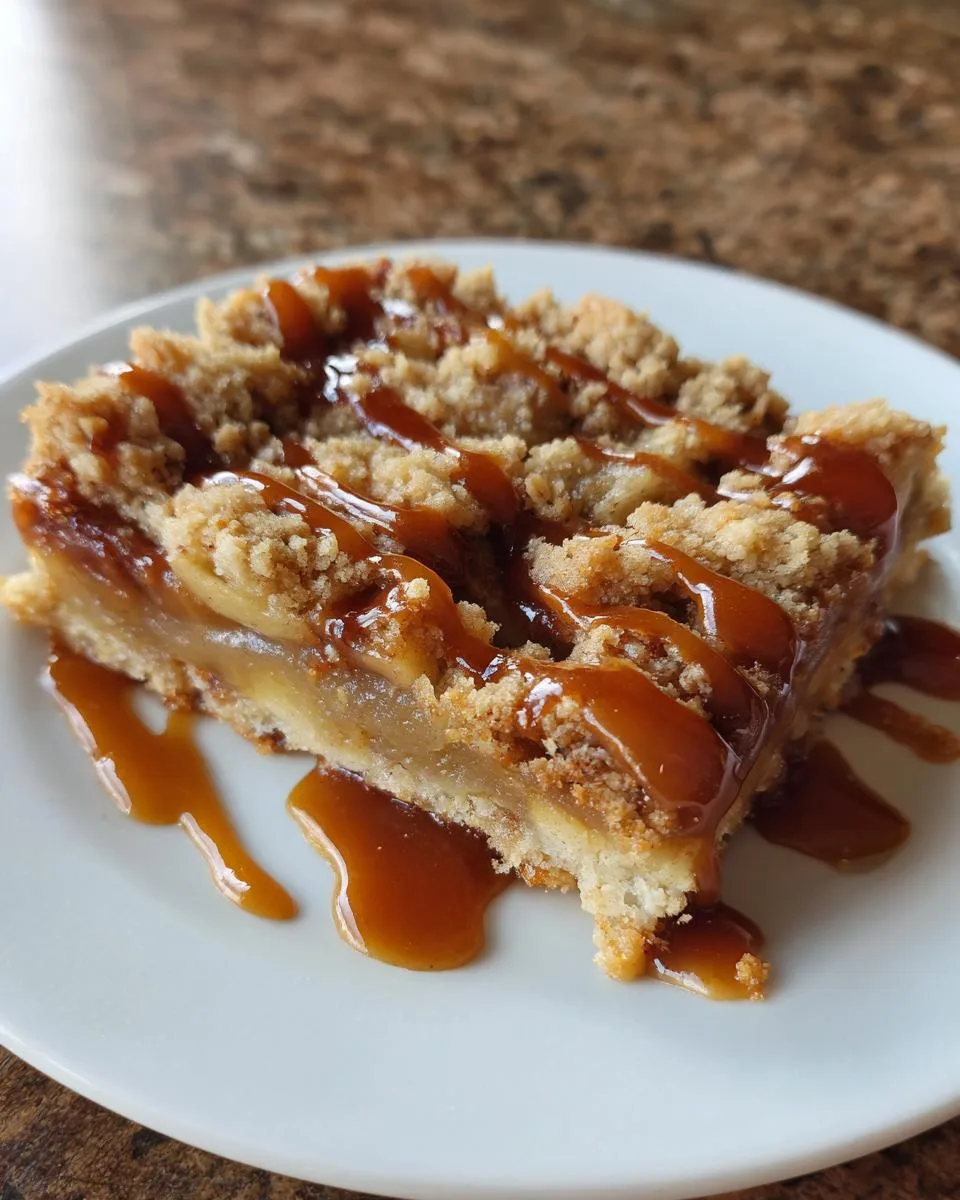
Table of Contents
Table of Contents
What I love most about these salted caramel apple bars is how they look fancy but are secretly so easy. You don’t need any special equipment – just a bowl, a spoon, and that trusty 9×13 pan we all have. The hardest part is waiting for them to cool before cutting (trust me, I’ve burned my fingers too many times being impatient!).
These bars have become my go-to fall dessert for everything from school bake sales to Thanksgiving potlucks. The combination of sweet and salty with those warm spices makes people go crazy for them. And the best part? You probably have most of the ingredients in your pantry right now!
Why You’ll Love These Salted Caramel Apple Bars
Listen, I don’t just make these salted caramel apple bars because they’re delicious (though oh boy, are they ever). They’ve become my secret weapon for so many reasons:
- So easy a kid could make them – No fancy techniques here! Melt, mix, layer, bake. Even my 10-year-old nephew can handle this recipe.
- That perfect sweet-salty combo – The caramel’s richness balances the tart apples beautifully. First bite? Pure heaven.
- Always a crowd-pleaser – I’ve brought these to potlucks where they disappeared before I even got a piece. People go nuts for them!
- Better the next day – If you can resist eating them all at once, the flavors deepen overnight. Not that they usually last that long in my house!
- Smells like fall magic – The cinnamon and apples baking will make your whole home smell like a cozy autumn day.
Ingredients for Salted Caramel Apple Bars
Okay, let’s talk ingredients – but don’t worry, nothing too fancy here! Everything you need for these salted caramel apple bars is probably already in your kitchen. I’ve made this recipe dozens of times, and here’s what I’ve learned about each component:
For the Crust & Topping
- 2 sticks (1 cup) unsalted butter, melted – Yes, melted! This gives us that irresistible shortbread-like texture without the fuss of cutting in cold butter.
- 1 1/2 cups granulated sugar – Regular white sugar works perfectly here to balance the caramel’s richness.
- 1 teaspoon vanilla extract – The good stuff, please! It makes all the difference.
- 1/2 teaspoon salt – Trust me, this tiny bit makes the flavors pop.
- 2 1/2 cups all-purpose flour – Spoon and level it, don’t scoop! We want perfect crumb texture.
For the Apple Filling
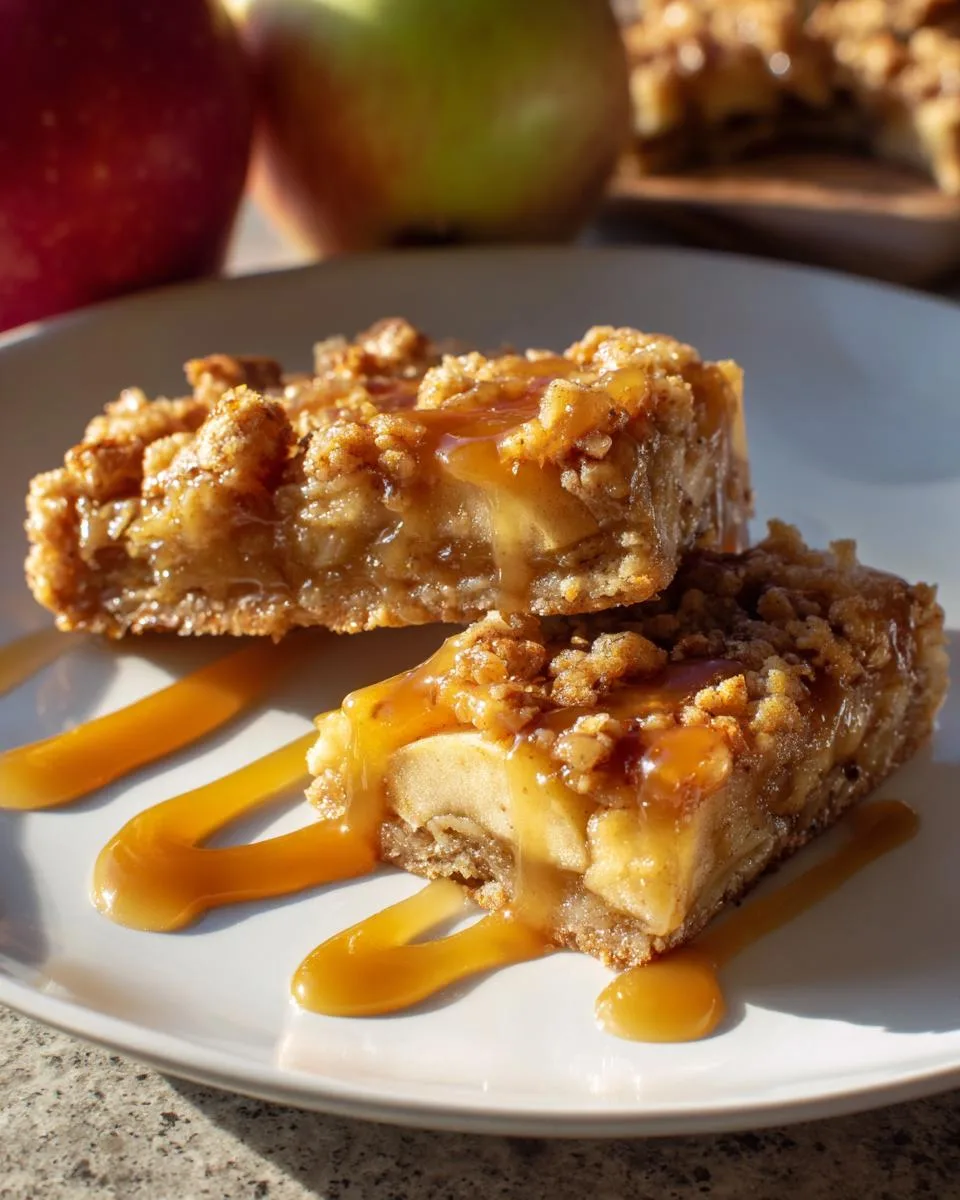
- 3 cups peeled and thinly sliced apples – About 3 medium apples. I swear by Granny Smith for their perfect tartness and texture.
- 1 teaspoon ground cinnamon – The warm spice that makes this taste like fall.
- 1/4 teaspoon ground nutmeg – Just enough to add depth without overpowering.
The Star of the Show
- 1/2 cup salted caramel sauce – Homemade or store-bought both work great here. I won’t judge!
See? Nothing crazy – just simple ingredients that work magic together. Now let’s get baking!
How to Make Salted Caramel Apple Bars
Alright, let’s get to the fun part – making these irresistible salted caramel apple bars! I’ll walk you through each step like I’m right there in the kitchen with you. Don’t let the layers fool you – this comes together so easily. Just follow my lead, and you’ll have perfect bars every time.
Step 1: Prepare the Crust
First things first – preheat that oven to 375°F (190°C). Grab your favorite 9×13 inch baking pan and line it with parchment paper. This little trick will save you so much cleanup later – trust me!
Now, in a big bowl (I use my trusty yellow mixing bowl), combine the melted butter, sugar, vanilla, and salt. Stir it until it looks like golden, sugary lava. Then gently mix in the flour until you’ve got a crumbly dough that holds together when you squeeze it. It should feel like damp sand between your fingers.
Here’s my secret – press about two-thirds of this mixture into the bottom of your prepared pan. I use the bottom of a measuring cup to really pack it down evenly. You want a nice, firm base for all those juicy apples to sit on!
Step 2: Layer the Apples and Caramel
Now for the star of the show – those beautiful apple slices! Toss them in a separate bowl with the cinnamon and nutmeg until each slice is coated in that warm, spicy goodness. Spread them evenly over your crust layer.
Next comes the magic – the salted caramel! Drizzle that golden goodness all over the apples. Don’t be shy – I like to make little zigzags across the whole pan. The caramel will melt into the apples as they bake, creating pockets of gooey deliciousness.
Finally, take the remaining crust mixture and crumble it over the top. I like to squeeze little handfuls to create some bigger crumbs for texture contrast.
Step 3: Bake and Cool
Pop that beauty into your preheated oven for 40-45 minutes. You’ll know it’s done when the topping is golden brown and you can see the caramel bubbling up around the edges. Oh, and your kitchen will smell absolutely heavenly!
This next part is crucial – let the pan cool completely on a wire rack before cutting. I know it’s hard to wait (trust me, I’ve burned my fingers too many times!), but this patience pays off in perfect, clean cuts. About an hour should do it.
When you’re ready to serve, lift the whole thing out using the parchment paper and cut into squares. Then watch them disappear before your eyes!
Print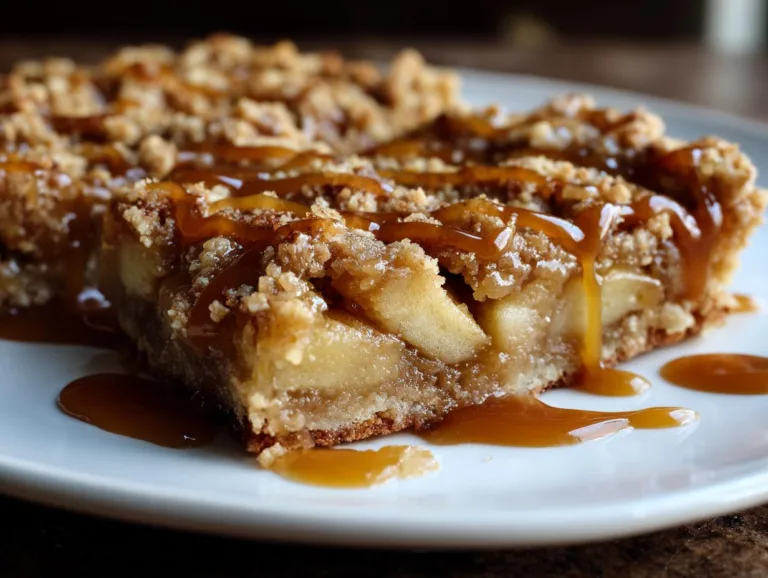
Salted Caramel Apple Bars: A 25-Minute Fall Delight
Delicious salted caramel apple bars with a buttery crust, spiced apples, and gooey caramel topping.
- Total Time: 60 minutes
- Yield: 12 bars 1x
Ingredients
- 1 cup (2 sticks) unsalted butter, melted
- 1 1/2 cups granulated sugar
- 1 teaspoon vanilla extract
- 1/2 teaspoon salt
- 2 1/2 cups all-purpose flour
- 3 cups peeled and thinly sliced apples (about 3 medium)
- 1/2 cup salted caramel sauce
- 1 teaspoon ground cinnamon
- 1/4 teaspoon ground nutmeg
Instructions
- Preheat oven to 375°F (190°C). Line a 9×13 inch baking pan with parchment paper.
- In a large bowl, combine melted butter, sugar, vanilla extract, and salt.
- Add flour and stir until crumbly. Press about two-thirds of the mixture evenly into the bottom of the prepared pan.
- In a separate bowl, toss sliced apples with cinnamon and nutmeg. Spread apple mixture over the crust in the pan.
- Drizzle salted caramel sauce over the apples. Crumble the remaining flour mixture over the top.
- Bake for 40-45 minutes, or until the topping is golden brown and the apples are tender.
- Let cool completely in the pan before cutting into bars.
Notes
- Use firm apples like Granny Smith or Honeycrisp for best texture.
- Store in an airtight container for up to 3 days.
- For extra caramel flavor, drizzle more sauce before serving.
- Prep Time: 15 minutes
- Cook Time: 45 minutes
- Category: Dessert
- Method: Baking
- Cuisine: American
- Diet: Vegetarian
Nutrition
- Serving Size: 1 bar
- Calories: 320
- Sugar: 25g
- Sodium: 120mg
- Fat: 14g
- Saturated Fat: 9g
- Unsaturated Fat: 4g
- Trans Fat: 0g
- Carbohydrates: 45g
- Fiber: 2g
- Protein: 3g
- Cholesterol: 35mg
Tips for Perfect Salted Caramel Apple Bars
After making these salted caramel apple bars more times than I can count, I’ve picked up some tricks that’ll take yours from good to “Oh my gosh, can I have the recipe?” level. First – apple choice matters! Go for firm ones like Granny Smith or Honeycrisp that hold their shape during baking. Too soft and you’ll get mushy bars.
Watch that oven like a hawk after 35 minutes. You want golden brown, not dark brown – overbaking makes the crust too hard. And here’s my favorite pro move: drizzle extra warm caramel sauce over the top right before serving. It looks gorgeous and gives that extra “wow” factor.
Last tip? Slice with a sharp knife dipped in hot water for super clean cuts. Wipe between slices and you’ll get picture-perfect bars every time!
Variations for Salted Caramel Apple Bars
One of the best things about these salted caramel apple bars is how easily you can make them your own! Here are some of my favorite twists that still keep that amazing flavor combo:
- Nutty crunch: Add 1/2 cup chopped pecans or walnuts to the topping for extra texture. They toast up beautifully while baking.
- Gluten-free option: Swap the all-purpose flour for your favorite 1:1 gluten-free blend. I’ve had great results with Bob’s Red Mill.
- Bourbon kick: Stir 1 tablespoon bourbon into your caramel sauce for a grown-up version that’s perfect for holiday parties.
- Oatmeal twist: Replace 1/2 cup flour with rolled oats in the crust for a heartier texture my kids adore.
The possibilities are endless – make it your signature version! Just don’t skip the salted caramel… that’s non-negotiable in my book.
Serving and Storing Salted Caramel Apple Bars
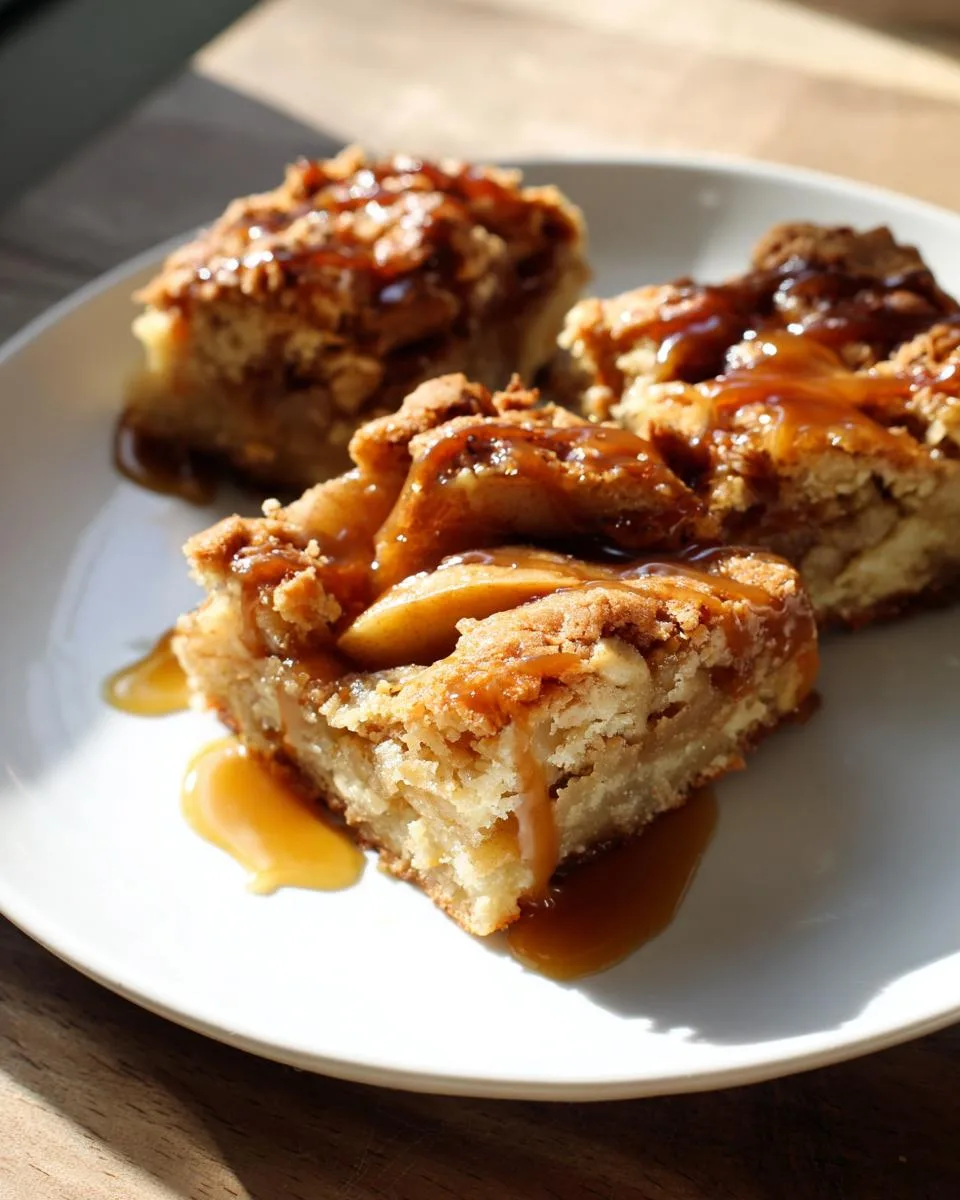
Here’s the best way to enjoy these salted caramel apple bars – serve them at room temperature so all those flavors can really shine! If you’ve stored them in the fridge (they’ll keep fresh in an airtight container for up to 3 days), just let them sit out for 20 minutes first. For an extra special treat, warm individual bars in the microwave for about 10 seconds – just enough to make that caramel ooze again. Pure heaven!
Want to get ahead? These freeze beautifully too! Just wrap tightly in plastic wrap, then foil, and they’ll keep for up to 2 months. Thaw at room temperature when you’re ready to enjoy your little taste of fall whenever the craving hits.
Nutritional Information for Salted Caramel Apple Bars
Okay, let’s be real – we’re not eating these salted caramel apple bars because they’re health food! But if you’re curious, here’s the scoop: each bar (based on cutting into 12 servings) has about 320 calories. Remember, these numbers are just estimates – they’ll vary depending on your exact ingredients and how generous you are with that caramel drizzle (no judgment here!). The full breakdown per bar is roughly:
- 14g fat (9g saturated)
- 45g carbs
- 2g fiber
- 25g sugar
- 3g protein
Now go enjoy your bar – life’s too short to stress over numbers when there’s caramel involved!
Frequently Asked Questions
I get so many questions about these salted caramel apple bars – let me answer the most common ones I hear from friends and readers!
Can I use store-bought caramel sauce?
Absolutely! While homemade caramel is divine, a good quality store-bought salted caramel works perfectly. I always keep a jar in my pantry for emergency baking (and let’s be real, emergency spoon-licking). Just make sure it’s the pourable kind, not the candies.
How long do these bars stay fresh?
They’ll keep beautifully at room temperature for 2 days in an airtight container (if they last that long!). For longer storage, pop them in the fridge for up to 5 days. The texture actually gets even better after a day as the flavors meld.
Can I freeze these apple caramel bars?
You bet! Freeze them before cutting for best results. Just wrap the whole pan tightly in plastic, then foil, and they’ll keep for 2 months. Thaw overnight in the fridge when your sweet tooth calls.
What’s the best apple variety to use?
I’m team Granny Smith all the way – their tartness balances the sweetness perfectly. But Honeycrisp or Braeburn work great too. Just avoid super soft apples that turn to mush (I’m looking at you, Red Delicious!).
Final Thoughts
There you have it – my foolproof recipe for salted caramel apple bars that never fails to impress! I’d love to hear how yours turn out. Snap a pic and tag me when you make them – nothing makes me happier than seeing your kitchen creations. Now go grab those apples and get baking! You can also find more delicious recipes on our recipe page.
For More recipes, Follow me on Facebook!