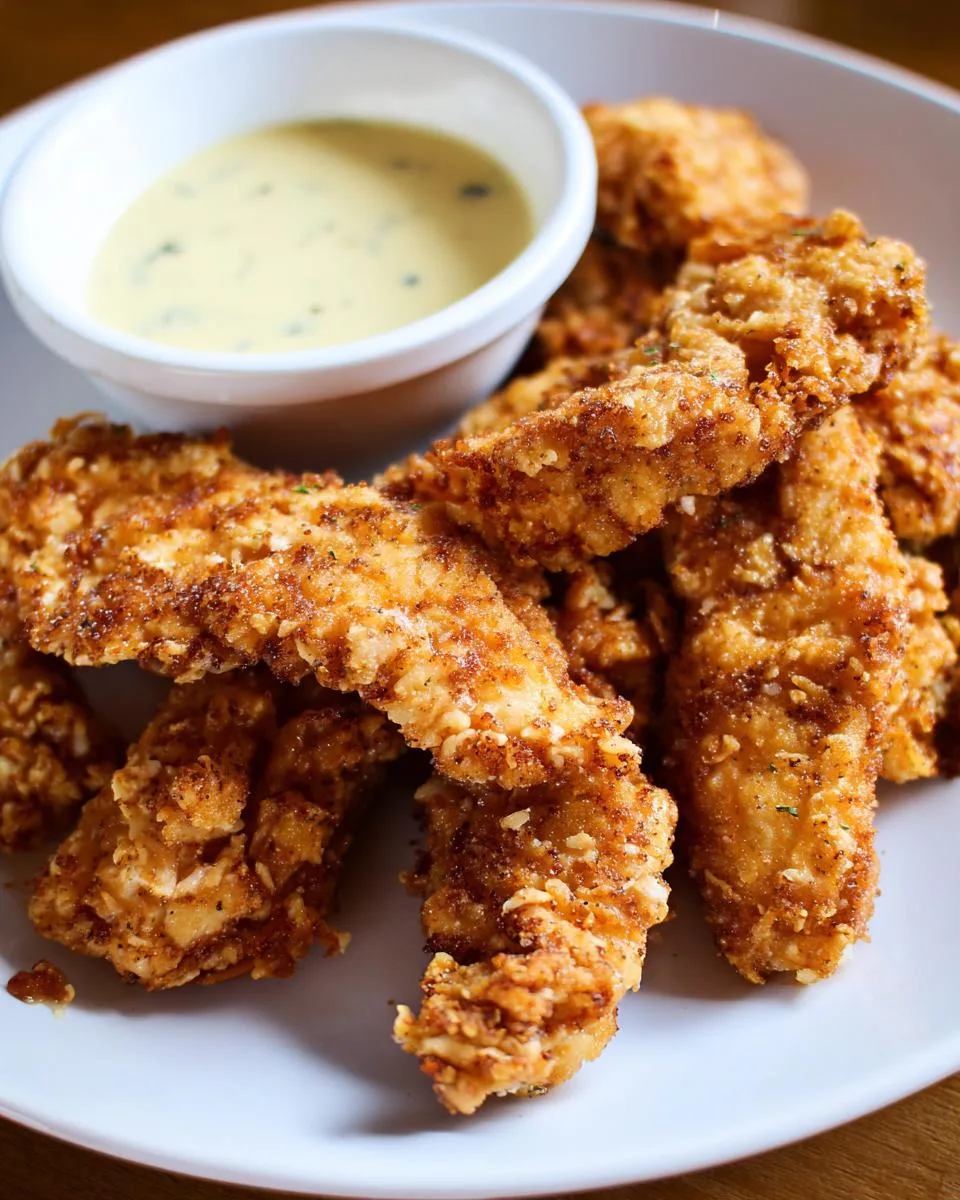
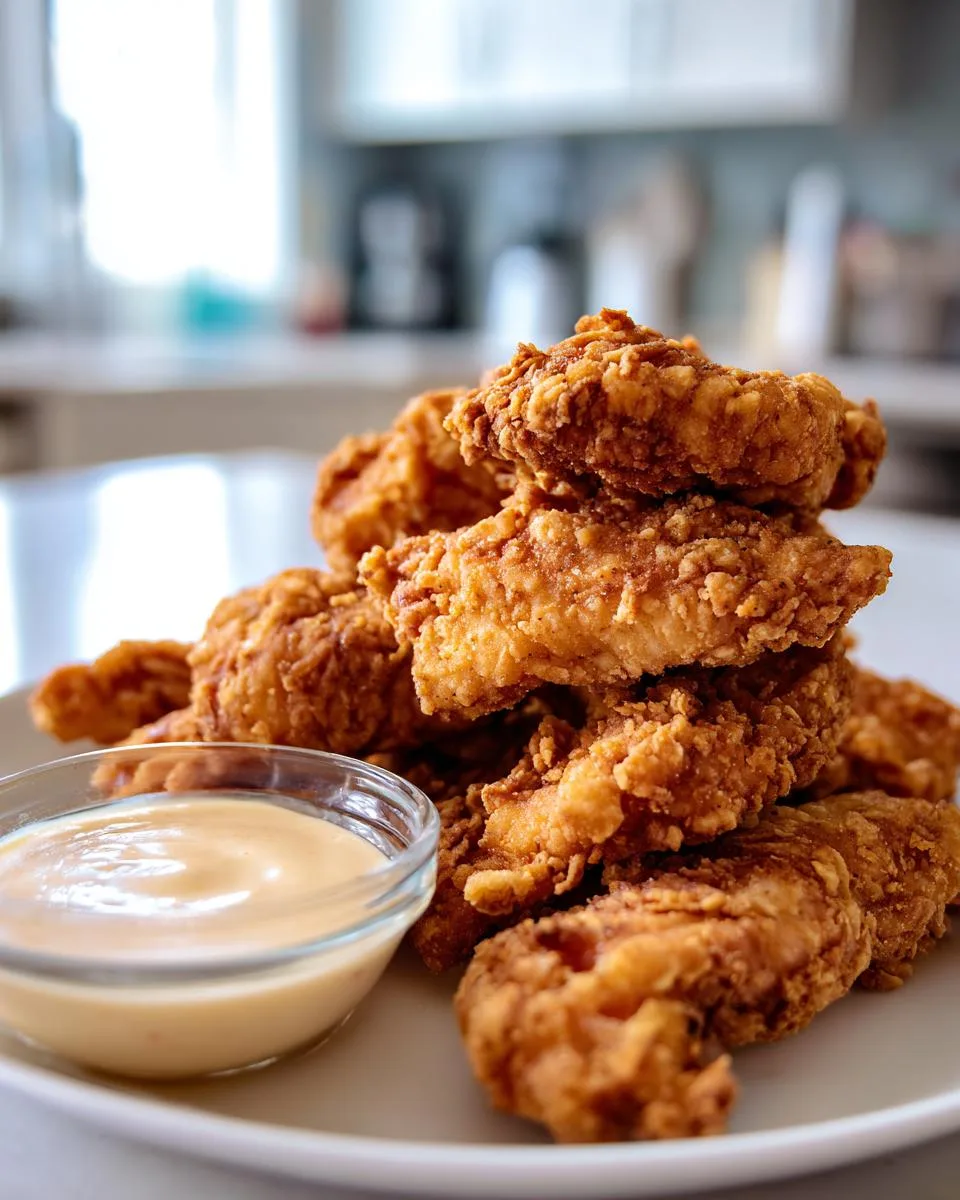
Let me tell you about my obsession with Raising Cane’s Chicken Fingers and Sauce – that crispy, golden perfection dunked in that tangy, slightly smoky sauce is pure magic. I still remember my first bite years ago at a roadside Cane’s in Louisiana, and I’ve been chasing that flavor ever since. After dozens (okay, maybe hundreds) of test batches, I cracked the code for making it at home – and trust me, once you taste these tender, juicy strips with that signature sauce, you’ll never wait in that drive-thru line again.

Table of Contents
Table of Contents
What makes this recipe special? It’s all about the details – the buttermilk marinade that tenderizes the chicken overnight, the double-dredge in seasoned flour for that extra crunch, and that secret blend of spices in the sauce that makes you want to lick the bowl clean. As a chef who’s spent years perfecting comfort food, I can tell you this homemade version beats the original because you control the quality – no mystery ingredients, just real, honest food made with love.
The best part? That first bite when the crispy coating gives way to juicy chicken, followed by that creamy, garlicky sauce – it’s pure happiness on a plate. Whether it’s game day, family night, or just a craving you can’t shake, this Raising Cane’s copycat recipe brings the restaurant experience right to your kitchen.
Ingredients for Raising Cane’s Chicken Fingers and Sauce
Alright, let’s get down to business—because the secret to perfect Raising Cane’s Chicken Fingers starts with the right ingredients. I’ve tweaked this list over the years to nail that crispy-on-the-outside, juicy-on-the-inside magic, and every item matters. Trust me, skip the shortcuts here, and you’ll taste the difference.
Chicken Ingredients
- 2 pounds chicken tenderloins (or boneless, skinless breasts cut into 1-inch strips—I like tenderloins for their natural tenderness)
- 1 cup buttermilk (the real stuff, not a substitute—this is your tenderizing superhero)
- 1 teaspoon salt (fine sea salt blends best)
- ½ teaspoon black pepper (freshly cracked if you’ve got it)
- 1 teaspoon garlic powder (no garlic salt—we want pure flavor)
- 1 teaspoon paprika (smoked paprika adds a nice depth, but sweet works too)
- 1 teaspoon hot sauce (optional, but a dash of Louisiana-style gives the marinade a little kick)
- 1 cup all-purpose flour (the backbone of that iconic crunch)
- 1 cup cornstarch (this is the game-changer for extra crispiness—don’t skip it!)
- 1 teaspoon salt (yes, more salt—season every layer)
- 1 teaspoon garlic powder (double the garlic, double the happiness)
- 1 teaspoon onion powder (for that savory undertone)
- ½ teaspoon cayenne pepper (optional, but just a pinch wakes up the breading)
- 2 eggs (large, room temp—they bind the breading like a charm)
- ¼ cup buttermilk (mixed with the eggs for the perfect dredge)
- Vegetable oil (for frying—about 4 cups, enough to submerge the chicken)
Cane’s Sauce Ingredients
- ½ cup mayonnaise (full-fat, please—this is no time for diet versions)
- ¼ cup ketchup (the sweetness balances the tang)
- ½ teaspoon Worcestershire sauce (that umami punch is essential)
- ½ teaspoon garlic powder (yes, again—Cane’s sauce is garlic-forward!)
- ½ teaspoon black pepper (freshly ground adds the best bite)
- ¼ teaspoon salt (just enough to tie it all together)
- ½ teaspoon smoked paprika (this is the secret whisper of smokiness)
Pro tip: Measure everything before you start cooking—it’s a lifesaver when your hands are covered in flour. And if you’re like me, double the sauce recipe. You’ll want extra for dipping fries (or spooning straight into your mouth—no judgment here).
How to Make Raising Cane’s Chicken Fingers and Sauce
Alright, let’s turn these ingredients into crispy, golden perfection—just like the drive-thru, but better because you made it. I’ll walk you through each step, from that crucial marinade to the sizzle of the fryer. Follow these steps, and you’ll have chicken fingers so good, they might just ruin takeout for you forever.
Marinating the Chicken
First things first: patience is key here. Grab a large bowl and toss in your chicken tenderloins. Pour in the buttermilk, then sprinkle in the salt, black pepper, garlic powder, paprika, and hot sauce (if using). Now, get in there with your hands—yes, your hands—and massage that marinade into every nook and cranny of the chicken. You want each piece fully coated.
Cover the bowl with plastic wrap and pop it in the fridge. Here’s the deal: 2 hours is the minimum, but if you can swing it, let it soak overnight. The longer it marinates, the juicier and more flavorful your chicken will be. Trust me, it’s worth the wait.
Preparing the Cane’s Sauce
While the chicken is getting cozy in the fridge, let’s whip up that iconic sauce. In a medium bowl, combine the mayonnaise, ketchup, Worcestershire sauce, garlic powder, black pepper, salt, and smoked paprika. Whisk it all together until it’s smooth and evenly blended—no streaks of mayo or ketchup left behind.
Now, cover the bowl and let it chill in the fridge for at least 30 minutes. This resting time lets the flavors mingle and deepen. (Confession: I’ve been known to sneak a taste straight from the bowl. It’s addictive even before it’s fully rested.)
Breading and Frying the Chicken
Time for the fun part—the crispy coating! Set up your breading station: in one shallow dish, mix the flour, cornstarch, salt, garlic powder, onion powder, and cayenne. In another dish, whisk together the eggs and buttermilk.
Pull your marinated chicken from the fridge. Working with one piece at a time, shake off excess buttermilk, then dredge it in the flour mixture. Dip it into the egg wash, letting any excess drip off, then back into the flour for a second coat. Press the flour onto the chicken gently—this double-dredge is what gives you that crazy crunchy exterior.
Heat about 2 inches of vegetable oil in a heavy-bottomed pot or Dutch oven over medium-high heat. You’re aiming for 350°F (175°C)—use a thermometer to check. Too hot, and the coating will burn before the chicken cooks through; too cool, and it’ll get greasy.
Fry the chicken in batches—don’t crowd the pot!—for about 3–4 minutes per side, until they’re a deep golden brown and the internal temp hits 165°F (74°C). Transfer to a wire rack or paper towels to drain. (Pro tip: Sprinkle with a tiny pinch of salt right out of the fryer. It’s the little things.)
Now, the hardest part: letting them rest for a minute or two before diving in. But once you do? That first bite—crispy, juicy, dunked in that tangy sauce—will make every second of prep worth it.
Print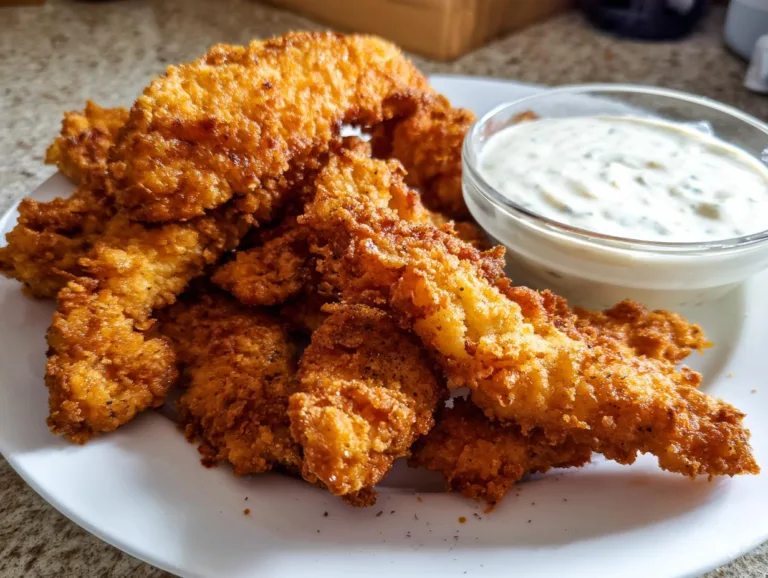
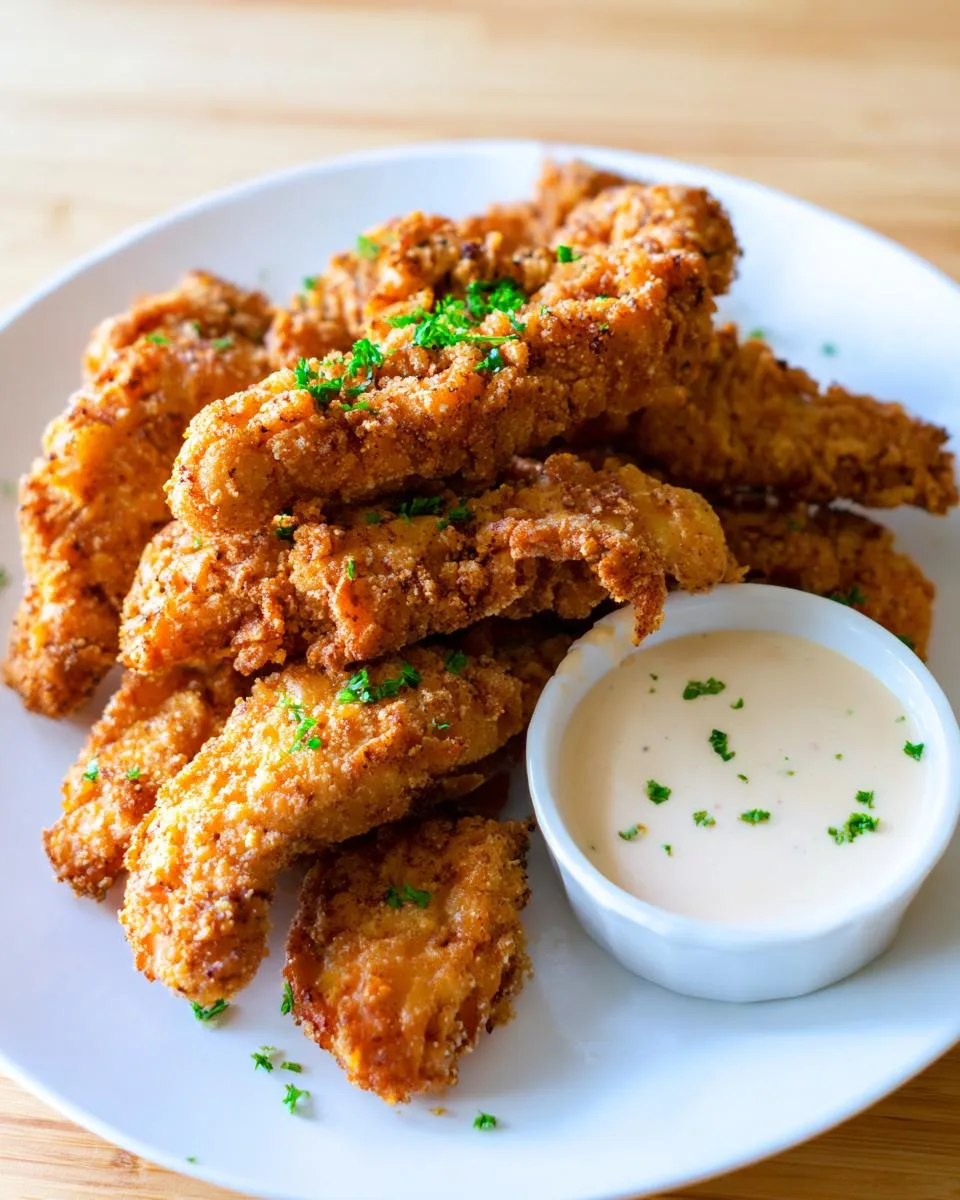
Yummy Raising Cane’s Chicken Fingers Recipe in 5 Steps
Crispy homemade Raising Cane’s Chicken Fingers with the signature Cane’s Sauce.
- Total Time: 2 hours 30 minutes
- Yield: 4 servings 1x
Ingredients
- 2 pounds chicken tenderloins (or boneless, skinless chicken breasts cut into strips)
- 1 cup buttermilk
- 1 teaspoon salt
- ½ teaspoon black pepper
- 1 teaspoon garlic powder
- 1 teaspoon paprika
- 1 teaspoon hot sauce (optional, for extra flavor)
- 1 cup all-purpose flour
- 1 cup cornstarch (for extra crispiness)
- 1 teaspoon salt
- 1 teaspoon garlic powder
- 1 teaspoon onion powder
- ½ teaspoon cayenne pepper (optional, for a little heat)
- 2 eggs
- ¼ cup additional buttermilk
- Vegetable oil, for frying
- ½ cup mayonnaise
- ¼ cup ketchup
- ½ teaspoon Worcestershire sauce
- ½ teaspoon garlic powder
- ½ teaspoon black pepper
- ¼ teaspoon salt
- ½ teaspoon smoked paprika
Instructions
- Marinate the chicken in buttermilk and spices for at least 2 hours.
- Prepare the Cane’s Sauce by mixing all sauce ingredients and refrigerating for 30 minutes.
- Set up a breading station with flour mixture and egg wash.
- Dredge chicken in flour, dip in egg wash, then coat again in flour.
- Heat vegetable oil to 350°F (175°C).
- Fry chicken in batches until golden brown and cooked through.
- Serve hot with Cane’s Sauce.
Notes
- For best results, marinate chicken overnight.
- Adjust cayenne pepper for desired heat level.
- Use a thermometer to ensure oil stays at the right temperature.
- Prep Time: 2 hours 15 minutes
- Cook Time: 15 minutes
- Category: Main Dish
- Method: Frying
- Cuisine: American
- Diet: Low Lactose
Nutrition
- Serving Size: 1 serving
- Calories: 450
- Sugar: 3g
- Sodium: 800mg
- Fat: 22g
- Saturated Fat: 4g
- Unsaturated Fat: 16g
- Trans Fat: 0g
- Carbohydrates: 35g
- Fiber: 1g
- Protein: 28g
- Cholesterol: 120mg
Tips for Perfect Raising Cane’s Chicken Fingers
Listen, I’ve made enough batches of these chicken fingers to know what separates “good” from “can’t-stop-eating-them” perfection. Here are my hard-earned secrets—little tweaks that make a huge difference.
Marinate Like You Mean It
That 2-hour minimum? It’s non-negotiable. But if you really want tender, flavorful chicken, let it soak overnight. The buttermilk works magic—breaking down proteins so every bite melts in your mouth. (I’ve even gone 24 hours when planning for game day. Zero regrets.)
Thermometer = Your Best Friend
Winging the oil temperature? Stop right there. 350°F (175°C) is the sweet spot—hot enough to crisp, cool enough to cook through. A $10 candy thermometer saves you from greasy or burnt chicken. And check the chicken’s internal temp too—165°F (74°C) means done and juicy.
Double-Dredge for Maximum Crunch
Skip the “one-and-done” breading. Flour → egg wash → flour again presses extra crisp into every nook. Let the coated chicken rest 5 minutes before frying—it helps the coating stick better.
Play With Heat Levels
Love spice? Add an extra pinch of cayenne to the flour mix. Serving kids? Leave it out entirely. The sauce has enough flavor to carry the dish either way.
Fry in Batches—No Cheating!
Crowding the pot drops the oil temp fast, leading to soggy fingers. Fry 3–4 pieces at a time max. Keep cooked batches warm in a 200°F (95°C) oven on a wire rack (not a plate—steam kills crispiness).
Salt When Hot
Hit those fingers with a tiny sprinkle of salt immediately after frying. It sticks better and enhances every layer of flavor.
Follow these tips, and you’ll nail that Raising Cane’s magic—crispy outside, juicy inside, with sauce so good you’ll want to drink it. (Not that I’ve done that. Okay, maybe once.)
Serving Suggestions for Raising Cane’s Chicken Fingers
Let’s be real—these chicken fingers are the star of the show, but every star needs a great supporting cast. Here’s how to build a meal that’ll have everyone at the table feeling like they just pulled up to a Raising Cane’s drive-thru (minus the wait and the paper bag).
The Classic Cane’s Combo
If you’re going for authenticity, here’s how they do it at the restaurant: crispy chicken fingers piled high with a side of crinkle-cut fries, a scoop of creamy coleslaw, and a slice of buttery Texas toast. Don’t forget that little cup of sauce for dipping—or, in my house, a big ramekin because we’re serious about our dunking.
Fries That Wow
Skip the frozen stuff—homemade fries take this meal next level. Cut russet potatoes into thick sticks, soak them in cold water for 30 minutes (removes starch for extra crisp), then fry them at 375°F (190°C) until golden. Toss with salt and a pinch of smoked paprika for a Cane’s-worthy side.
Coleslaw with a Twist
The perfect coleslaw should be creamy with just enough tang to cut through the richness of fried chicken. Shred cabbage and carrots, then toss with a dressing of mayo, apple cider vinegar, sugar, celery seed, and a dash of mustard. Chill it for an hour before serving—it gets better as it sits.
Texas Toast Worth Fighting Over
That thick, buttery toast is non-negotiable. Grab a loaf of Texas toast or thick-cut sourdough, slather both sides with garlic butter (soft butter + minced garlic + parsley), and toast it in a skillet until golden. Pro tip: Make extra—people will sneak slices when you’re not looking.
For the Lazy (But Still Awesome) Days
No time for sides from scratch? No shame! A bag of frozen waffle fries baked until extra crispy works in a pinch. Store-bought slaw and pre-made garlic bread still make a killer meal when paired with these chicken fingers.
My personal favorite setup? Chicken fingers stacked like a tower with fries spilling over the plate, a generous drizzle of sauce on everything, and toast tucked under the pile to catch all the saucy drippings. Pure comfort on a plate.
Storing and Reheating Raising Cane’s Chicken Fingers
First things first, let’s tackle the leftovers—you’ll want to save the leftovers for sure. The best way to keep that crispy crust is to make sure the chicken fingers are stored in a sealed, airtight container in the fridge for 3 days or room temperature for 2 days. But if you’ve got a freezer, you can freeze them for up to 3 months in a freezer-safe bag or freezer-safe container. The best way to freeze is to freeze them flat on a flat freezer sheet lined with parchment paper so they don’t stick together, then transfer them to a ziplock bag with a flat plastic freezer bag for 2-3 months.
Raising Cuckoo’s Chicken Fingers Frequently Asked Questions
I’ve gotten so many questions about this recipe over the years—here are the ones that pop up most often, along with my tried-and-true answers. Consider this your cheat sheet for Raising Cane’s success!
Can I bake instead of fry?
You can, but hear me out—the texture won’t be quite the same. If you’re set on baking, though, here’s how to get closest: Preheat your oven to 425°F (220°C), place breaded chicken on a wire rack over a baking sheet (this keeps bottoms crisp), and bake for 15–20 minutes, flipping halfway. Spritz with oil before baking for extra crunch. It’ll be tasty, but that deep-fried magic? That’s hard to replicate.
What’s the best oil for frying?
I swear by vegetable oil—neutral flavor, high smoke point, and affordable for large quantities. Peanut oil is my second choice if you want a slightly nutty richness (and don’t have allergies to consider). Avoid olive oil—its low smoke point makes it a terrible fryer. And please, please don’t reuse oil more than 2–3 times—old oil makes everything taste funky.
Can I make substitutions in the sauce?
The classic Cane’s sauce is pretty specific, but I’ve experimented! Swap mayo for Greek yogurt if you must (it’ll be tangier), and use sriracha instead of ketchup for a spicy kick. Worcestershire is non-negotiable though—that umami depth is irreplaceable. For gluten-free folks, check your Worcestershire brand (some contain barley).
Why cornstarch in the breading?
Science, my friend! Cornstarch creates a crispier, lighter crust than flour alone because it doesn’t develop gluten. It’s the secret behind that shatteringly crisp coating. Some folks use potato starch or rice flour for similar results—but cornstarch is my MVP.
My coating falls off—help!
Two likely culprits: not shaking off excess buttermilk before dredging (wet chicken = sliding breading), or oil that’s too cool (causes coating to absorb oil instead of setting). Also—pat your chicken dry after marinating, and let breaded pieces rest 5 minutes before frying. Trust me, it helps!
Still stumped? Hit me up in the comments—I’ve made every mistake so you don’t have to!
Nutritional Information
Alright, let’s talk numbers—because even when we’re indulging in crispy fried chicken, it’s good to know what’s going into our bodies. Important note: These are estimates based on standard ingredients—your exact counts may vary depending on brands or tweaks you make!
- Serving Size: 3 chicken fingers + 2 tbsp sauce
- Calories: 450 (hey, it’s fried—but so worth it)
- Fat: 22g (saturated: 4g, unsaturated: 16g)
- Cholesterol: 120mg
- Sodium: 800mg (the sauce and seasoning do most of this—cut salt if needed)
- Carbohydrates: 35g (fiber: 1g, sugar: 3g)
- Protein: 28g (chicken packs a protein punch!)
A few pro tips for lighter options: Baking instead of frying cuts about 100 calories per serving. Using low-fat mayo in the sauce trims another 50. But honestly? Sometimes you just need the real deal—balance is everything. Enjoy every crispy bite!
For More recipes, Follow me on Facebook!