I’ll never forget my first bite of real yuzu – that thrilling moment in a tiny Tokyo patisserie when I discovered this magical citrus. The bartender slid me a yuzu-infused cocktail, and bam! My taste buds danced with its floral tartness, like if a lemon and grapefruit had a sophisticated lovechild. Right then, I knew I had to bring this flavor home.
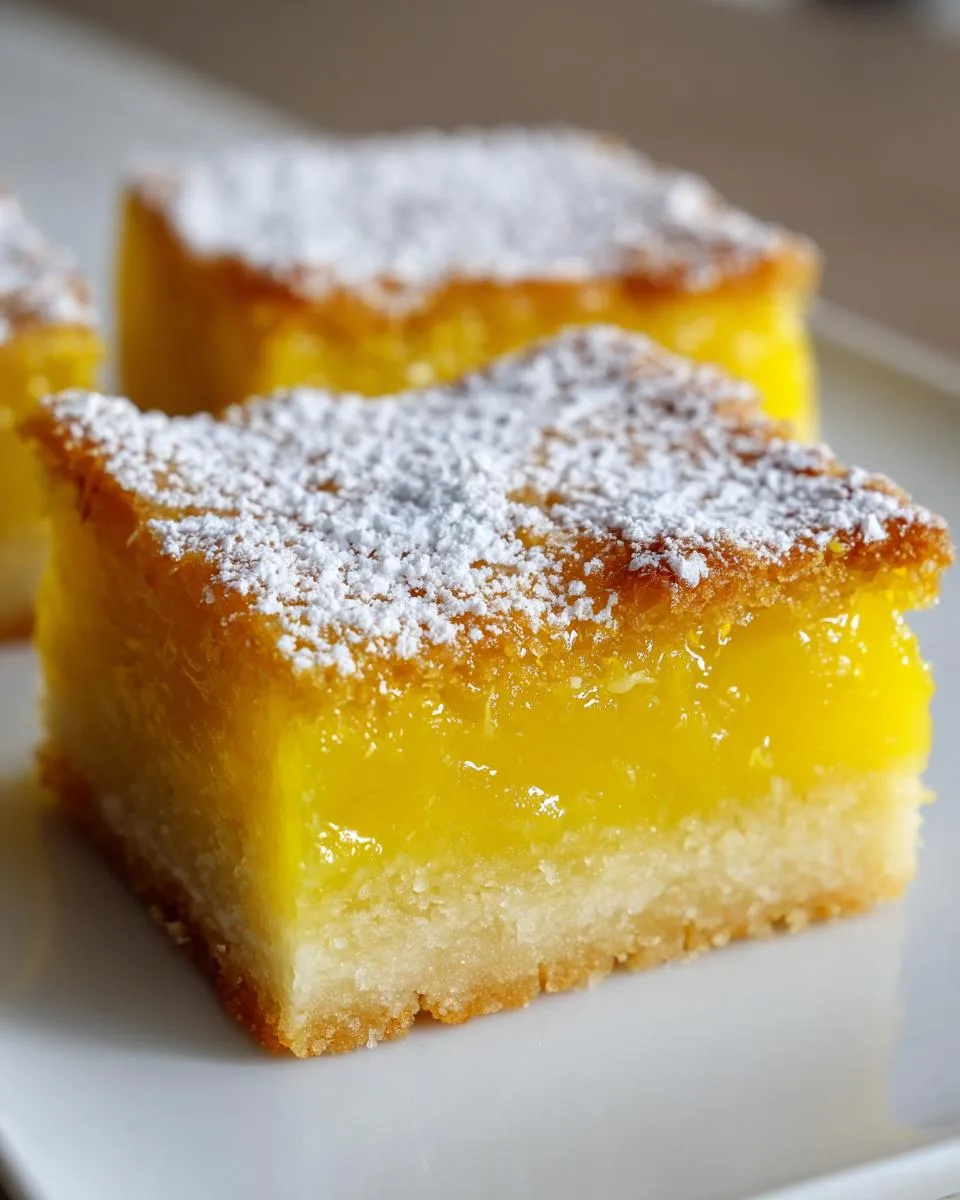
Table of Contents
Table of Contents
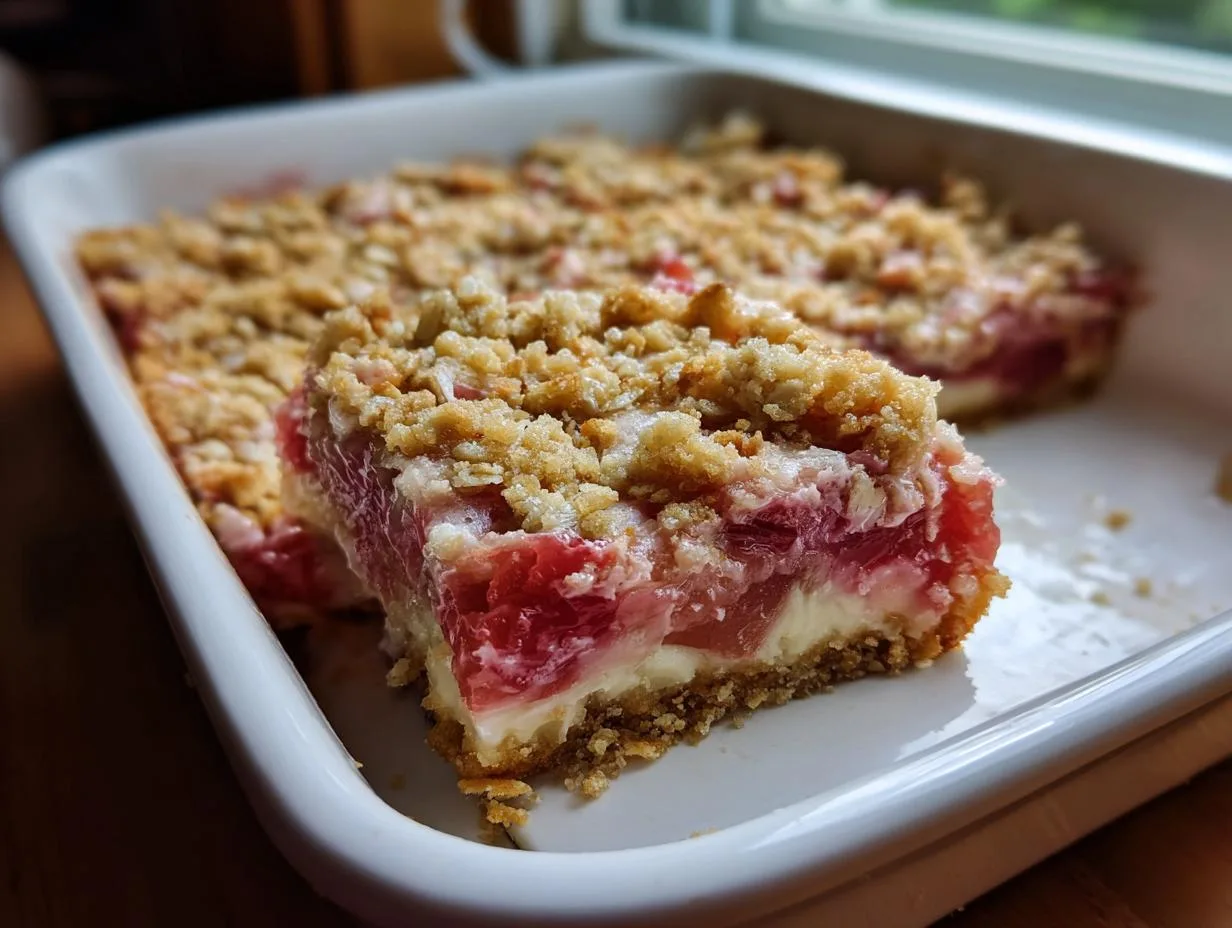
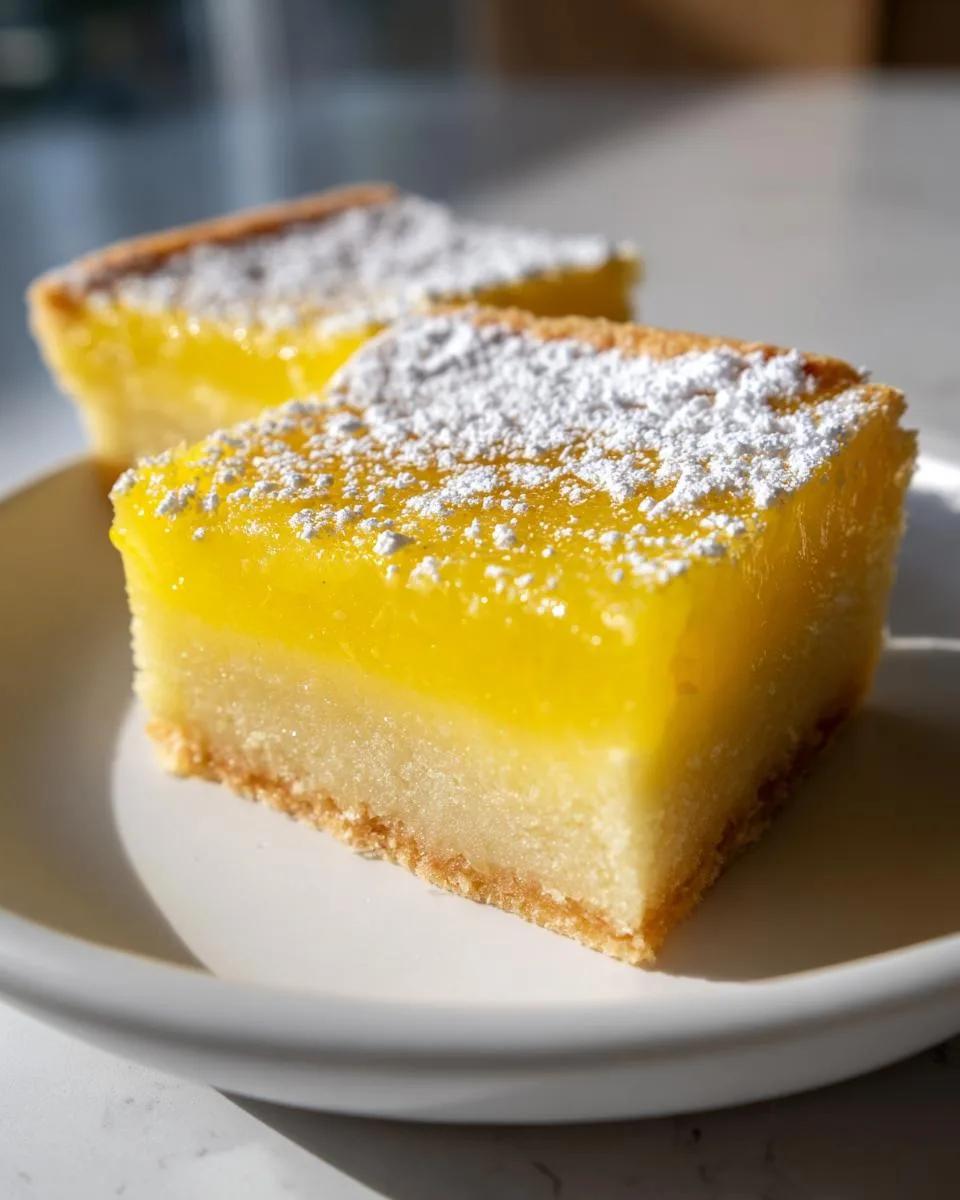
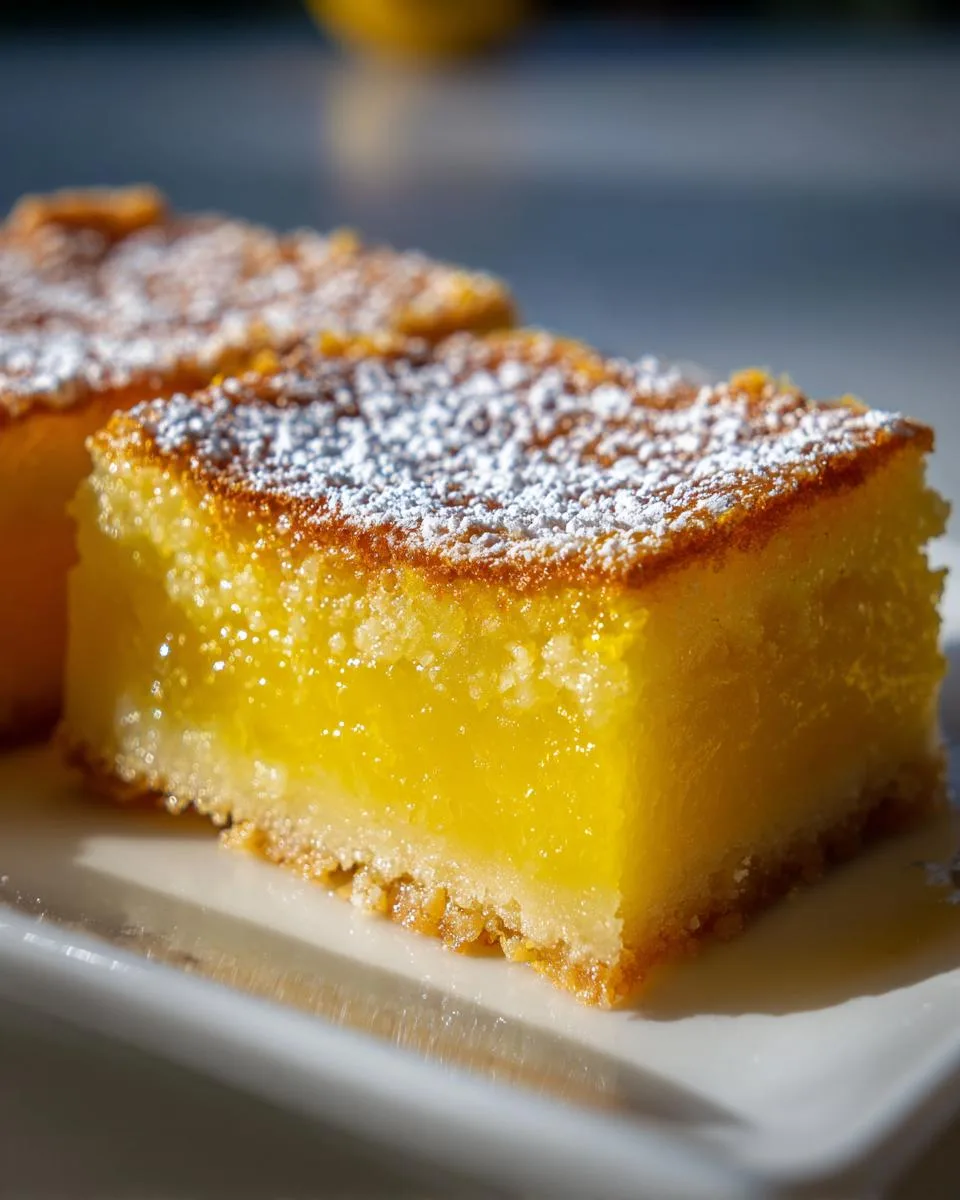
After years of professional baking (and many trial runs!), I perfected these Japanese Yuzu Lemon Bars. They take everything you love about classic lemon bars – that buttery shortbread crust, the smooth citrus filling – and elevate it with yuzu’s complex aroma. Trust me, once you try these, regular lemon bars will taste… well, kinda basic. The secret? Using fresh yuzu juice if you can find it, though bottled works beautifully too. These little squares pack such bright, sunny flavor, you’ll want to make them all year round.
Why You’ll Love These Japanese Yuzu Lemon Bars
Oh my gosh, where do I even start? These bars are everything I crave in a dessert:
- That unforgettable citrus kick – yuzu’s floral tang makes ordinary lemons taste one-dimensional
- The perfect sweet-tart balance – not too puckery, not too sugary, just pure harmony
- So easy to whip up – simpler than most cookies (and way more impressive!)
- Total crowd-pleasers – I bring these to every potluck and watch them disappear first
Seriously, one bite and you’ll be hooked – they’re like sunshine in dessert form!
Ingredients for Japanese Yuzu Lemon Bars
Gather these simple ingredients – quality matters here! My absolute must-haves:
- 1/2 cup softened unsalted butter (115g) – trust me, don’t use cold butter or margarine
- 1/2 tsp kosher salt – balances the sweetness perfectly
- 1/2 cup packed powdered sugar (60g) – sift it if yours is lumpy!
- 1 cup all-purpose flour (125g) – spoon and level to measure
- 1 cup granulated sugar (200g) – plain white sugar does the job
- 2 tbsp all-purpose flour (15g) – this thickens the filling just right
- 4 large eggs – room temperature blends smoother
- 1/2 cup yuzu juice – fresh is amazing but bottled works (find it in Asian markets or online)
- 1 tbsp powdered sugar – optional, for that pretty snowy dusting
Pro tip: If you can’t find yuzu juice, mix 1/4 cup each lemon and orange juice – it’s not the same, but still delicious!
Equipment You’ll Need
Don’t worry – you probably have everything already! Just grab:
- A trusty 9×9-inch baking pan (metal or glass both work)
- Parchment paper – lifesaver for easy removal!
- Couple of mixing bowls (one for crust, one for filling)
- Whisk – for that silky smooth filling
- Measuring cups/spoons – precision is key here
That’s it – no fancy gadgets required!
How to Make Japanese Yuzu Lemon Bars
Okay, let’s get baking! Follow these steps carefully – each one builds that perfect balance of crisp crust and creamy citrus filling. I promise correspondent, it’s easier than it looks!
Preparing the Crust
First, grab that softened butter – it should dent easily when you poke it, but not be greasy. Cream it with the powdered sugar and salt until fluffy (about 2 minutes with a mixer). Go slow when adding the flour – just mix until the dough comes together. Overworking it makes tough crust, and nobody wants that! Press it evenly into your lined pan (I use the bottom of a measuring cup to smooth it). Dock it with a fork – those little holes prevent bubbles. Bake until the edges just start to tan, about 15 minutes.
Making the Yuzu Filling
While the crust bakes, whisk together sugar and flour. Add eggs one at a time – gently! Too much whisking creates bubbles that make the filling look foamy. Slowly stream in the yuzu juice; the mix will smell incredible. When your crust comes out warm (not piping hot), immediately pour this luscious liquid over it. The warmth helps the layers bond beautifully.
Baking and Chilling
Bake another 20-25 minutes until the filling jiggles slightly in the center but isn’t liquidy – think set pudding. Cool completely at room temp (about 1 hour), then refrigerate at least 2 hours. I know it’s tempting to cut in early, but chilling firms everything up for those picture-perfect squares!
Print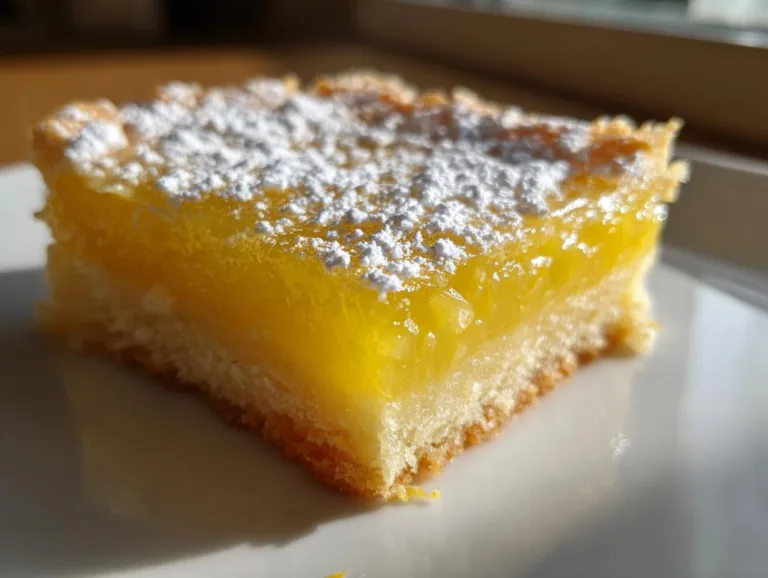
Unbelievably Delicious Japanese Yuzu Lemon Bars Recipe
Delicate Japanese Yuzu Lemon Bars with a buttery crust and tangy yuzu filling.
- Total Time: 55 minutes
- Yield: 16 bars 1x
Ingredients
- 1/2 cup softened unsalted butter (115g)
- 1/2 tsp kosher salt
- 1/2 cup powdered sugar (60g)
- 1 cup all purpose flour (125g)
- 1 cup granulated sugar (200g)
- 2 tbsp all purpose flour (15g)
- 4 eggs
- 1/2 cup yuzu juice
- 1 tbsp powdered sugar for dusting (optional)
Instructions
- Preheat oven to 350°F. Grease and line a 9×9″ square baking tin.
- Cream butter, salt, and powdered sugar for crust until light and fluffy.
- Add flour and mix until just combined. Press dough into baking tin.
- Poke holes in crust with a fork. Bake for 15 minutes until edges are golden.
- Whisk sugar and flour for filling. Add eggs and yuzu juice, stir gently.
- Pour filling over warm crust. Bake 20-25 minutes until filling is set.
- Cool in fridge before dusting with powdered sugar and slicing.
Notes
- Yuzu juice can be found in Asian grocery stores.
- Bars slice best when fully chilled.
- Store leftovers in an airtight container in the fridge.
- Prep Time: 20 minutes
- Cook Time: 35 minutes
- Category: Dessert
- Method: Baking
- Cuisine: Japanese
- Diet: Vegetarian
Nutrition
- Serving Size: 1 bar
- Calories: 180
- Sugar: 20g
- Sodium: 85mg
- Fat: 8g
- Saturated Fat: 5g
- Unsaturated Fat: 2g
- Trans Fat: 0g
- Carbohydrates: 25g
- Fiber: 0.5g
- Protein: 3g
- Cholesterol: 65mg
Tips for Perfect Japanese Yuzu Lemon Bars
After making hundreds of batches (yes, I’m obsessed!), here are my can’t-skip secrets:
- Room temp eggs are non-negotiable – cold eggs don’t blend smoothly into the filling
- Line that pan! Parchment paper wings make lifting out the bars a breeze
- Resist overmixing – stir the filling just until combined to avoid bubbles
- Timing is everything – pull the bars when the center jiggles slightly like set jelly
- Wait to dust – powdered sugar melts if added before chilling!
Oh, and sneak a taste of the yuzu juice first – its intensity varies by brand! If you’re looking for more amazing dessert ideas, check out my collection of recipes.
Ingredient Substitutions and Notes
Okay, let’s talk swaps – because I know yuzu juice isn’t always easy to find! For a similar (but less magical) flavor, use 1/4 cup each lemon and orange juice. It won’t have yuzu’s floral notes, but still makes tasty bars. Need gluten-free? Swap the flour with your favorite 1:1 GF blend – just mix it well!
For authentic yuzu juice, check Japanese or Korean markets (the bottled kind keeps forever in your fridge!). Some Whole Foods carry it too. And hey – if you spot fresh yuzu, grab it! The zest adds incredible fragrance.
Serving and Storing Japanese Yuzu Lemon Bars
Oh, the best part – eating these beauties! Serve them ice-cold – the contrast between the crisp crust and chilled filling is everything. I love pairing them with jasmine tea or a sparkling yuzu soda for that extra citrus punch. Can’t finish them all? No worries! Just pop any leftovers in an airtight container – they’ll keep beautifully in the fridge for about 3 days (if they last that long!). Want to freeze some? They hold up surprisingly well for a month – perfect for unexpected guests!
Nutritional Information
Just so you know, these figures are estimates – your exact numbers might vary depending on ingredients. Per glorious bar: ~180 calories, with 8g fat, 25g carbs, and 20g sugar. Not bad for something that tastes this indulgent, right?
Frequently Asked Questions
Can I use bottled yuzu juice? Absolutely! While fresh yuzu is incredible, bottled juice works beautifully – just make sure it’s 100% yuzu without added sweeteners. My favorite brands come in small glass bottles at Asian markets.
How do I prevent a soggy crust? Two secrets: don’t skip pre-baking the crust (those 15 minutes are crucial), and pour the filling over the warm crust – not cold. The heat helps set the bottom layer.
Can I freeze these bars? Yes! Chill completely first, then freeze in a single layer for up to a month. Thaw overnight in the fridge – they’ll taste freshly made!
Why is my filling foamy? You probably over-whisked the eggs. Gently stir just until combined – tiny bubbles are fine, but too much air makes the top uneven.
Can I make these gluten-free? Totally! Swap the all-purpose flour with your favorite 1:1 GF blend. The texture might be slightly denser, but still delicious.
For More recipes, Follow me on Facebook!