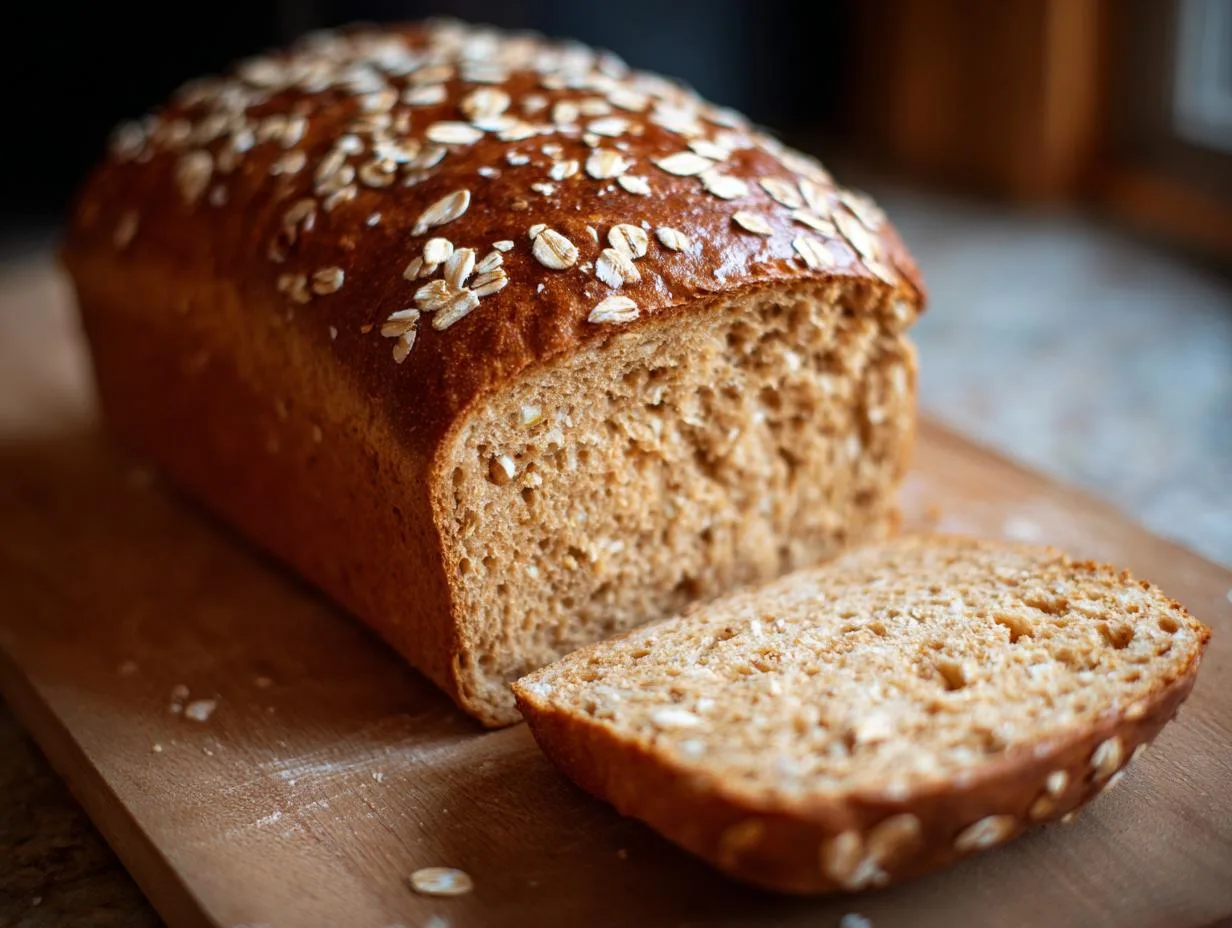
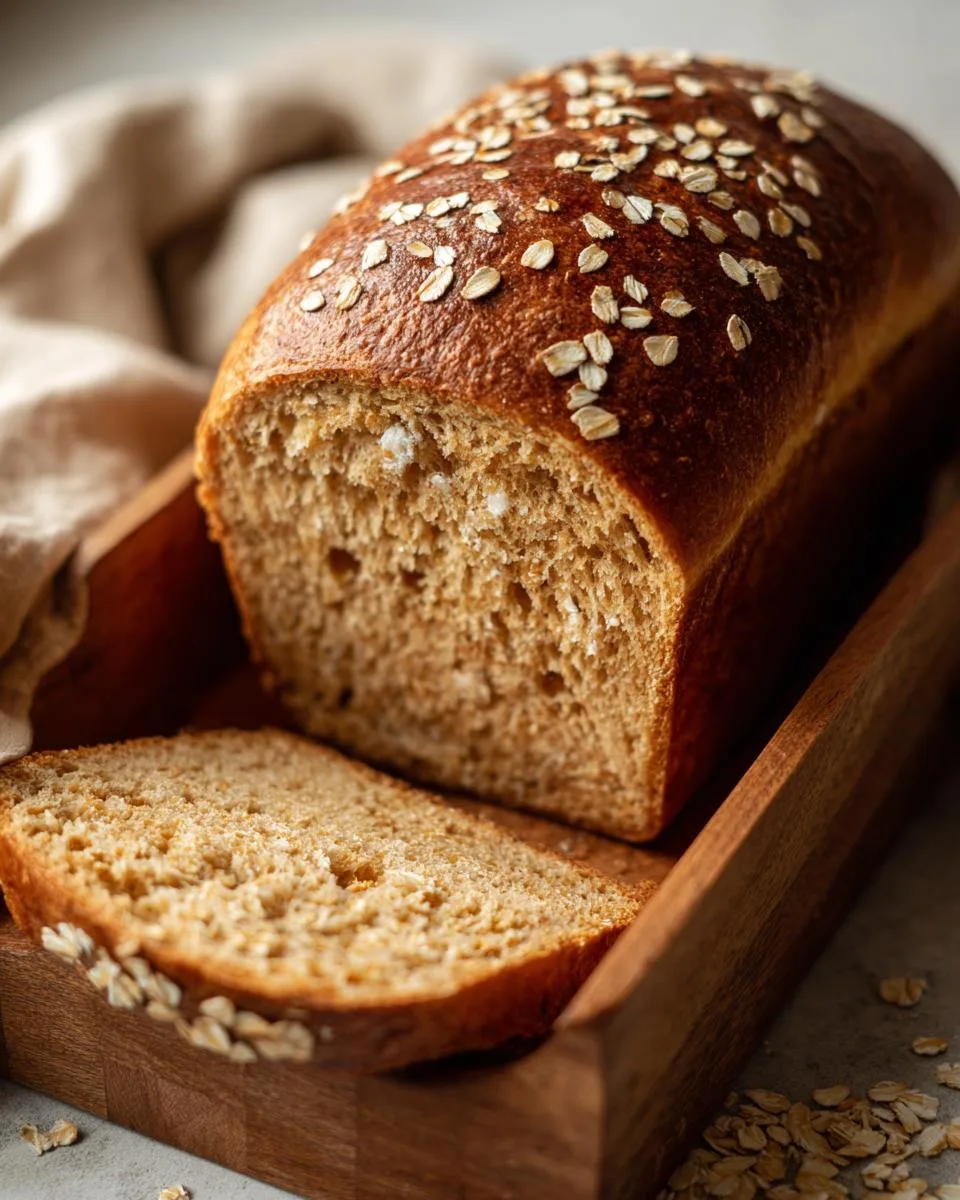
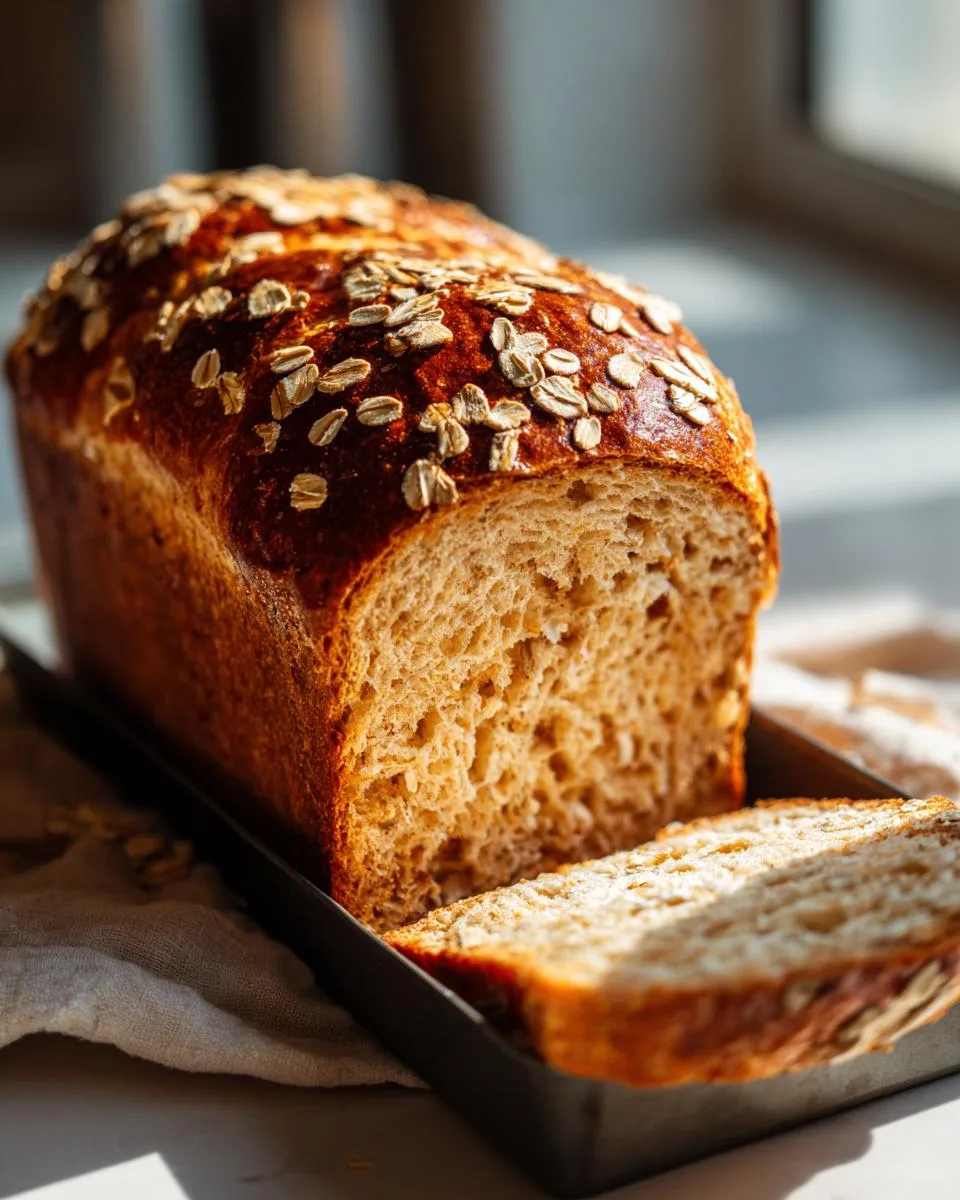
There’s something magical about pulling a loaf of homemade honey wheat bread from the oven – that golden crust crackling as it cools, the sweet aroma of honey and wheat filling your kitchen. I’ve baked this recipe countless times (my kids beg for it weekly!), and it never fails to bring that warm, comforting feeling of home. What I love most is how simple it is – just a handful of wholesome ingredients like whole wheat flour and local honey transform into something so nourishing and delicious. Whether you’re a beginner baker or a seasoned pro, this bread will become your new favorite. It’s the kind of recipe that makes you pause, take a deep breath, and remember why baking from scratch is always worth it.
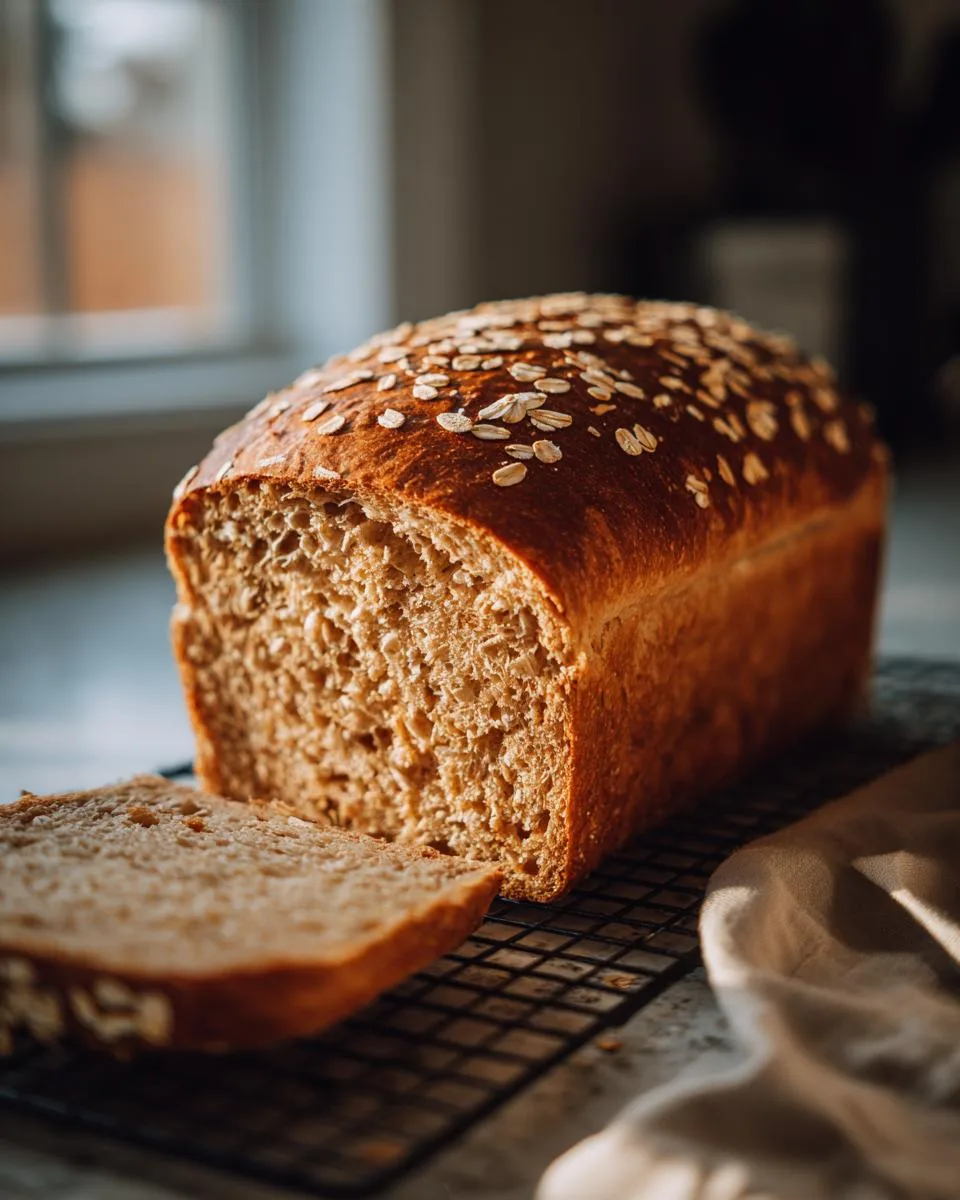
Table of Contents
Table of Contents
Why You’ll Love This Homemade Honey Wheat Bread
Let me tell you why this loaf is about to become your kitchen hero:
- Effortless magic – Just 8 simple ingredients and no fancy techniques needed
- Healthier choice – Whole wheat flour adds fiber while honey keeps it naturally sweet
- That perfect texture – Crusty outside, soft and springy inside (just wait till you tear off that first warm piece!)
- Versatile star – Equally amazing with jam at breakfast or as sandwich bread for lunch
- House-filling aroma – Your whole home will smell like a cozy bakery (warning: may cause spontaneous butter melting)
Trust me – once you taste that first honey-kissed slice, you’ll understand why I’m obsessed.
Ingredients for Homemade Honey Wheat Bread
Gather these simple pantry staples – I bet you have most already!
- 1 cup warm water (about 105°F – that perfect baby-bottle-warm temperature)
- ¼ cup honey (local if you can get it – makes all the difference!)
- 1 Tablespoon active dry yeast (that little packet works perfectly)
- 1 Tablespoon canola oil (or whatever neutral oil you’ve got)
- 1 cup all-purpose flour (the trusty workhorse)
- 1 ¾ cups whole wheat flour (hello, fiber!)
- 1 teaspoon sea salt (I like the mineral punch)
- ¼ cup old-fashioned oatmeal (for that gorgeous golden topping)
Ingredient Notes & Substitutions
Yeast test: If your yeast doesn’t foam after 10 minutes in the honey water, it might be sleepy – grab fresh stuff!
Sweet swaps: Out of honey? Maple syrup works beautifully (though you’ll miss that floral honey taste).
Flour fix: Collected too much flour while kneading? Just stop when the dough feels like a soft earlobe – that’s my grandma’s foolproof test.
Equipment You’ll Need
No fancy gadgets required here – just a few basics you probably already own:
- Stand mixer with dough hook (or strong arms for hand kneading!)
- 9×5-inch loaf pan (the trusty workhorse)
- Measuring cups and spoons (the bakers’ best friends)
- Mixing bowl (for that magical yeast bloom)
- Clean kitchen towel (your rising dough’s cozy blanket)
That’s it – now let’s get baking!
How to Make Homemade Honey Wheat Bread
Ready to transform those simple ingredients into something magical? Follow these steps – I’ll walk you through every bubbly, doughy moment!
Mixing the Dough
First, let’s wake up that yeast! Combine your warm water (think bathwater temperature – about 105°F) with honey in your mixer bowl. Sprinkle the yeast on top and give it a gentle stir. Now walk away for 5-10 minutes – this is when the magic happens. When you return, you should see a foamy, bubbly surface like a tiny science experiment (if not, your yeast might be sleepy – time for fresh stuff!). Add the oil and let’s get mixing!
Kneading and First Rise
With your dough hook attached, add the all-purpose flour, 1 cup of whole wheat flour, and salt. Start mixing on low, then crank it up to medium-high until everything comes together. Now the fun part – slowly add the remaining ¾ cup whole wheat flour ¼ cup at a time.
The dough should pull away from the sides but still feel slightly tacky (like a Post-it note!). Knead for about 5 minutes until it’s smooth and elastic. Transfer to an oiled bowl, cover with a damp towel, and let it rise until doubled – about 1-2 hours depending on your kitchen’s warmth.
Shaping and Second Rise
Punch down that puffy dough (so satisfying!) and turn it onto a lightly floured surface. Gently press out the air bubbles and shape into a loaf. Transfer to your greased 9×5-inch pan, sprinkle with oatmeal if using, and cover again. Let it rise until the dough just peeks over the pan’s rim – about 30-45 minutes. Meanwhile, preheat your oven to 350°F – the smell is coming soon!
Baking and Cooling
Bake your golden beauty for 25-30 minutes until it’s beautifully browned and sounds hollow when tapped. If it’s browning too quickly, tent with foil. Transfer to a wire rack immediately (this prevents soggy bottoms!) and let cool for at least 10 minutes before slicing. I know it’s tempting, but letting it rest means cleaner slices – though I won’t judge if you tear off a warm corner piece!
Print
1 Perfect Homemade Honey Wheat Bread Recipe You’ll Crave
A simple and wholesome homemade honey wheat bread recipe that’s perfect for everyday baking.
- Total Time: 2 hrs 45 mins (includes rising)
- Yield: 1 loaf 1x
Ingredients
- 1 cup warm water (about 105 degrees F)
- ¼ cup honey
- 1 Tablespoon yeast
- 1 Tablespoon canola oil
- 1 cup all-purpose flour
- 1 ¾ cup whole wheat flour
- 1 teaspoon sea salt
- ¼ cup old-fashioned oatmeal (for topping)
Instructions
- In a standing mixer bowl, mix warm water, honey, and yeast. Let sit 5-10 minutes until foamy.
- Add canola oil, all-purpose flour, 1 cup whole wheat flour, and sea salt to the yeast mixture.
- Mix with a dough hook on low, then increase to medium-high until combined.
- Slowly add remaining whole wheat flour ¼ cup at a time, mixing after each addition.
- Knead dough on a floured surface until elastic and smooth.
- Place dough in an oiled bowl, cover with a damp towel, and let rise 1-2 hours until doubled.
- Press air out of the dough, grease a loaf pan, and transfer dough to it.
- Cover with a towel, optionally press oatmeal on top, and let rise until dough reaches pan top.
- Preheat oven to 350°F and bake 25-30 minutes until golden brown.
- Cool on a wire rack for 10 minutes before removing from the pan.
Notes
- Check yeast freshness—foaming confirms it’s active.
- Adjust flour slightly if dough is too sticky or dry.
- Cover loaf with foil if browning too quickly.
- Prep Time: 15 mins
- Cook Time: 30 mins
- Category: Bread
- Method: Baking
- Cuisine: American
- Diet: Vegetarian
Nutrition
- Serving Size: 1 slice
- Calories: 120
- Sugar: 5g
- Sodium: 150mg
- Fat: 2g
- Saturated Fat: 0.3g
- Unsaturated Fat: 1.5g
- Trans Fat: 0g
- Carbohydrates: 24g
- Fiber: 3g
- Protein: 4g
- Cholesterol: 0mg
Tips for Perfect Homemade Honey Wheat Bread
After baking countless loaves (and eating plenty of test batches!), I’ve picked up some foolproof tricks:
The flour dance: Humidity affects dough – add extra flour a tablespoon at a time if sticky, but stop before it feels dry. You want it supple like a baby’s cheek!
Golden guardian: If your crust browns too fast, drape foil loosely over the top – keeps it from burning while the inside finishes baking.
Doneness detective: Tap the bottom – it should sound hollow. Or use a thermometer (190°F means perfect doneness). The wait kills me every time!
Serving Suggestions for Homemade Honey Wheat Bread
Oh, the possibilities with this loaf! My family’s favorite way? Thick slices slathered with melty butter and a drizzle of honey – simple perfection. For lunch, try avocado smash with sea salt or your favorite sandwich fixings. It’s also dreamy dipped in warm tomato soup or toasted with a schmear of jam. Pro tip: slightly warm slices make everything taste better – just pop in the toaster for 30 seconds!
Storing and Reheating Homemade Honey Wheat Bread
Here’s how to keep every slice tasting fresh-out-the-oven amazing:
Room temp storage: Keep in an airtight container or bread bag at room temp for up to 3 days (if it lasts that long!). I often wrap mine in a clean kitchen towel first – helps maintain that perfect crust texture.
Freezer magic: Slice before freezing in a freezer bag for up to 3 months. When cravings strike, just pop a frozen slice straight into the toaster – tastes just-baked!
Reviving leftovers: Day-old bread? Lightly mist with water and warm in a 300°F oven for 5 minutes. You’ll swear it’s freshly baked again!
Homemade Honey Wheat Bread Nutrition
Let’s talk numbers – but remember, nutrition can vary based on your specific ingredients and brands. For a standard slice (about 1/12th of the loaf), you’re looking at roughly:
- 120 calories
- 24g carbohydrates
- 4g protein
- 3g fiber
Not bad for something that tastes this good, right? The whole wheat flour packs that extra fiber punch while the honey keeps added sugars lower than store-bought versions. Every nourishing bite makes me feel good about serving it to my family! If you are looking for more wholesome recipes, check out my main recipe index.
FAQs About Homemade Honey Wheat Bread
Can I use all whole wheat flour instead of the flour blend?
You can, but the bread will be denser. The all-purpose flour helps create that perfect light texture. If going all whole wheat, try adding 1 extra tablespoon of honey and let the dough rise longer – it’ll help compensate.
Why did my bread turn out too dense?
Oh no! Usually this means either the yeast was sleepy (always test it first!) or the dough didn’t rise enough. Next time, make sure your kitchen is nice and warm (I sometimes let mine rise in the oven with just the light on). Also, resist adding too much extra flour while kneading!
Can I skip the honey?
You can substitute maple syrup or agave, but the honey adds that special flavor. If avoiding sweeteners completely, increase the water slightly and expect a more rustic, earthy taste. My neighbor swears by molasses instead – gives it a rich, almost gingerbread-like flavor!
How do I know when the bread is fully baked?
Three telltale signs: 1) golden brown top, 2) hollow sound when tapped on bottom, and 3) an internal temperature of 190°F if you’re using a thermometer. I always do the tap test – that “thunk” never lies!
Share Your Homemade Honey Wheat Bread
Did your kitchen fill with that heavenly honey-wheat aroma? I’d love to see your golden loaves! Snap a photo and tag me – nothing makes me happier than seeing your baking triumphs. Happy slicing!
For More recipes, Follow me on Facebook!