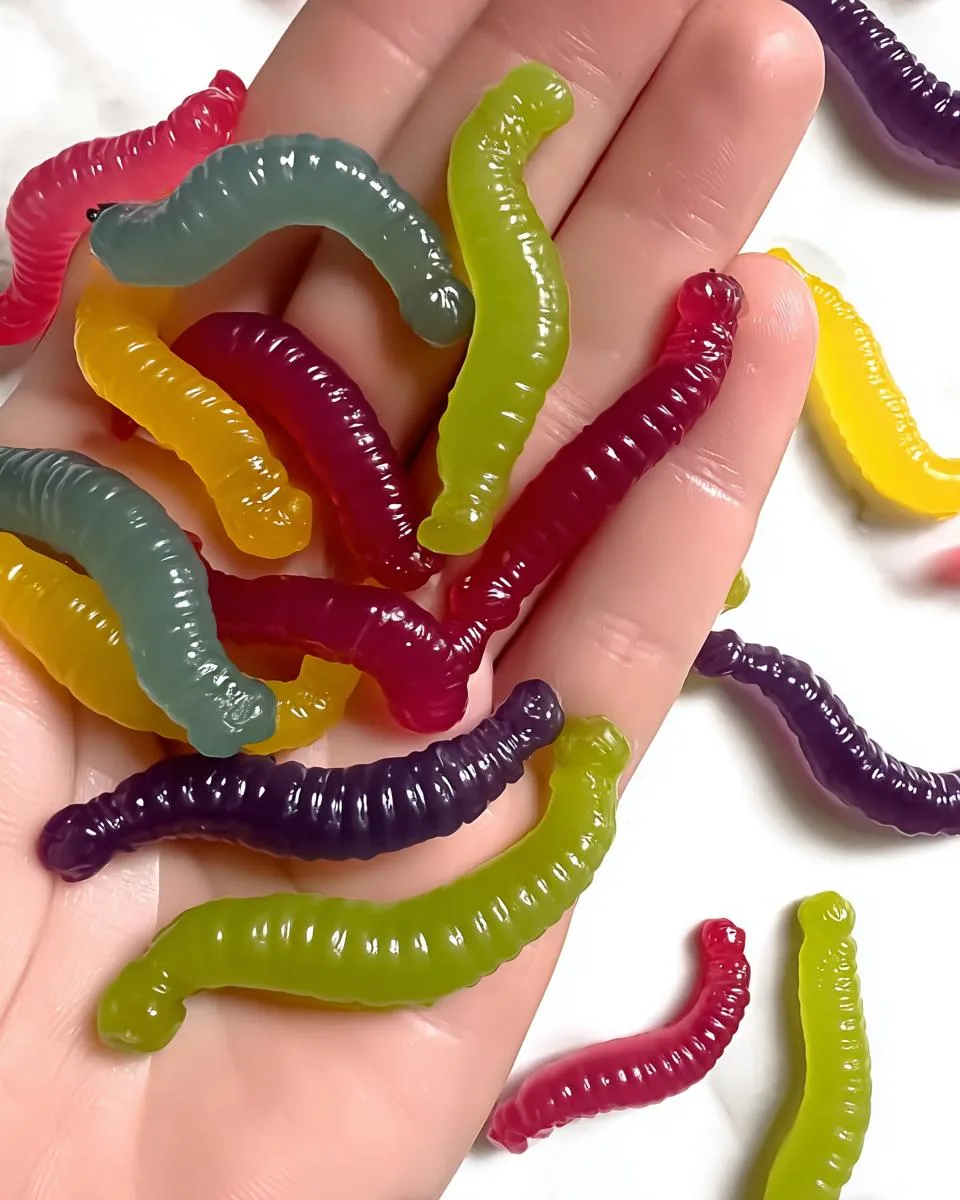
Oh my gosh, you guys—homemade gummy worms are my latest obsession! I swear, once you try making these little wiggly treats yourself, you’ll never go back to the store-bought stuff. I first started whipping up batches when my niece begged me for “something fun but not full of weird chemicals” (her words, not mine—kids these days!). What I didn’t expect was how ridiculously easy they are to make, or how much better they taste than those neon-colored candy aisle versions.
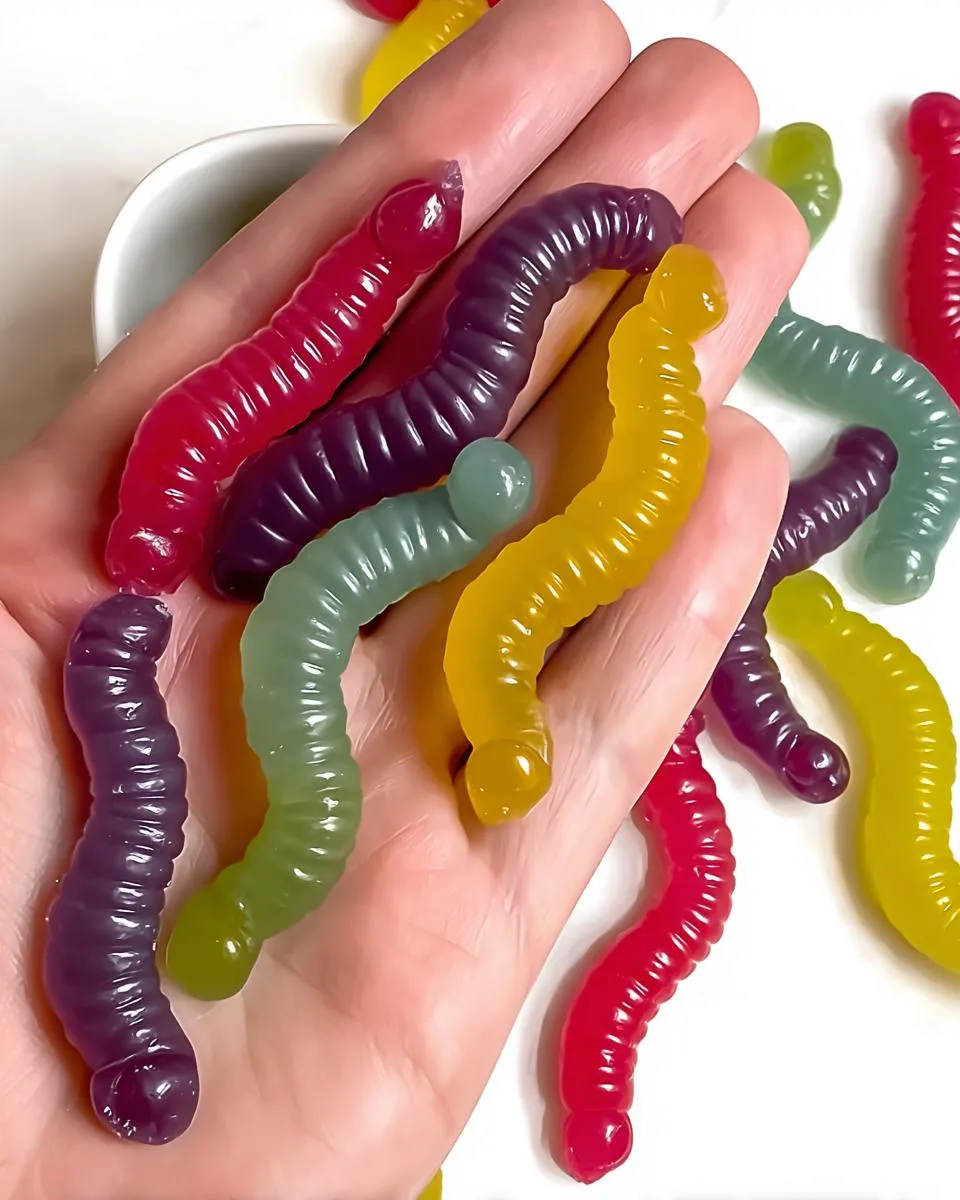
Table of Contents
Table of Contents
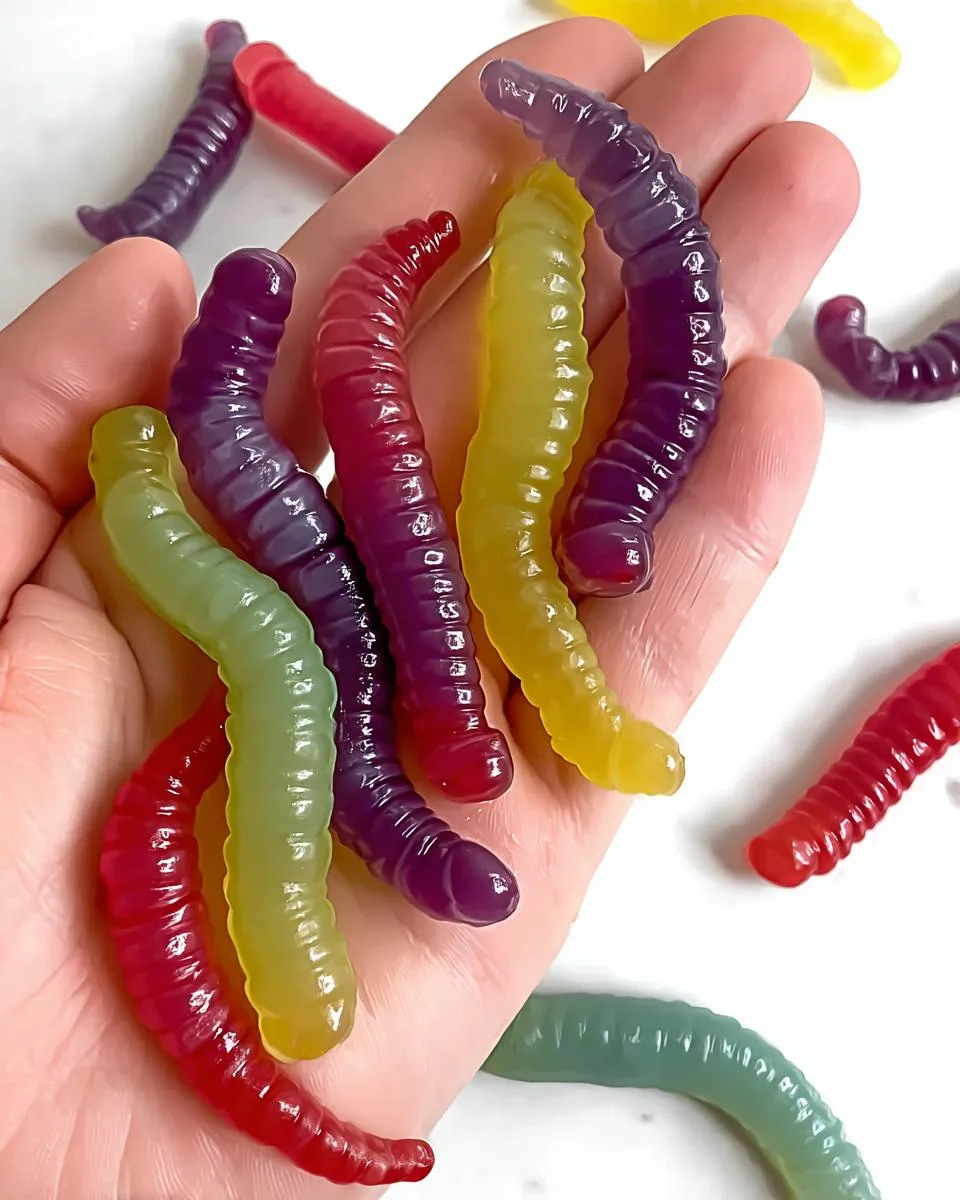
The magic happens with just a few simple ingredients—real fruit juice, grass-fed gelatin, and whatever fresh or frozen fruit you’ve got lying around. No mystery “artificial flavors” here! My favorite part? Watching the kids’ faces light up when we pull these colorful worms from the molds—they can’t believe something so fun-looking came from our kitchen.
These homemade gummy worms have become our go-to for birthday parties, movie nights, and yes—even sneaky lunchbox surprises. The best part? You can customize them endlessly—make them tart with extra lemon juice, sweet with peach puree, or even turn them into a science experiment with different natural colors. Trust me, once you see how simple and satisfying homemade gummies are, you’ll be hooked!
Why You’ll Love These Homemade Gummy Worms
Okay, let me count the ways these little guys will steal your heart—and your snack drawer! First off, they’re so much better than anything you’ll find in a plastic package. Here’s why:
- No mystery ingredients: Just real fruit, juice, and grass-fed gelatin—no weird dyes or unpronounceable additives.
- Customizable flavors: Swap raspberries for strawberries, use mango juice instead of lemonade—make ’em tart, sweet, or somewhere in between!
- Kid-approved magic: My niece calls them “wiggle treats” and begs to help pour the mixture into molds. (Bonus: sneaky fruit serving!)
- Quick & easy: From fridge to snack time in about an hour—most of that’s just waiting for them to set!
- Party-perfect: Throw ’em in goodie bags or pile them high on a dessert tray. They’re always the first to disappear!
Seriously, once you taste that fresh fruit flavor bursting through—not masked by artificial sweetness—you’ll wonder why you ever settled for store-bought. Plus, watching them jiggle when you pop ’em out of the molds never gets old. Never.
Ingredients for Homemade Gummy Worms
Alright, let’s talk ingredients—the real superstars behind these wiggly wonders! The beauty of homemade gummy worms is how simple the ingredient list really is. Here’s what you’ll need to gather:
- 1 cup raspberries – fresh or frozen (thawed works great too—just save those juices!)
- 1/2 cup lemonade – go for the no-sugar-added kind so you control the sweetness
- 1/4 cup grass-fed gelatin – packed firmly in your measuring cup (this is your gummy magic maker!)
- 1/4 tsp spirulina powder – just enough to give that cool blue-green color (more if you want them darker)
- 1 cup peaches – peeled and chopped (or use frozen slices—I won’t tell!)
- 1/4 cup orange juice – totally optional, but adds nice sweetness if your fruit isn’t super ripe
A quick tip from my kitchen: if you’re using frozen fruit, let it thaw in a strainer over a bowl first—that way you can use the natural juices in place of some of the lemonade for extra flavor. And don’t stress if you don’t have spirulina—a few drops of natural food coloring works too, or just leave them their natural fruity colors!
Equipment You’ll Need
Don’t worry—you don’t need fancy gadgets to make these homemade gummy worms shine! Here’s the shortlist of must-haves from my kitchen:
- Silicone gummy worm molds – the fun-shaped cavities make perfect wiggly treats (I found mine online for less than $10!)
- Droppers or squeeze bottles – makes filling those tiny molds mess-free (a plastic bag with the corner snipped works in a pinch)
- Small saucepan – for gently warming your fruit mixture
- Mixing bowls – at least two—one for blooming gelatin, one for blending fruit
That’s it! No stand mixers or special tools—just simple stuff you probably already own. Pro tip: If your molds are floppy, pop them on a baking sheet before filling for easy transport to the fridge.
How to Make Homemade Gummy Worms
Alright, let’s get down to the fun part—making these wiggly little guys! I promise it’s easier than you think, and watching the transformation from liquid to gummy is pure kitchen magic. Here’s exactly how I do it:
Step 1: Bloom Your Gelatin
First things first—grab that grass-fed gelatin and sprinkle it over your 1/2 cup of lemonade in a medium bowl. Gently whisk it together (no clumps allowed!) and let it sit for about 5 minutes. You’ll see it thicken into what my niece calls “slimy science goo”—that’s exactly what you want! This blooming step is crucial for smooth, lump-free gummies later.
Step 2: Cook Your Fruit
While the gelatin does its thing, toss your raspberries and peaches into a small saucepan with that optional 1/4 cup orange juice. Warm them over medium-low heat for 3-4 minutes, stirring occasionally until they’re soft and juicy. If you’re using frozen fruit, this might take an extra minute or two. Pro tip: Mash them slightly with your spoon as they cook to release more flavor!
Step 3: Combine Everything
Now comes the fun part—pour your warm fruit mixture right into the bowl with the bloomed gelatin. Stir continuously for about 2 minutes until the gelatin completely dissolves. You’ll know it’s ready when the mixture looks smooth and glossy with no grainy bits. If you see any stubborn lumps, just press them against the side of the bowl with your spoon.
Step 4: Color and Fill
Quickly divide your mixture between two bowls—this is where I add the spirulina powder to one portion for that cool blue-green color. Stir well, then immediately start filling your molds using droppers or squeeze bottles. Work fast here—the mixture starts setting as it cools! Fill each cavity completely for plump, professional-looking worms.
Step 5: Chill and Release
Pop those filled molds into the fridge for at least 1 hour (I know, the waiting is torture!). When they’re firm to the touch, gently peel back the silicone to release your homemade gummy worms. If any stick, just pop the whole mold in the freezer for 5 minutes—they’ll pop right out!
See? Told you it was easy! The whole active process takes maybe 15 minutes tops, with most of the time being hands-off chilling. Now try not to eat them all at once—though I won’t judge if you do!
Print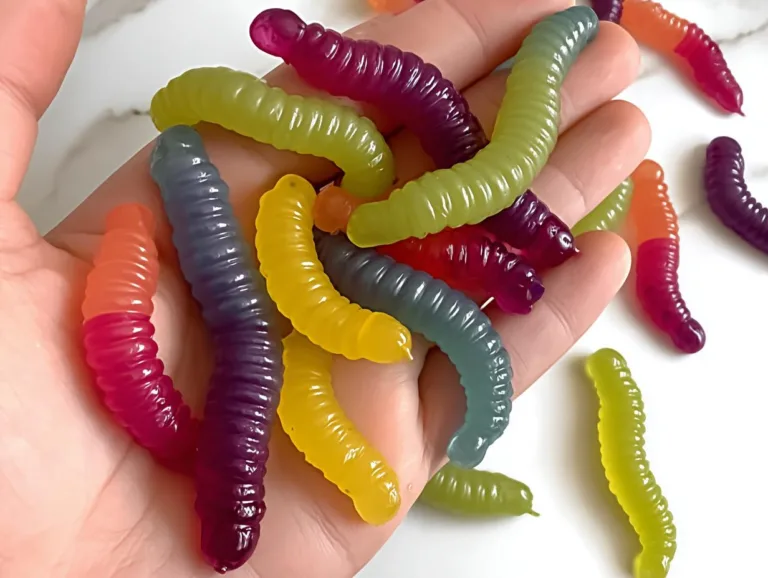
3-Ingredient Homemade Gummy Worms That Wow Every Time!
Easy homemade gummy worms made with natural ingredients like fruit juice and grass-fed gelatin. Perfect for a healthy snack.
- Total Time: 1 hour 15 minutes
- Yield: 24 gummy worms 1x
Ingredients
- 1 cup raspberries (frozen or fresh)
- 1/2 cup lemonade (no sugar added)
- 1/4 cup grass-fed gelatin
- 1/4 tsp spirulina powder (blue)
- 1 cup peaches
- 1/4 cup orange juice (optional)
Instructions
- Mix gelatin with 1/2 cup juice in a bowl. Wait until it thickens.
- Warm raspberries and 1/4 cup juice on the stove until soft.
- Add gelatin mixture to the warm fruit and stir until dissolved.
- Divide mixture into two bowls. Add spirulina powder to one half to color it.
- Fill silicone droppers with both mixtures and pour into gummy worm molds.
- Refrigerate for at least one hour.
- Remove from molds and enjoy.
Notes
- Use any juice you prefer.
- More spirulina makes the color darker.
- Store in the fridge.
- Prep Time: 10 minutes
- Cook Time: 5 minutes
- Category: Snack
- Method: No-bake
- Cuisine: American
- Diet: Low Calorie
Nutrition
- Serving Size: 4 gummy worms
- Calories: 30
- Sugar: 3g
- Sodium: 5mg
- Fat: 0g
- Saturated Fat: 0g
- Unsaturated Fat: 0g
- Trans Fat: 0g
- Carbohydrates: 6g
- Fiber: 1g
- Protein: 2g
- Cholesterol: 0mg
Tips for Perfect Homemade Gummy Worms
Alright, let me share all my hard-earned tricks for gummy worm perfection—these are the little things that took my batches from “meh” to “WOW!” over countless kitchen experiments:
- Fruit matters: The riper your fruit, the sweeter your gummies will be naturally—no extra sugar needed! I wait until my peaches are practically falling apart before using them.
- Chill your molds: Pop those silicone molds in the freezer for 10 minutes before filling—the cold helps the mixture set faster and releases cleaner.
- Spirulina control: Start with 1/4 tsp and add more gradually—that stuff is potent! I once turned a batch into near-black worms that scared the neighbor kids.
- Temperature is key: Keep your mixture warm (not hot!) while filling molds. If it cools too much, just gently reheat—cold gelatin seizes up fast.
- Patience pays: I know it’s tempting, but don’t rush the fridge time! Full hour minimum, or you’ll have sad, sticky blobs instead of perfect worms.
Oh! And if your first batch isn’t perfect? No sweat—just remelt and try again. Even my “failures” still taste amazing!
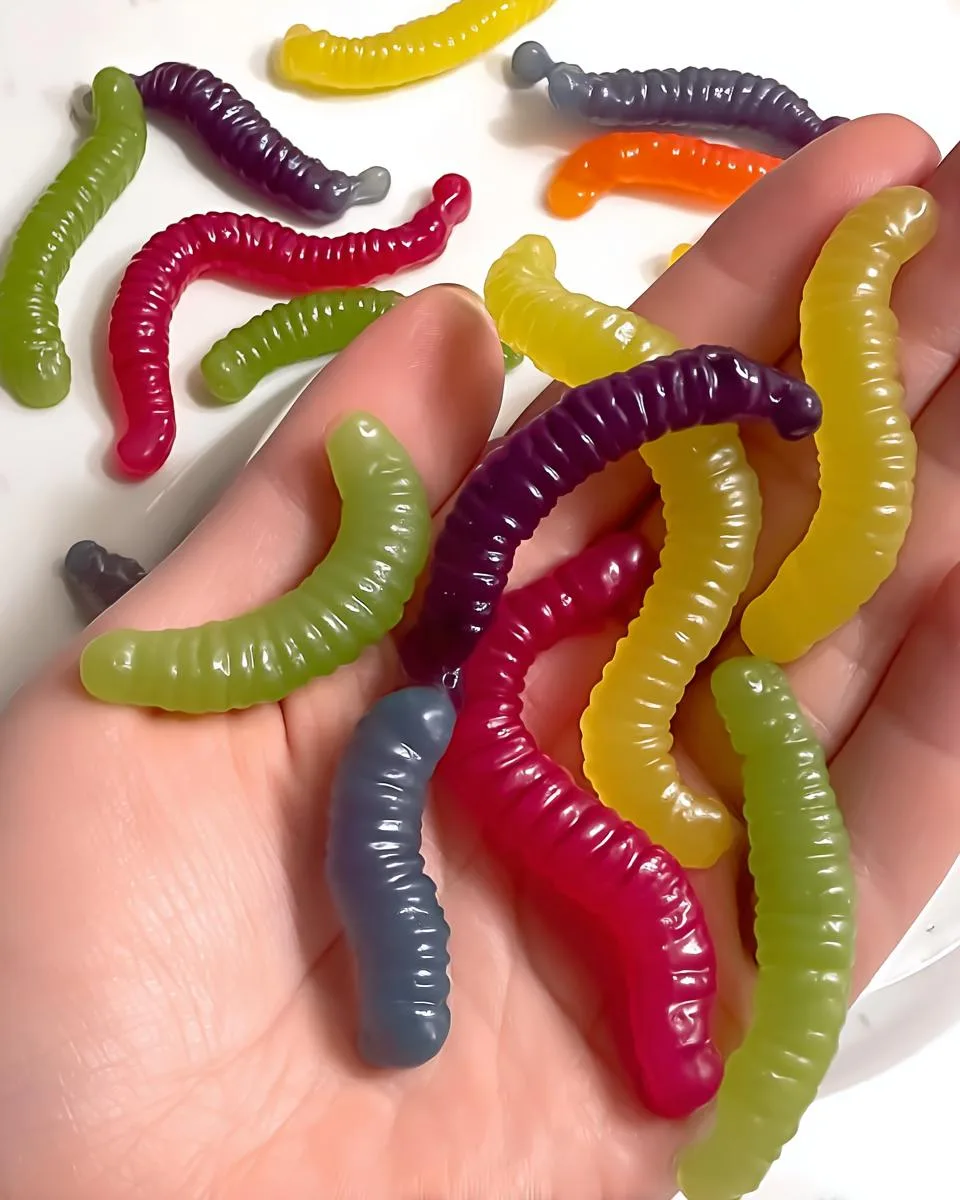
Variations for Homemade Gummy Worms
Okay, here’s where the real fun begins—let’s get creative with these homemade gummy worms! Once you’ve mastered the basic recipe, the flavor possibilities are endless. Here are my favorite twists that always impress:
- Tropical twist: Swap peaches for mango chunks and use pineapple juice instead of lemonade—instant vacation vibes!
- Sour power: Add 1/4 tsp citric acid to the mixture for that lip-puckering sour kick kids go crazy for.
- Berry blast: Mix blueberries and strawberries instead of raspberries—the color alone will wow everyone.
- Creamsicle dream: Blend orange juice with a splash of vanilla extract for that classic orange-and-cream flavor.
- Spooky special: Use beet juice instead of spirulina for creepy red worms—perfect for Halloween parties!
My niece and I love doing “flavor experiments”—last week we made watermelon-lime worms by blending fresh watermelon with lime juice. They were gone before they even fully set! The beauty of homemade gummy worms is how easily you can play with flavors based on what’s in season—or what’s about to go bad in your fruit bowl.
Storing and Serving Homemade Gummy Worms
Here’s the best part—these homemade gummy worms actually stay amazing! Pop them in an airtight container in the fridge, and they’ll keep their perfect wiggly texture for up to a week (though let’s be real—they never last that long in my house!). I love packing them in lunchboxes—they don’t melt like store-bought gummies, and kids go nuts for them. For parties, pile them high on a platter or tie little bundles in clear bags as favors. Pro tip: Dust them with a bit of arrowroot powder if they start sticking together—works like a charm!
Homemade Gummy Worms Nutritional Info
Here’s the scoop—these homemade gummy worms are actually good for you! Well, compared to the candy aisle versions at least. Nutrition will vary based on your fruit choices, but here’s a general idea per serving (about 4 worms): roughly 30 calories, 3g natural sugar from fruit, and 2g protein from that gut-friendly gelatin. No guilt, just happy wiggles!
Homemade Gummy Worms FAQ
I get so many questions about these homemade gummy worms—here are the answers to everything you might wonder (plus stuff you didn’t know you needed to ask!):
Can I use agar-agar instead of gelatin?
You can, but the texture will be different—more firm and less jiggly. If you’re vegetarian, use 1 tbsp agar-agar powder (not flakes!) and boil it with your juice for 5 minutes first. They’ll still taste great, just less “wormy” in texture!
Help! My gummy worms are sticking together!
Easy fix—dust them lightly with arrowroot powder or cornstarch. I keep a little shaker jar of it in my pantry just for this. Also, make sure they’re completely set before storing (that full hour in the fridge is non-negotiable).
Can I freeze homemade gummy worms?
Absolutely! They freeze beautifully for up to 2 months. Just lay them in a single layer on parchment first, then transfer to a bag once frozen. Thaw in the fridge—they’ll be slightly firmer but just as tasty!
Why did my worms turn out rubbery?
You probably over-measured the gelatin or heated the mixture too much. Next time, pack your gelatin lightly into the measuring cup and keep the heat low when combining ingredients. Also—no boiling! Gentle warmth is key.
Can I use honey instead of juice?
For sure! Just dissolve 1/4 cup honey in 1/4 cup warm water first. The flavor will be richer, and they’ll still set perfectly. My neighbor’s kids call these “honey bears” instead of worms!
For More recipes, Follow me on Facebook!