You know that moment when the air turns crisp and the leaves start to show off their colors? That’s when my kitchen transforms into a pumpkin spice wonderland – and this pumpkin mousse pie always steals the show at our fall gatherings. I’ll never forget the first time I made it for Thanksgiving; my cousin (who “doesn’t like desserts”) went back for thirds!
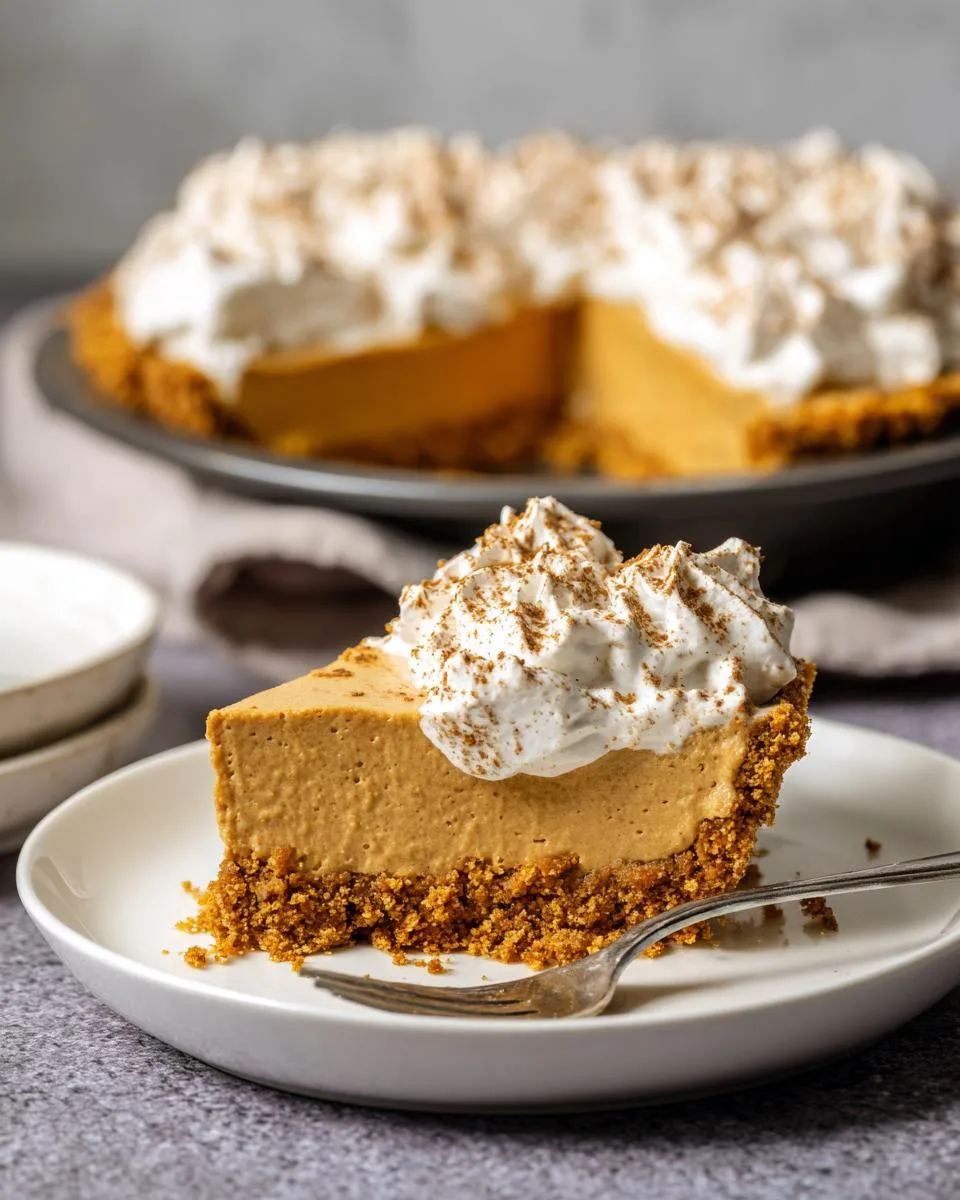
Table of Contents
Table of Contents
What makes this pumpkin mousse pie so special? It’s ridiculously easy – no oven required! Just a food processor for the gingersnap crust (my secret weapon for that perfect spicy crunch) and a mixer for the dreamiest, cloud-like pumpkin filling you’ll ever taste. The texture? Pure velvet. The flavor? All those warm autumn spices dancing with creamy pumpkin in perfect harmony.
Trust me, this no-bake beauty will become your new fall tradition. It’s the dessert that looks fancy but comes together with barely any effort – leaving you plenty of time to enjoy the season with your favorite people. Just don’t be surprised when everyone asks for the recipe!
Why You’ll Love This Pumpkin Mousse Pie
This pumpkin mousse pie isn’t just delicious—it’s the kind of dessert that makes people pause mid-bite and go, “Wow.” Here’s why it’s a total game-changer:
- No-bake magic: Skip the oven drama! The crust sets in the fridge, and the filling whips up in minutes.
- That texture, though: Silky pumpkin mousse meets a crunchy gingersnap crust—it’s like autumn in every bite.
- Fall flavors on point: Warm spices, real pumpkin, and a hint of maple in the whipped cream? *Chef’s kiss.*
- Make-ahead superstar: Chill it overnight, and it only gets better (if it lasts that long).
- Foolproof elegance: Looks fancy, tastes heavenly, but secretly requires zero pastry skills.
Seriously, this pie is the reason my friends start hinting about “visiting season” in October.
Pumpkin Mousse Pie Ingredients
Okay, let’s get real about ingredients – this is where the magic starts! I’m very particular about a few things here (learned the hard way after some pumpkin pie disasters). Here’s exactly what you’ll need, grouped by component because that’s how my brain works when I’m assembling recipes:
For the Gingersnap Crust:
- 2 cups gingersnap cookie crumbs – about 30 cookies pulsed into fine, even crumbs (no big chunks!)
- ½ cup unsalted butter, melted – and slightly cooled so it doesn’t make the crumbs soggy
- ¼ teaspoon kosher salt – just enough to balance all that sweetness
For the Pumpkin Mousse Filling:
- 8 oz cream cheese, room temperature – seriously, let it soften or you’ll have lump city
- 1 cup powdered sugar – sifted if you’re fancy (I rarely am)
- 1 cup pure pumpkin puree – NOT pumpkin pie filling (we made that mistake once… never again)
- ½ tablespoon vanilla extract – the good stuff makes a difference here
- 2 teaspoons pumpkin pie spice – or make your own blend if you’re feeling extra
- 1 cup heavy whipping cream, very cold – I pop mine in the freezer for 15 minutes before whipping
For the Cinnamon Whipped Cream Topping:
- 1 cup heavy whipping cream, very cold – yes, another cup, trust me it’s worth it
- 2 tablespoons powdered sugar – just enough sweetness without overpowering
- 2 tablespoons maple syrup – the real stuff, none of that pancake syrup nonsense
- 1 teaspoon ground cinnamon – because more spice is always better
- 1 teaspoon vanilla extract – rounds out all those warm flavors perfectly
How to Make Pumpkin Mousse Pie
Alright, let’s bring this pumpkin mousse pie to life! I’ll walk you through each step like we’re baking together in my kitchen – with plenty of “oops-I-learned-this-the-hard-way” tips along the way. Don’t worry, it’s easier than it looks!
Preparing the Gingersnap Crust
First, let’s tackle that glorious spiced crust. Grab your food processor (or a ziplock bag and rolling pin if you’re feeling old-school) and pulverize those gingersnaps into fine crumbs – we’re talking sand texture here, no cookie chunks allowed! Mix the crumbs with melted butter and salt until it resembles wet sand that holds together when you pinch it.
Now, here’s the secret: really press that mixture into your pie plate. I mean get in there with your fingers, then use the bottom of a glass to compact it firmly up the sides and across the bottom. This prevents crumbly disaster when slicing later. Chill it for at least 15 minutes while you make the filling – this helps the crust set properly.
Making the Pumpkin Mousse Filling
Time for the star of the show! Beat the room-temperature cream cheese and powdered sugar until completely smooth – no lumps! This takes about 2 minutes with a mixer. Add pumpkin puree, vanilla, and pumpkin pie spice, mixing until velvety.
Now, the magic touch: whip that very cold heavy cream to stiff peaks (when you lift the beaters, the peaks stand straight up). Here’s my trick – chill your bowl and beaters first! Then, gently fold the whipped cream into the pumpkin mixture in three batches using a rubber spatula. “Fold” means cut through the center, scrape along the bottom, and turn over – don’t stir or you’ll deflate all that air we worked so hard to incorporate!
Adding the Cinnamon Whipped Cream Topping
Once your mousse filling is spread in the crust (smooth it nicely with an offset spatula), make the crowning glory. Whip the cold heavy cream with powdered sugar, maple syrup, cinnamon, and vanilla until soft-stiff peaks form – they should hold their shape but still look creamy. Spread this over your pie with love, creating pretty swirls or peaks if you’re feeling fancy.
Now the hardest part: walk away! Chill the pie for at least 3 hours (overnight is even better) to let everything set properly. I promise the wait is worth it when you slice into that perfect creamy-crunchy masterpiece!
Print
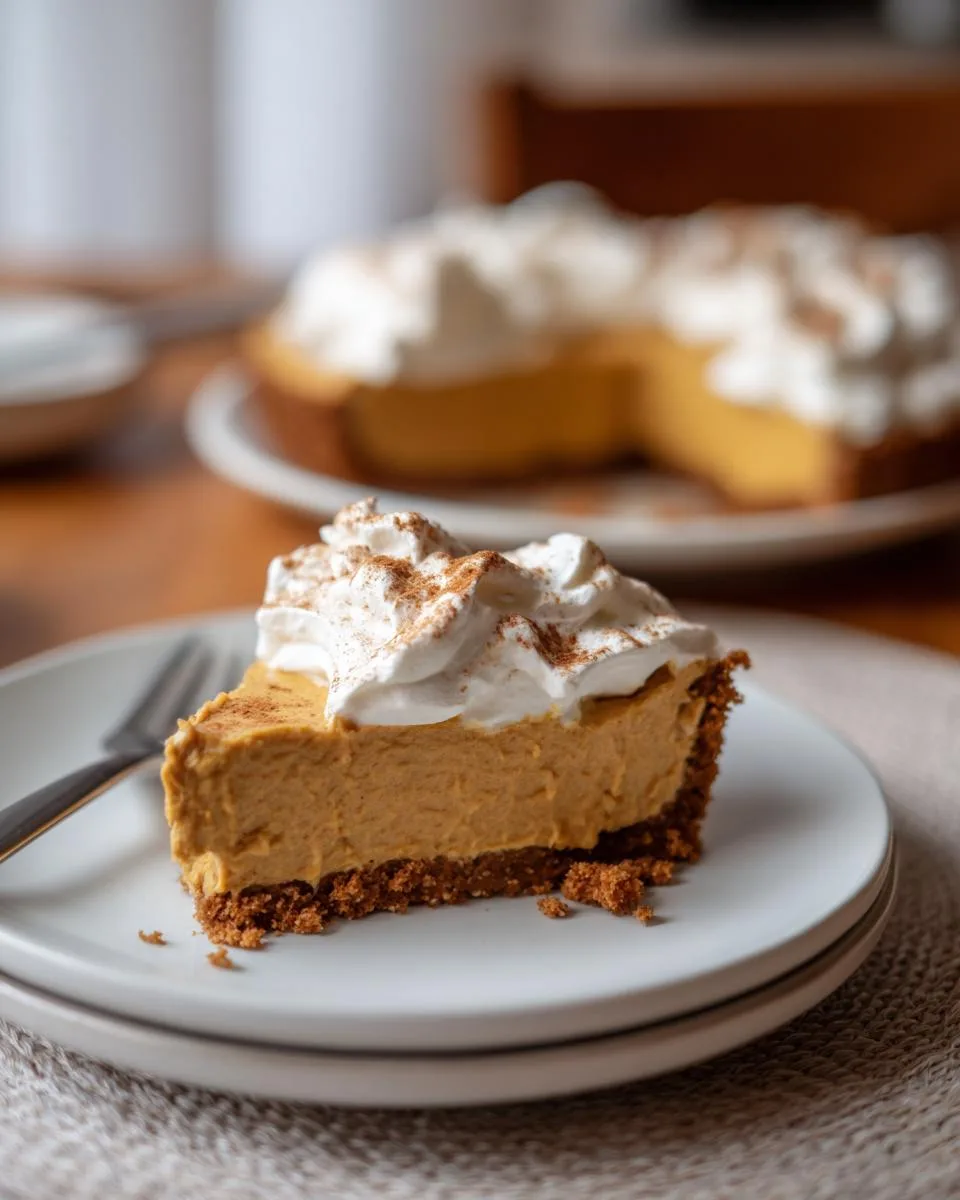
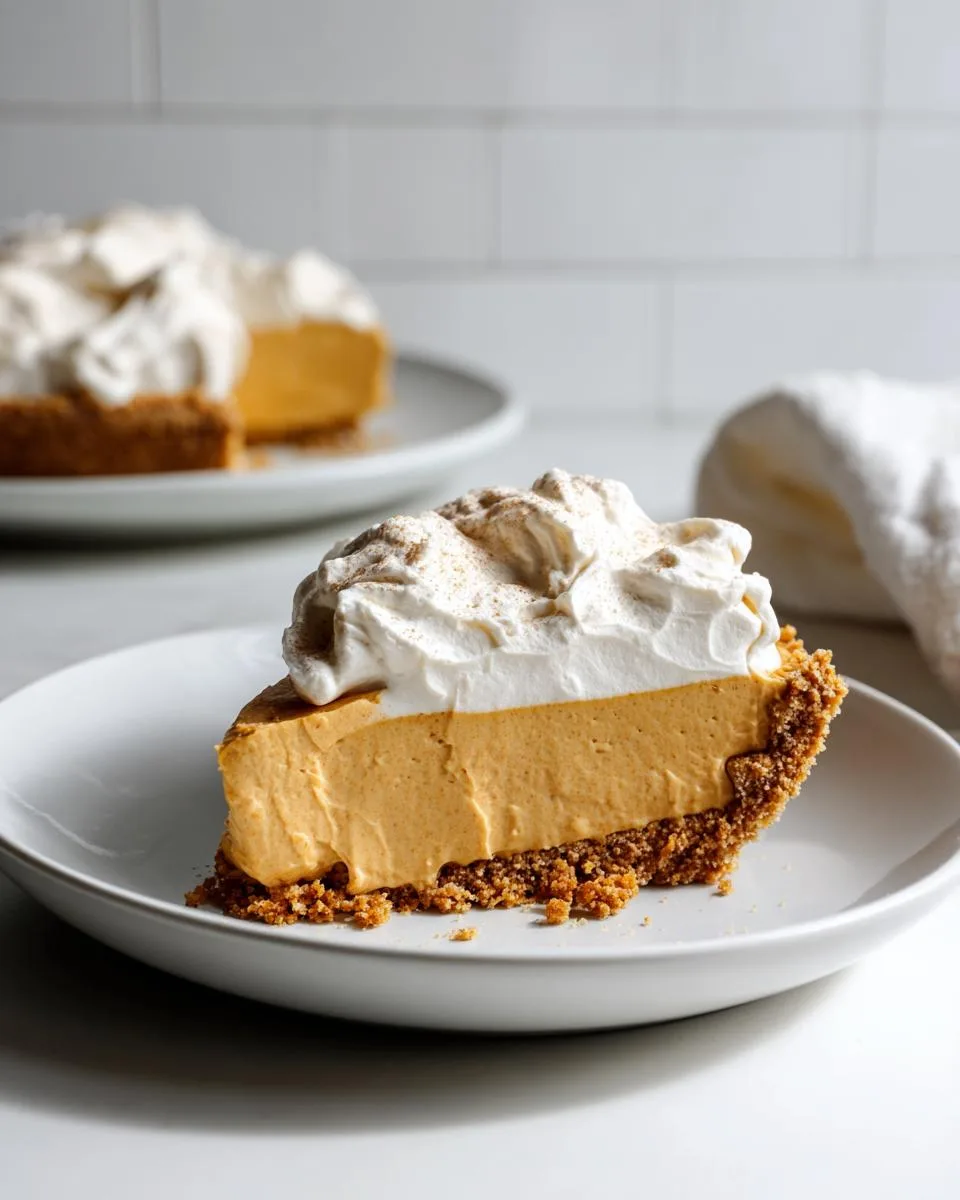
Amazing 3-Layer Pumpkin Mousse Pie Recipe to Wow Everyone
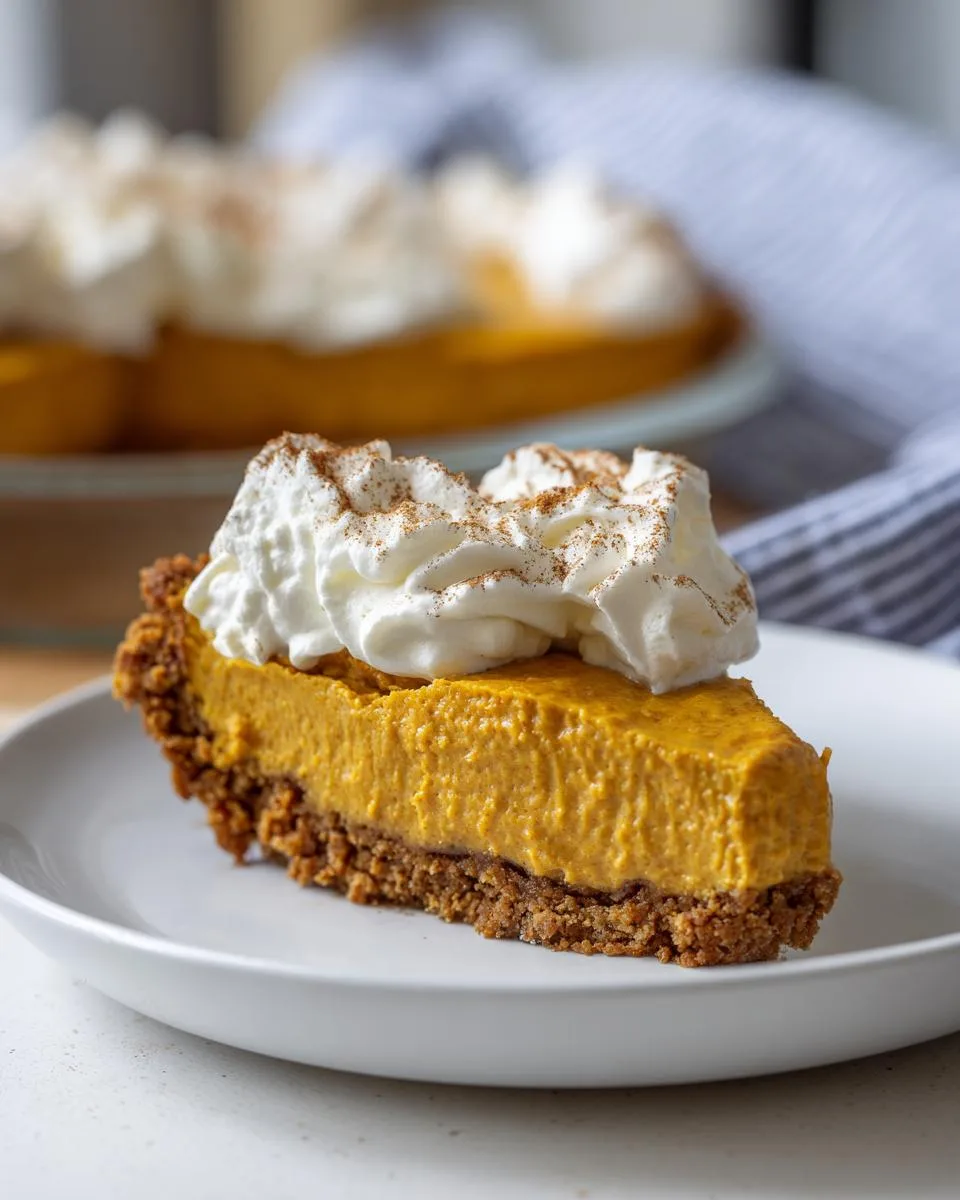
A creamy and spiced pumpkin mousse pie with a gingersnap crust, topped with cinnamon whipped cream.
- Total Time: 3 hours 20 minutes
- Yield: 8 servings 1x
Ingredients
- 2 cups gingersnap cookie crumbs
- ½ cup unsalted butter, melted
- ¼ teaspoon kosher salt
- 8 oz cream cheese, room temperature
- 1 cup powdered sugar
- 1 cup pure pumpkin puree
- ½ tablespoon vanilla extract
- 2 teaspoons pumpkin pie spice
- 1 cup heavy whipping cream, very cold
- 1 cup heavy whipping cream, very cold
- 2 tablespoons powdered sugar
- 2 tablespoons maple syrup
- 1 teaspoon ground cinnamon
- 1 teaspoon vanilla extract
Instructions
- Pulverize gingersnap cookies into fine crumbs. Mix with melted butter and salt.
- Press the mixture into a 9” pie plate, compacting firmly. Refrigerate.
- Beat cream cheese and powdered sugar until smooth.
- Add pumpkin puree, vanilla, and pumpkin pie spice. Mix well.
- Whip heavy cream to stiff peaks and fold into the pumpkin mixture.
- Spread filling into the crust and refrigerate for at least 3 hours.
- Whip heavy cream with powdered sugar, maple syrup, cinnamon, and vanilla to soft-stiff peaks.
- Spread whipped cream on top of the pie before serving.
Notes
- Use very cold heavy cream for best results.
- Chill the pie for at least 3 hours to set properly.
- Store leftovers in the refrigerator.
- Prep Time: 20 minutes
- Cook Time: 0 minutes
- Category: Dessert
- Method: No-Bake
- Cuisine: American
- Diet: Vegetarian
Nutrition
- Serving Size: 1 slice
- Calories: 380
- Sugar: 25g
- Sodium: 180mg
- Fat: 24g
- Saturated Fat: 14g
- Unsaturated Fat: 8g
- Trans Fat: 0g
- Carbohydrates: 38g
- Fiber: 2g
- Protein: 4g
- Cholesterol: 70mg
Tips for the Perfect Pumpkin Mousse Pie
Listen, I’ve made every mistake possible with this pumpkin mousse pie so you don’t have to! Here are my hard-won secrets:
- Chill everything cold: Pop your mixing bowl and beaters in the freezer for 15 minutes before whipping cream – it makes all the difference for getting those perfect peaks.
- Fresh spices matter: That jar of pumpkin pie spice from last year? Toss it. Fresh spices make the flavors pop.
- Room temp cream cheese is non-negotiable: Trying to beat cold cream cheese leads to lumpy sadness. Let it soften properly!
- Fold gently: Treat the whipped cream like a delicate cloud when mixing it into the pumpkin – too rough and you’ll lose that dreamy texture.
- Patience is key: Don’t rush the chilling time. That 3-hour wait lets the flavors marry and the texture set up perfectly.
Follow these, and you’ll get that “how’d you make this?!” reaction every time!
Pumpkin Mousse Pie Variations
Oh, the fun we can have with this pumpkin mousse pie! While I adore the classic gingersnap crust, sometimes you’ve gotta mix things up:
- Crust switcheroo: Try graham crackers (hello, s’mores vibes!) or shortbread cookies for a sweeter base. My friend swears by Biscoff crumbs – and she’s not wrong.
- Dairy-free dream: Use coconut cream instead of heavy cream and vegan cream cheese. Just promise me you’ll still use real maple syrup!
- Flavor boosters: Add a tablespoon of bourbon to the filling for grown-up gatherings, or sprinkle toasted pecans on top for crunch.
See? Endless ways to make this pie your own seasonal signature!
Serving and Storing Pumpkin Mousse Pie
When it’s time to serve your pumpkin mousse pie, I love dusting the top with extra cinnamon – it makes the whole thing look like it’s glowing with autumn magic! A drizzle of caramel sauce or some candied pecans take it next-level fancy for Thanksgiving.
Here’s the thing though – leftovers (if you have any!) keep beautifully in the fridge for up to 3 days. Just cover it loosely with plastic wrap so the whipped cream topping doesn’t get squished. The crust might soften a tiny bit by day 3, but honestly? The flavors just get better as they mingle!
Pumpkin Mousse Pie Nutritional Information
Okay, let’s be real – we’re not eating pumpkin mousse pie for the health benefits! But for those who like to know, one slice (about 1/8 of the pie) has roughly:
- 380 calories
- 24g fat (14g saturated)
- 38g carbs
- 25g sugar
- 4g protein
Of course, these are estimates – your actual numbers might vary depending on exact ingredients used. But hey – pumpkin’s a vegetable, right? That’s my story and I’m sticking to it!
FAQs About Pumpkin Mousse Pie
I get asked these questions all the time about my pumpkin mousse pie – so let me save you some trouble with my kitchen-tested answers!
Can I use canned pumpkin puree?
Absolutely! Just make sure it’s 100% pure pumpkin puree, NOT pumpkin pie filling (which has added sugars and spices). My favorite hack? Look for the words “pure pumpkin” on the can – Libby’s is my go-to brand.
How long does the pie need to set?
Patience, grasshopper! At least 3 hours in the fridge, though overnight is even better. The filling firms up beautifully, making clean slices possible. Trying to cut it too soon? You’ll have pumpkin soup – delicious, but not the look we’re going for!
Can I make this ahead for Thanksgiving?
Yes, yes, a thousand times yes! This no-bake pie is a holiday lifesaver. Make it up to 2 days in advance – just add the cinnamon whipped cream topping the day you’re serving to keep it looking fresh.
My whipped cream keeps deflating – help!
Three game-changers: 1) Make sure your cream is ice cold, 2) Don’t overwhip (stop when you see stiff peaks), and 3) Fold gently into the pumpkin mixture. Also – metal bowls whip better than plastic!
Can I freeze pumpkin mousse pie?
Technically yes, but… The texture changes when thawed – the mousse gets a bit denser. If you must freeze, do it without the whipped cream topping (add fresh later). Thaw overnight in the fridge for best results.
Share Your Pumpkin Mousse Pie Experience
Did this pumpkin mousse pie become your new fall favorite? I’d love to see your creations! Snap a pic and tag me – those swirls of cinnamon whipped cream deserve their moment in the spotlight. Leave a comment below too – what’d your family think? (Mine always fights over the last slice!)
For More recipes, Follow me on Facebook!