Oh, Classic Cherry Delight—just saying the name takes me straight back to my grandma’s kitchen table, where this creamy, dreamy dessert was the star of every summer potluck. That buttery graham cracker crust, the fluffy cloud of sweet cream cheese filling, and those juicy cherries glistening on top? Absolute magic. It’s one of those no-bake wonders that feels fancy but takes barely any effort—perfect for when you need a crowd-pleaser fast. Trust me, once you try this nostalgic treat, it’ll become your go-to for every occasion.
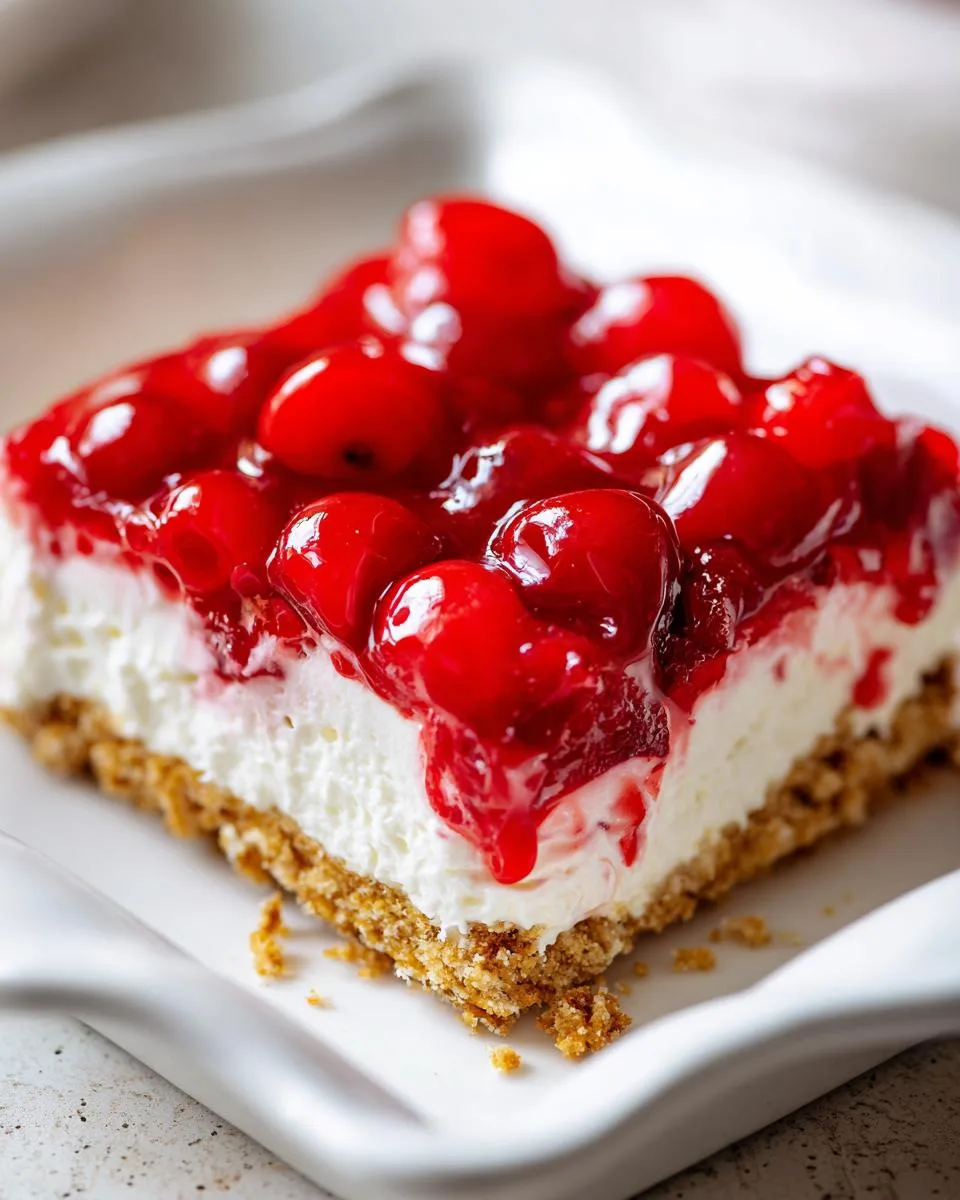
Table of Contents
Table of Contents
Why You’ll Love Classic Cherry Delight
This dessert checks all the boxes—here’s why it’s been my go-to for years:
- Effortless elegance: No oven required! Just mix, layer, and chill—perfect for busy days when you need something impressive fast.
- That dreamy texture: The contrast between the crunchy crust, velvety filling, and juicy cherries? Absolute perfection.
- Crowd-pleaser magic: From kids to grandparents, everyone goes wild for Classic Cherry Delight. It’s nostalgia in every bite.
- Make-ahead win: Tastes even better after chilling overnight (if you can resist digging in right away!).
Ingredients for Classic Cherry Delight
Here’s everything you’ll need to create this nostalgic dessert – I’ve grouped them by layer so you can see how simple this really is:
- For the crust: 7 tablespoons unsalted butter (melted), 1 1/2 cups graham cracker crumbs (that’s about 9 whole crackers crushed), and 3 tablespoons granulated sugar
- For the creamy filling: 8 ounces cream cheese (softened!), 1 cup powdered sugar, 1 teaspoon pure vanilla extract, and 1 container (8 ounces) of cool whip
- For the crowning glory: 1 can (21 ounces) cherry pie filling – look for the kind with plump, juicy cherries
See? Just seven simple ingredients standing between you and dessert heaven. Pro tip: set your cream cheese out about 30 minutes before starting – it makes all the difference for that smooth, dreamy filling!
Ingredient Substitutions & Variations
One of the best things about Classic Cherry Delight is how easily you can tweak it to suit your taste or pantry! Here are my favorite swaps:
- Gluten-free? Use gluten-free graham crackers or even crushed gluten-free vanilla wafers for the crust.
- Out of cool whip? Fresh whipped cream works beautifully – just whip 1 cup heavy cream with 2 tablespoons powdered sugar until stiff peaks form.
- Cherry not your thing? Try blueberry or strawberry pie filling instead – the color looks gorgeous!
- Extra decadent: Mix mini chocolate chips into the filling layer for a chocolate-cherry twist.
The possibilities are endless – make it your own!
How to Make Classic Cherry Delight
Alright, let’s dive into making this dreamy dessert! I promise it’s easier than it looks – just follow these simple steps and you’ll have everyone begging for the recipe.
Prepare the Graham Cracker Crust
First, grab that butter and melt it in the microwave – about 30 seconds should do it, but keep an eye out so it doesn’t splatter everywhere! Mix the melted butter with your graham cracker crumbs and sugar until it looks like wet sand. Now here’s the secret: really press it into your baking dish. I mean get in there with your fingers or the back of a measuring cup – you want it packed tight so it holds together when you slice it later. Don’t just sprinkle it in!
Make the Creamy Filling
This is where room temperature cream cheese becomes your best friend. If yours is still chilly from the fridge, just zap it in the microwave for 10-second bursts until it’s soft but not melted. Beat it until smooth – no lumps allowed! Then add the powdered sugar and vanilla, mixing until it’s silky. Now gently fold in the cool whip. And I mean gently – overmixing will make your filling dense instead of cloud-like. A few streaks are fine!
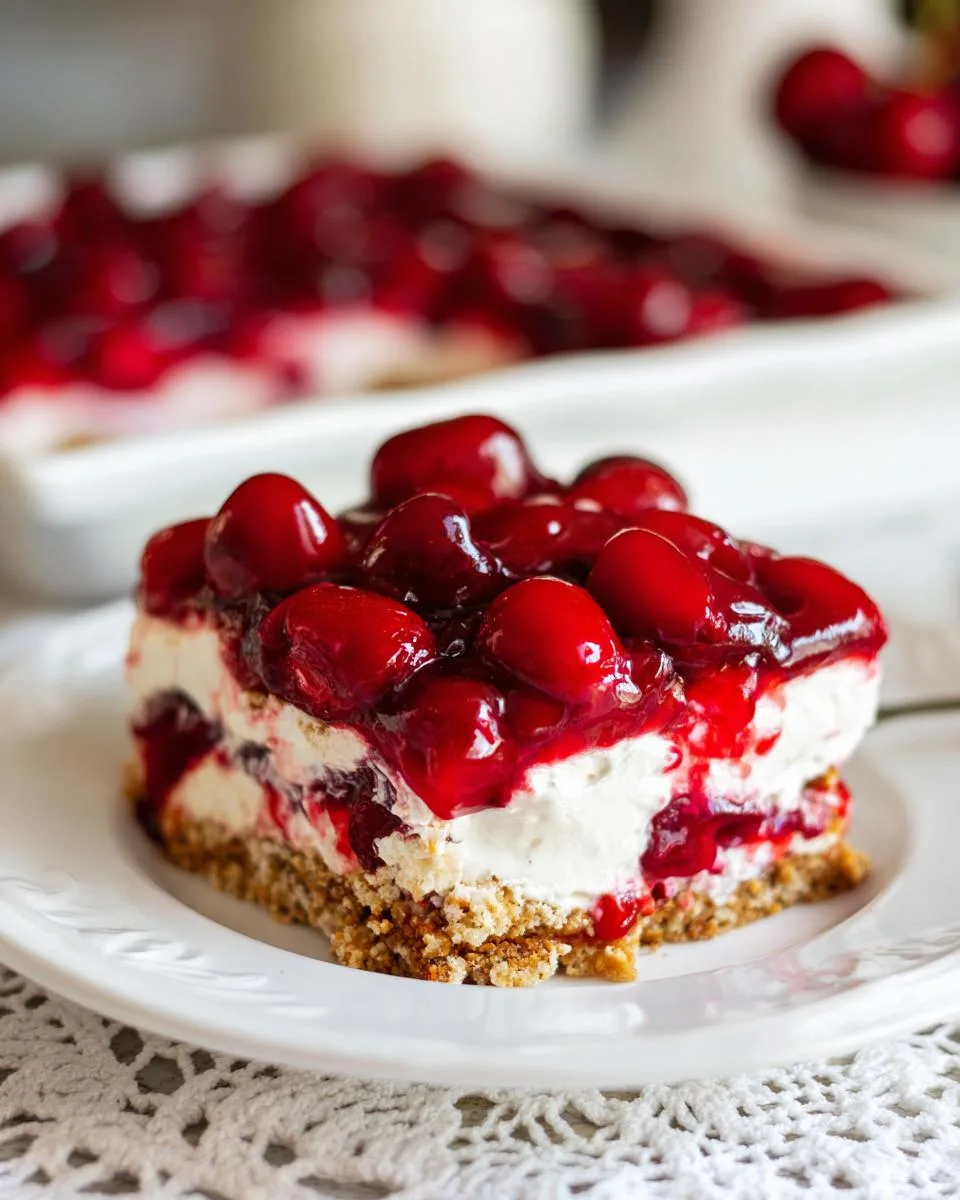
Layer and Chill Classic Cherry Delight
Spread your creamy filling over the crust – an offset spatula works wonders here. Now for the fun part: spoon those gorgeous cherries on top! Be gentle when spreading them so you don’t mix the layers. Pop it in the fridge for at least 2 hours (overnight is even better if you can wait). The hardest part? Not sneaking spoonfuls before it’s set!
Print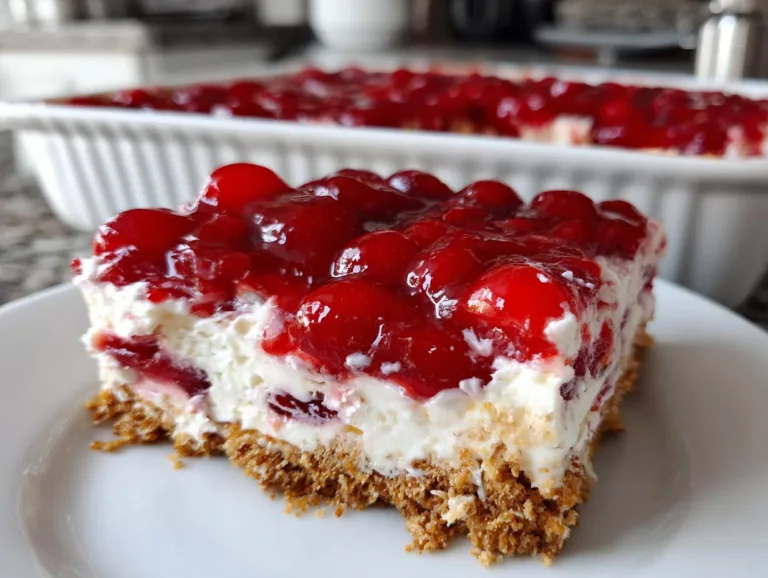
Classic Cherry Delight Recipe in Just 7 Ingredients
A classic dessert with a graham cracker crust, creamy filling, and sweet cherry topping.
- Total Time: 2 hours 15 minutes
- Yield: 9 servings 1x
Ingredients
- 7 tablespoons unsalted butter
- 1 1/2 cups graham cracker crumbs (about 9 whole crackers)
- 3 tablespoons granulated sugar
- 8 ounces cream cheese, softened
- 1 cup powdered sugar
- 1 teaspoon pure vanilla extract
- 1 container cool whip, 8 ounces
- 1 can cherry pie filling, 21 ounces
Instructions
- Melt butter in a microwave. Mix with graham cracker crumbs and sugar.
- Press mixture firmly into the bottom of a sprayed 8×8 baking dish. Set aside.
- Beat cream cheese until smooth. Add powdered sugar and vanilla, mix well.
- Fold in cool whip until combined, but don’t overmix.
- Spread filling evenly over the crust.
- Spoon cherry pie filling on top and spread gently.
- Refrigerate for at least 2 hours before serving.
- Store leftovers in the fridge.
Notes
- For best results, refrigerate overnight.
- Use room-temperature cream cheese for smoother mixing.
- Prep Time: 15 minutes
- Cook Time: 0 minutes
- Category: Dessert
- Method: No-Bake
- Cuisine: American
- Diet: Vegetarian
Nutrition
- Serving Size: 1 slice
- Calories: 320
- Sugar: 28g
- Sodium: 180mg
- Fat: 18g
- Saturated Fat: 10g
- Unsaturated Fat: 6g
- Trans Fat: 0g
- Carbohydrates: 36g
- Fiber: 1g
- Protein: 3g
- Cholesterol: 45mg
Tips for Perfect Classic Cherry Delight
After making this dessert more times than I can count, here are my foolproof secrets for Classic Cherry Delight that’ll have everyone thinking you’re a pastry pro:
- Patience pays off: Let it chill overnight if possible – the flavors meld beautifully and the layers set perfectly.
- Go full-fat: Trust me, low-fat cream cheese makes the filling weepy. Splurge on the real deal for that dreamy texture.
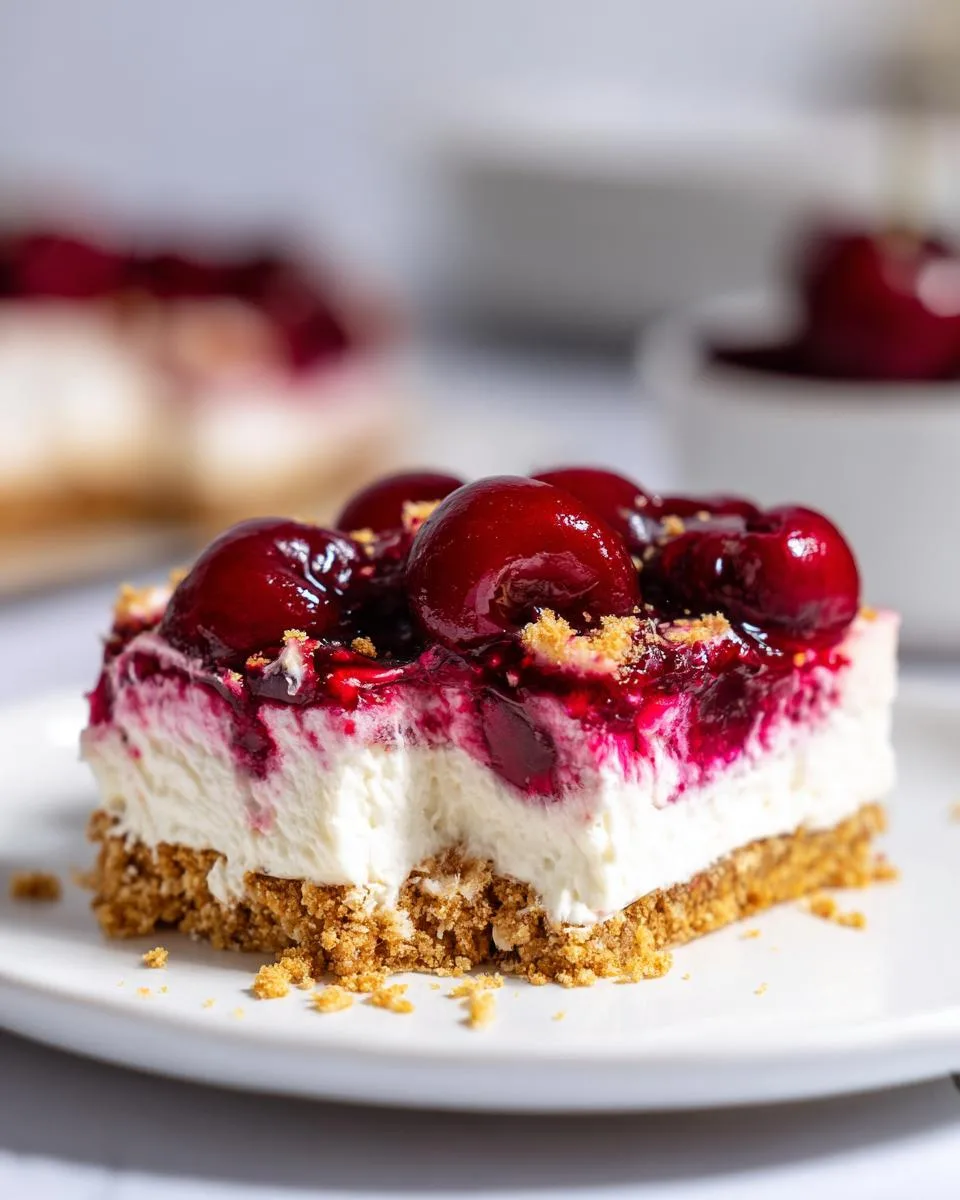
- Cherry control: If your pie filling looks extra juicy, drain some syrup first so it doesn’t make the top layer soggy.
- Slice smart: Run your knife under hot water before cutting for picture-perfect slices every time.
Serving and Storing Classic Cherry Delight
Here’s the deal – this dessert tastes best straight from the fridge, so keep it chilled until the very last minute before serving. Leftovers? Just cover the dish tightly with plastic wrap or transfer slices to an airtight container. It’ll stay fresh and delicious for up to 3 days (if it lasts that long!). Pro tip: those cute little dessert cups make perfect single-serve portions for parties!
Classic Cherry Delight FAQs
Over the years, I’ve gotten the same questions about Classic Cherry Delight again and again – so let me save you some trouble with my hard-earned wisdom!
Can I freeze Classic Cherry Delight?
Oh honey, I wouldn’t recommend it. The texture goes all wrong – the filling gets weepy and the cherries turn mushy when thawed. This dessert is best enjoyed fresh from the fridge!
Can I use fresh cherries instead of pie filling?
Absolutely! Just cook them down first with a bit of sugar and cornstarch to make a quick compote. About 2 cups pitted cherries should do the trick. But honestly? The canned pie filling is so convenient and consistently delicious.
How do I prevent a soggy crust?
Two words: pack it tight! Really press that graham cracker mixture firmly into the pan, then pop it in the fridge for 10 minutes before adding the filling. This creates a moisture barrier that keeps your crust crisp.
Nutritional Information
Now, let’s be real – we’re not eating Classic Cherry Delight for its health benefits! But if you’re curious, here’s the scoop per serving (based on cutting into 9 pieces): about 320 calories, 18g fat, and 36g carbs. Remember, these numbers can vary depending on your exact ingredients – full-fat cream cheese versus light, different brands of pie filling, etc. My philosophy? Enjoy every creamy, cherry-topped bite guilt-free!
Rate This Classic Cherry Delight Recipe
Did you make this nostalgic treat? I’d love to hear how it turned out! Leave a comment below or tag @Dishivia on Instagram so I can see your beautiful creations. Nothing makes me happier than seeing your kitchen filled with the same sweet memories this dessert brings me!
For More recipes, Follow me on Facebook!