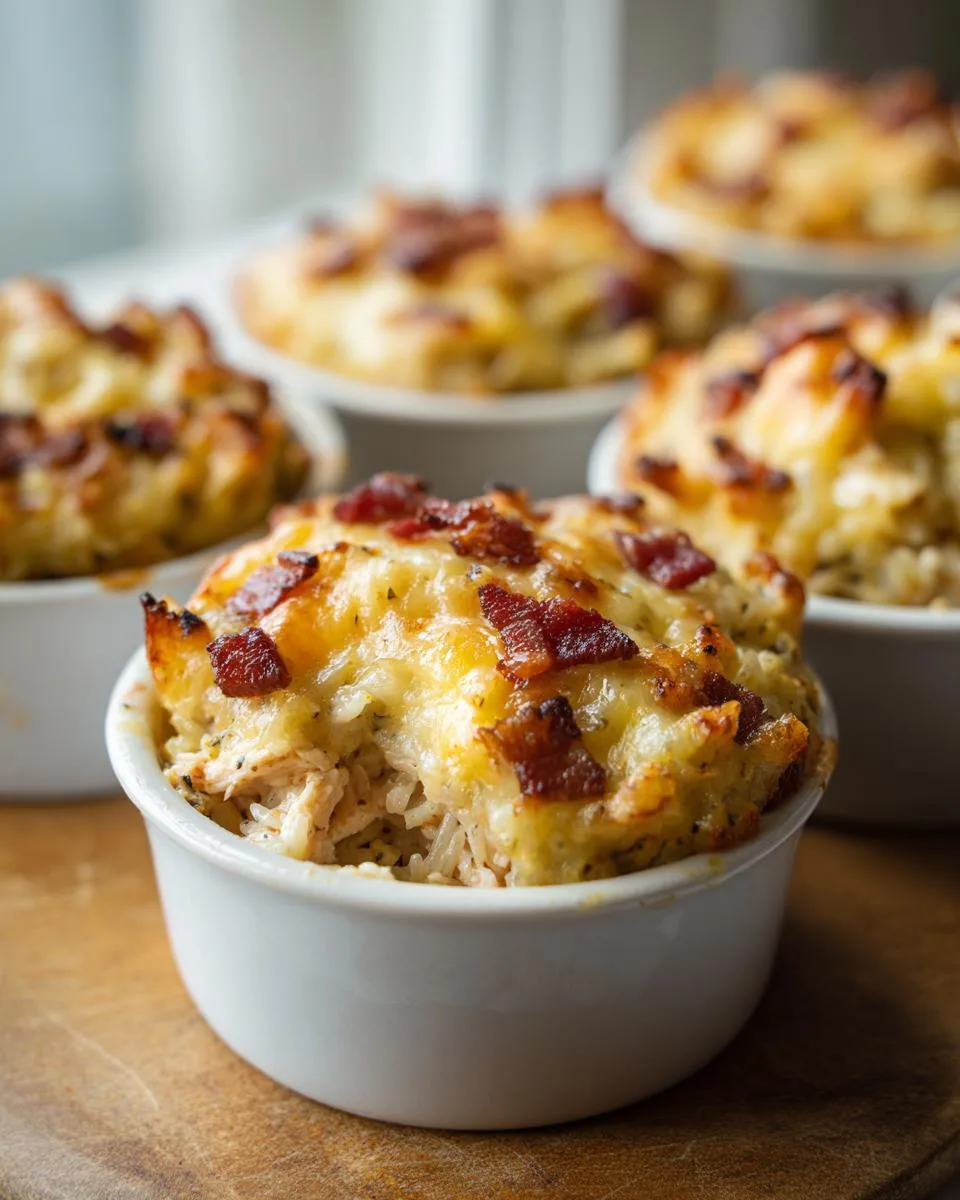
You know those days when lunch needs to be quick, filling, and actually taste good? That’s exactly why I fell in love with these Chicken Rice Lunchbox Cups! As a chef who’s always juggling meal prep and busy schedules, I created these little flavor-packed muffins to solve my own lunchtime struggles. Imagine tender Brown Rice hugging shredded chicken, crispy bacon, and melty cheddar—all baked into perfect handheld portions. They’re my go-to for work lunches, after-school snacks, or even a protein-packed breakfast on the run. Trust me, once you try these, you’ll be hooked just like my family was!

Table of Contents
Table of Contents
Why You’ll Love These Chicken Rice Lunchbox Cups
Let me count the ways these little cups will change your lunch game! First off, they’re meal prep magic—whip up a batch on Sunday, and boom, you’ve got grab-and-go lunches all week. No more sad desk salads! Plus:
- Portable perfection: Toss ’em in lunchboxes, picnic baskets, or even eat them one-handed while chasing kids (we’ve all been there).
- Protein powerhouse: Between the chicken, eggs, and cheese, these keep you full way longer than a sandwich.
- Kid-approved: My picky eater thinks they’re “muffins” and steals extras from the fridge—parenting win!
And that crispy cheese crust? Absolute chef’s kiss every time.
Ingredients for Chicken Rice Lunchbox Cups
Here’s everything you’ll need to make these irresistible cups—measurements matter, but don’t stress about perfection! I always eyeball the cheese (who doesn’t love extra?). The magic’s in the combo:

- 1 cup Brown Rice (cooked according to package—trust me, the nutty flavor beats white rice here)
- 1 cup shredded Cheddar cheese, divided (save ¼ cup for that glorious golden top)
- 1 cup cooked chicken, shredded (leftover rotisserie chicken? Perfect!)
- 6 slices cooked bacon, chopped (go crispy—it adds the best texture)
- 3 eggs, lightly beaten (they’re the glue holding everything together)
- 2 green onions, chopped (both white and green parts for mild bite)
- ½ tsp each salt and black pepper (season boldly—baking mellows flavors)
See? Simple, whole ingredients that probably live in your fridge already. Now let’s make magic!
Equipment You’ll Need
Grab these trusty tools—nothing fancy required! My must-haves:
- 12-cup muffin pan (non-stick is a lifesaver for clean pops!)
- Mixing bowl (big enough to stir without rice flying everywhere)
- Measuring cups (or just eyeball like I sometimes do—shh!)
That’s it! No stand mixers or special gadgets needed here. Just good old-fashioned mixing and baking.
How to Make Chicken Rice Lunchbox Cups
Okay, let’s get these beauties in the oven! I promise it’s easier than folding a fitted sheet (why are those so impossible?). Just follow these simple steps:
Step 1: Prepare the Rice
First things first—cook that Brown Rice according to the package directions. Pro tip: I like to make mine a tad underdone since it’ll keep cooking in the oven. Fluff it with a fork and let it cool slightly while you prep everything else.
Step 2: Mix the Ingredients
Now the fun part! In your biggest mixing bowl (seriously, go big—this mixture likes to escape), combine the cooked rice, ¾ cup of that glorious cheddar, shredded chicken, crispy bacon bits, beaten eggs, chopped green onions, salt and pepper. Get in there with your hands or a sturdy spoon—mix until every grain of rice is coated in that eggy, cheesy goodness. The mixture should hold together when pressed.
Step 3: Bake to Perfection
Preheat that oven to 375°F and grease your muffin pan like you mean it (I use butter for extra flavor). Pack the mixture firmly into each cup—about ¼ cup per one—then sprinkle the remaining cheese on top for that irresistible golden crust. Bake for 20-25 minutes until the tops are lightly browned and the centers feel firm to the touch. Your kitchen will smell like heaven!
Print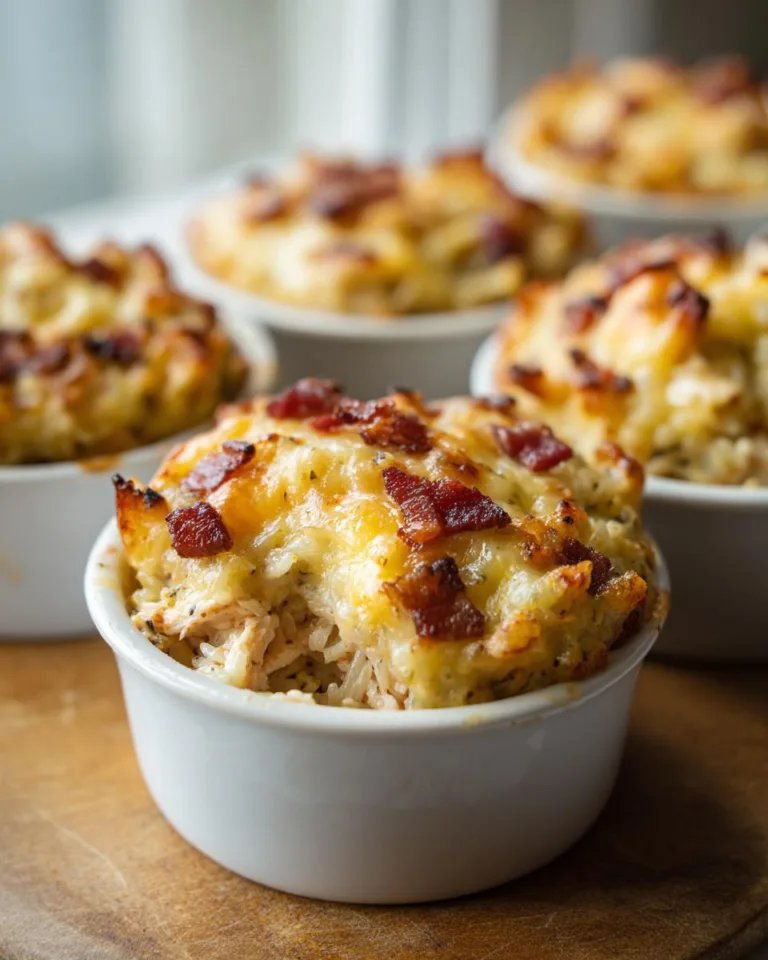
Irresistible Chicken Rice Lunchbox Cups in Just 25 Minutes
Loaded with Brown Rice, creamy cheddar, and flavorful proteins, these satisfying muffin-like Chicken and Rice Lunchbox Cups are on-the-go treats that are delicious any time of the day.
- Total Time: 40 minutes
- Yield: 12 cups 1x
Ingredients
- 1 cup Brown Rice
- 1 cup shredded Cheddar cheese, divided
- 1 cup cooked chicken, shredded
- 6 slices cooked bacon, chopped
- 3 eggs, lightly beaten
- 2 green onions, chopped
- 1/2 tsp salt
- 1/2 tsp black pepper
Instructions
- Prepare rice according to package instructions.
- Preheat oven to 375°F. Grease 12-cup muffin pan.
- In large bowl, combine rice, 3/4 cup cheese, chicken, bacon, eggs, green onions, salt and pepper. Divide mixture evenly among muffin cups; sprinkle with remaining cheese.
- Bake for 20 to 25 minutes until firm to the touch and tops are beginning to brown.
Notes
- Use a non-stick muffin pan for easy removal.
- Store leftovers in an airtight container for up to 3 days.
- Reheat in the microwave or oven before serving.
- Prep Time: 15 minutes
- Cook Time: 25 minutes
- Category: Lunch
- Method: Baking
- Cuisine: American
- Diet: Low Lactose
Nutrition
- Serving Size: 1 cup
- Calories: 220
- Sugar: 1g
- Sodium: 380mg
- Fat: 12g
- Saturated Fat: 5g
- Unsaturated Fat: 6g
- Trans Fat: 0g
- Carbohydrates: 15g
- Fiber: 2g
- Protein: 14g
- Cholesterol: 95mg
Tips for Perfect Chicken Rice Lunchbox Cups
After making these dozens of times (yes, my family’s obsessed), I’ve learned a few tricks to guarantee perfect cups every time:
- Bacon matters: Freshly cooked crispy bacon beats pre-cooked—that extra crunch makes all the difference!
- Pack it tight: Really press the mixture into the cups—this keeps them from crumbling when you pop them out.
- Toothpick test: Insert it near the center; if it comes out clean (maybe with a few moist crumbs), they’re done.
Bonus tip: Let them cool 5 minutes in the pan before removing—patience pays off with intact cups!
Variations for Chicken Rice Lunchbox Cups
One of my favorite things about this recipe? It’s like a blank canvas for your cravings! Here are some delicious twists I’ve tried:
- Protein swap: Turkey or ham works beautifully instead of chicken—great for using up holiday leftovers!
- Veggie boost: Swap green onions for chopped spinach or bell peppers (sauté them first to remove excess moisture).
- Cheese party: Try pepper jack for spice, Swiss for nuttiness, or even feta for a tangy punch.
The basic recipe stays the same—just mix in your favorite flavors and bake away. That’s the beauty of these cups!
Serving and Storing Chicken Rice Lunchbox Cups
These little cups are practically begging to be the star of your lunchbox! I love serving them warm with a crisp side salad or cozy tomato soup—perfect for dipping. For storage, pop them in an airtight container (they’ll keep for 3 days in the fridge). To reheat, 30 seconds in the microwave does the trick, but if you’ve got time, 5 minutes in a 350°F oven brings back that glorious crispy cheese crust. Pro tip: Freeze extras between parchment paper—just thaw overnight and reheat when hunger strikes!
Nutritional Information for Chicken Rice Lunchbox Cups
Let’s talk numbers—because good food should make you feel good too! Each satisfying cup packs about 220 calories, with 14g protein to keep you full and 2g fiber from that wholesome brown rice. They’ve got 12g fat (thanks to the cheese and bacon—worth it!), but only 1g sugar naturally. I love that they’re low-lactose friendly—just go easy on the cheese if you’re sensitive. Not bad for something that tastes this indulgent, right?
Frequently Asked Questions
Can I freeze Chicken Rice Lunchbox Cups?
Absolutely! These freeze like a dream. Just cool completely, then pop them in a freezer bag with parchment between layers. They’ll keep for up to 2 months—perfect for emergency lunches. Reheat straight from frozen in the microwave (add 30 seconds) or oven (about 15 minutes at 350°F).
Can I use white rice instead of brown?
You can, but the texture changes a bit. Brown rice gives these cups more structure and nutty flavor. If you use white rice, reduce the liquid slightly when cooking—it tends to make the mixture wetter. My test batches with white rice still tasted great, just softer!
How do I keep them from sticking to the pan?
Oh honey, I’ve learned this the hard way! Grease that pan generously—I use butter for flavor, but cooking spray works too. Non-stick pans are lifesavers here. Let them cool 5 minutes before gently loosening edges with a butter knife. They’ll pop right out!
For More recipes, Follow me on Facebook!