Oh, these Apple Cinnamon Crumble Bars! Just saying the name makes me smile thinking about crisp autumn mornings and that incredible smell of warm spices filling the kitchen. As a chef who’s baked countless desserts over the years, I can tell you these golden, crumbly bars hold a special place in my recipe box – they’re the perfect marriage of convenience (thank you, cake mix shortcut!) and homemade comfort.
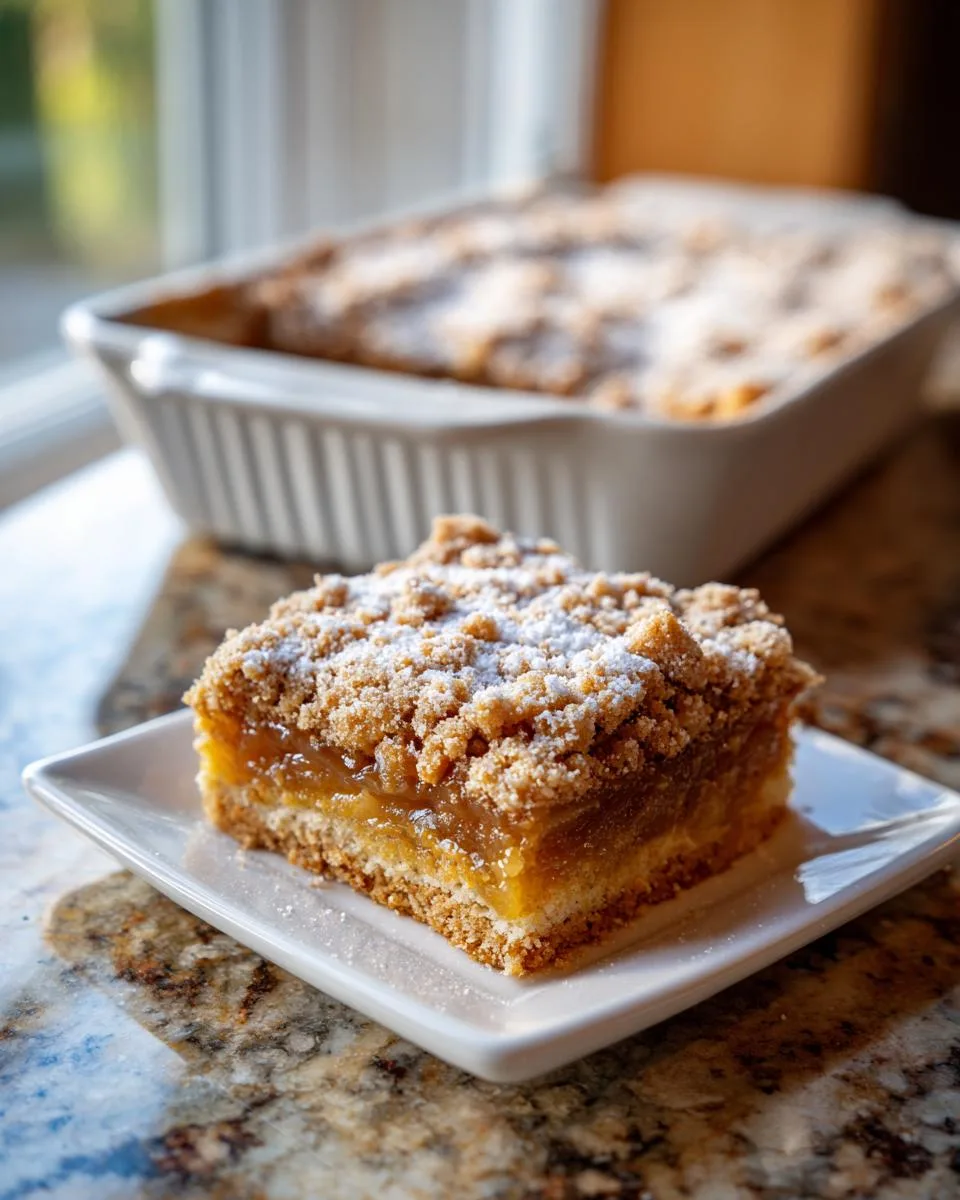
Table of Contents
Table of Contents
I first created this recipe during one of those hectic holiday seasons when I needed a foolproof treat that would impress guests without keeping me chained to the kitchen. The magic happens when layers of buttery cake mix crust, sweet apple butter filling, and that irresistible cinnamon-oat crumble come together. That first bite takes me right back to childhood visits to my grandma’s house, where her apron pockets always held secret stashes of cinnamon candies.
What makes these bars truly special? They taste like you spent hours baking from scratch, but that clever cake mix base means you’re in and out of the kitchen in no time. Whether you’re hosting friends or just craving something cozy with your afternoon coffee, these Apple Cinnamon Crumble Bars deliver pure comfort in every bite.
Why You’ll Love These Apple Cinnamon Crumble Bars
Let me count the ways these bars will become your new go-to dessert! First off, that cake mix shortcut means you’re just minutes away from deliciousness – no fancy pastry skills required. The balance of sweet apple butter with warm cinnamon? Absolute perfection.
Here’s what makes them irresistible:
- Easy-peasy: That boxed cake mix does half the work for you
- Flavor magic: Just enough spice to complement the apples without overpowering
- Crowd-pleaser: Always disappears first at potlucks and bake sales
- Your rules: Swap in walnuts or raisins if you’re feeling fancy
Trust me, once you taste that crumbly oat topping giving way to the apple-packed center, you’ll understand why I make these on repeat all season long!
Ingredients for Apple Cinnamon Crumble Bars
Gathering everything for these bars couldn’t be simpler – I bet you already have most of these staples in your pantry! Here’s exactly what you’ll need (and yes, I’m obsessive about measuring the butter correctly – it makes all the difference):
- 1/2 cup (1 stick) unsalted butter, melted and divided
- 1 box yellow cake mix for two 9-inch rounds
- 1 large egg, lightly beaten
- 1 cup apple butter (the kind without chunks works best)
- 1/2 cup quick-cooking oats (instant works too!)
- 1/4 teaspoon ground cinnamon (or more if you’re a spice lover like me)
- Confectioners’ sugar for that pretty finishing touch
Quick tip: The apple butter needs to be at room temperature so it spreads easily – learned that the hard way when I first made these! And don’t skip lining that pan – trust me, you’ll thank me later when the bars pop right out.
Equipment You’ll Need
Before we dive in, let’s grab those trusty kitchen tools – nothing fancy required here! You’ll need just a few basics to make these Apple Cinnamon Crumble Bars come together beautifully:
- 9-inch square baking pan (my well-loved one has seen many batches!)
- Aluminum foil for easy lifting (those overhanging edges are lifesavers)
- Microwave-safe bowl for melting butter (I use my favorite Pyrex measuring cup)
- Mixing spoon (wooden or silicone – whatever feels right in your hand)
See? Told you it was simple! Now let’s get baking – those crumbly, cinnamon-scented bars won’t make themselves!
How to Make Apple Cinnamon Crumble Bars
Alright, let’s get our hands busy making these irresistible bars! I’ve broken it down into simple steps so you can nail this recipe on your first try. Just follow along – I promise it’s easier than it looks, and that heavenly aroma filling your kitchen will be worth every minute!
Step 1: Prepare the Pan and Crust
First things first – let’s set up our baking pan so those bars come out perfectly. Take your 9-inch square pan and line it with aluminum foil, leaving about 2 inches hanging over the edges (this will be your “handle” later). Give it a quick spray with cooking spray – don’t be shy, we want every crumb to release easily!
Now, melt half the butter (that’s 1/4 cup) in the microwave – about 30 seconds should do it. Here’s my little trick: reserve exactly 1 cup of the dry cake mix and set it aside (we’ll use this for the crumble topping later). Pour the remaining cake mix into a bowl, add the melted butter, egg, and 1 tablespoon of water. Stir until it forms a thick dough – it’ll be sticky at first but will firm up as it sits. Let it rest about 5 minutes until it’s no longer tacky to the touch.
Step 2: Bake and Cool the Base
Time to transform that dough into our golden crust! Press it evenly into the prepared pan – I like to use slightly damp fingers to prevent sticking. Pop it in the preheated 350°F oven for exactly 20 minutes. You’ll know it’s ready when the edges just start turning golden.
Here’s the important part: let it cool for 5 minutes before adding the next layers. I know it’s tempting to rush, but this brief cooling helps prevent the apple butter from making the crust soggy. While you wait, why not lick that mixing spoon? I won’t tell!
Step 3: Make the Cinnamon Oat Crumble
Remember that reserved cup of cake mix? Now’s its time to shine! Melt the remaining 1/4 cup of butter and pour it over the reserved mix. Add the oats and cinnamon, then stir until you get beautiful, clumpy crumbs. If it seems too dry, add another teaspoon of melted butter – we want those perfect little nuggets of flavor!
Pro tip: If you love extra texture like I do, you can add a handful of chopped pecans or walnuts to the crumble mixture. The nutty crunch takes these bars to another level!
Step 4: Layer and Finish Baking
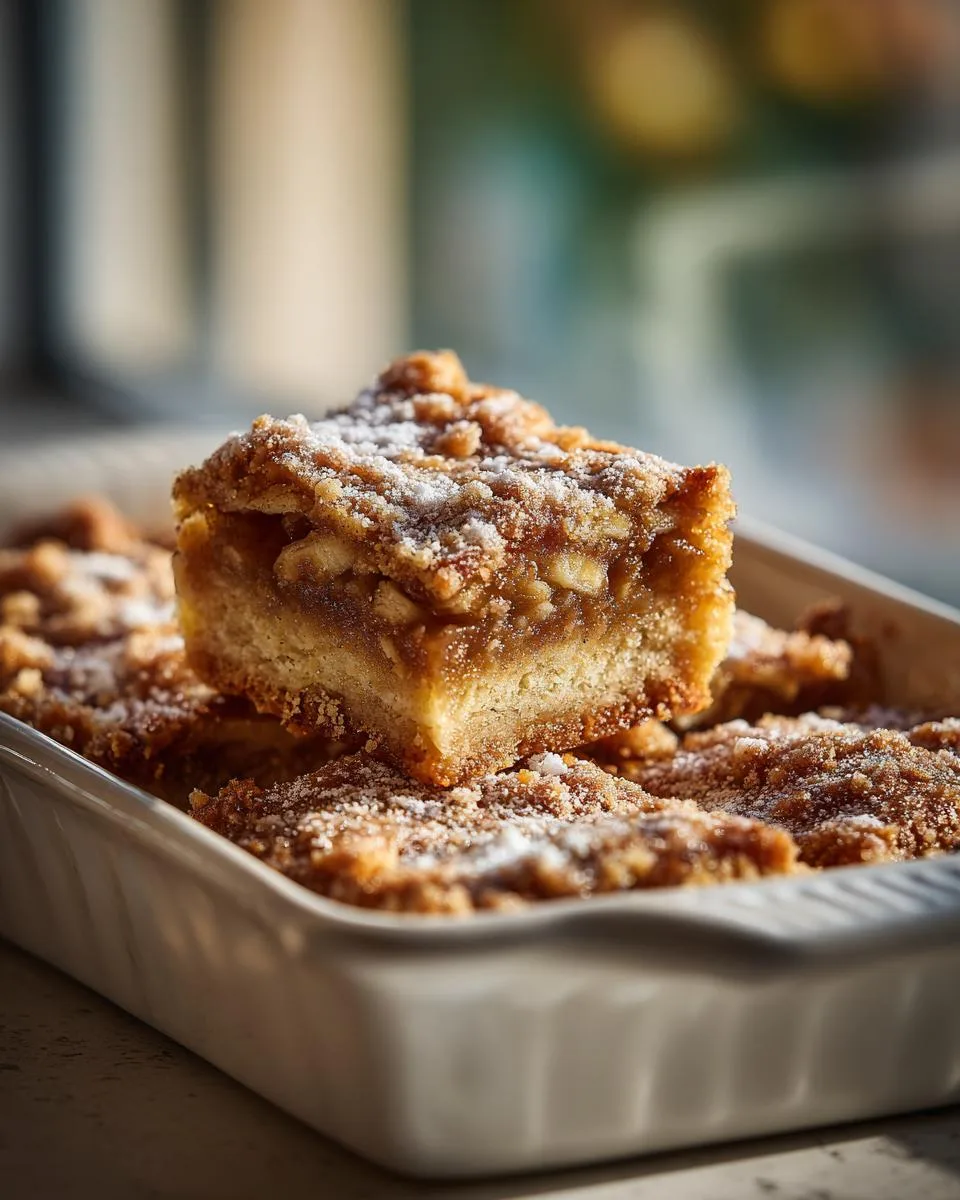
Now for the fun part – assembling our masterpiece! Spread the apple butter evenly over the slightly cooled crust. I find using the back of a spoon in gentle circular motions works best to get that perfect, smooth layer without disturbing the crust underneath.
Sprinkle your cinnamon oat crumble over the top – don’t press it down, we want those lovely peaks and valleys for maximum crunch. Bake for another 30 minutes until the topping is golden brown and your kitchen smells like a cozy autumn dream. Resist the urge to cut into them right away – I know it’s hard, but letting them cool completely is the secret to clean slices!
Print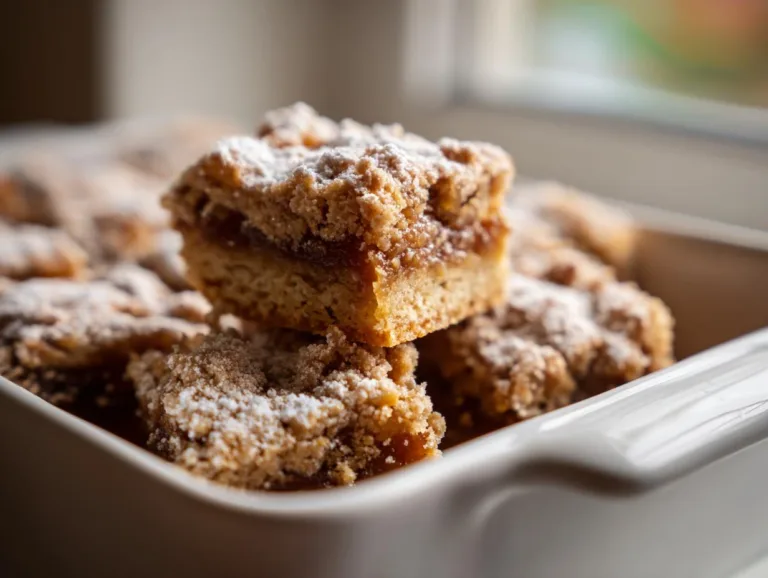
Irresistible Apple Cinnamon Crumble Bars in 45 Minutes
A delicious and easy-to-make dessert featuring layers of cake mix, apple butter, and a cinnamon oat crumble.
- Total Time: 1 hour 5 minutes
- Yield: 16 bars 1x
Ingredients
- Cooking spray
- 1/2 cup (1 stick) unsalted butter
- 1 box yellow cake mix for two 9-inch rounds
- 1 large egg
- 1 cup apple butter
- 1/2 cup unsweetened instant or quick-cooking oats
- 1/4 teaspoon ground cinnamon
- Confectioners’ sugar, for dusting
Instructions
- Preheat the oven to 350°F. Line a 9-inch square pan with aluminum foil, leaving a 2-inch overhang. Lightly coat with cooking spray.
- Melt half the butter in the microwave. Set aside 1 cup of cake mix and add the rest to the melted butter. Mix in the egg and 1 tbsp water. Let stand until no longer tacky. Press the dough into the pan and bake for 20 minutes. Let cool for 5 minutes.
- Melt the remaining butter. Mix it with the reserved cake mix, oats, and cinnamon until crumbly.
- Spread apple butter over the cooled crust. Scatter the crumb mixture on top. Bake for 30 more minutes until golden. Cool completely.
- Lift the bars from the pan using the foil. Dust with confectioners’ sugar and cut into 16 bars.
Notes
- Use a sharp knife for clean cuts.
- Store in an airtight container for up to 3 days.
- Prep Time: 15 minutes
- Cook Time: 50 minutes
- Category: Dessert
- Method: Baking
- Cuisine: American
- Diet: Vegetarian
Nutrition
- Serving Size: 1 bar
- Calories: 180
- Sugar: 12g
- Sodium: 150mg
- Fat: 8g
- Saturated Fat: 4g
- Unsaturated Fat: 3g
- Trans Fat: 0g
- Carbohydrates: 25g
- Fiber: 1g
- Protein: 2g
- Cholesterol: 25mg
Tips for Perfect Apple Cinnamon Crumble Bars
Okay, let me share my hard-earned baking secrets to guarantee your bars turn out absolutely perfect every single time. These little tricks make all the difference between “good” and “oh-my-goodness-I-need-the-whole-pan” amazing!
- Patience pays off: Chill the baked bars for 30 minutes before cutting – it prevents crumbly disasters and gives you those clean, sharp edges
- Egg temp matters: Use a room-temperature egg – it blends into the dough more evenly for a perfect texture
- Spice it your way: Love cinnamon? Go wild and double it! My grandma always said “measure spices with your heart”
- Foil is your friend: That overhang isn’t just for looks – it’s your magic handle for lifting the whole batch out neatly
Oh! And here’s my bonus tip: if the crumble seems too dry when mixing, add a teaspoon of melted butter at a time until it clumps perfectly. Trust me, I’ve made every mistake so you don’t have to!
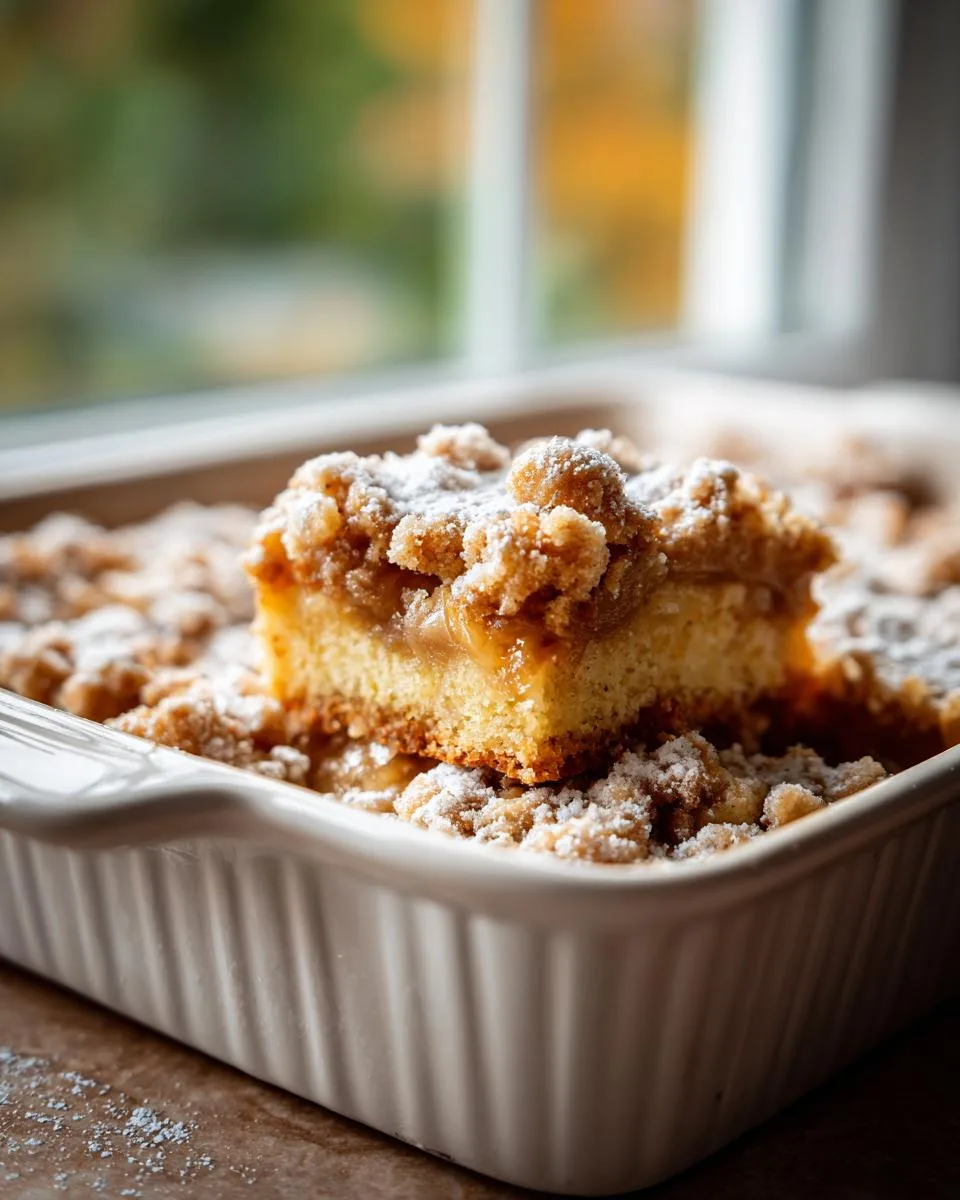
Serving and Storage
Now for the best part – enjoying your gorgeous Apple Cinnamon Crumble Bars! I love dusting them with confectioners’ sugar right before serving – it makes them look bakery-worthy with zero effort. These bars keep beautifully in an airtight container at room temperature for up to 3 days (if they last that long!). For an extra-special treat, pop one in the microwave for 10 seconds – the warmth makes the apple butter filling taste even more heavenly!
If you enjoy easy, comforting recipes like this, you can find more inspiration in my collection of recipes.
Apple Cinnamon Crumble Bars FAQs
Can I use homemade apple butter? Absolutely! In fact, my neighbor’s homemade spiced apple butter makes these bars extra special. Just make sure it’s smooth and spreadable – chunky versions can make the layers uneven.
How long do these keep fresh? They stay perfect at room temperature for 3 days in an airtight container. Though honestly? They rarely last that long in my house!
Can I freeze these bars? You bet! Wrap them tightly in plastic wrap, then foil, and freeze for up to 1 month. Thaw overnight in the fridge – they’ll taste just-baked when warmed slightly.
Gluten-free option? Easy fix! Just swap the regular cake mix for your favorite gluten-free yellow cake mix. I’ve had great results with Bob’s Red Mill and King Arthur brands.
Can I double this recipe? Definitely! Use a 9×13 pan instead and increase baking time by about 5 minutes. Perfect for potlucks when you need to feed a crowd!
For More recipes, Follow me on Facebook!