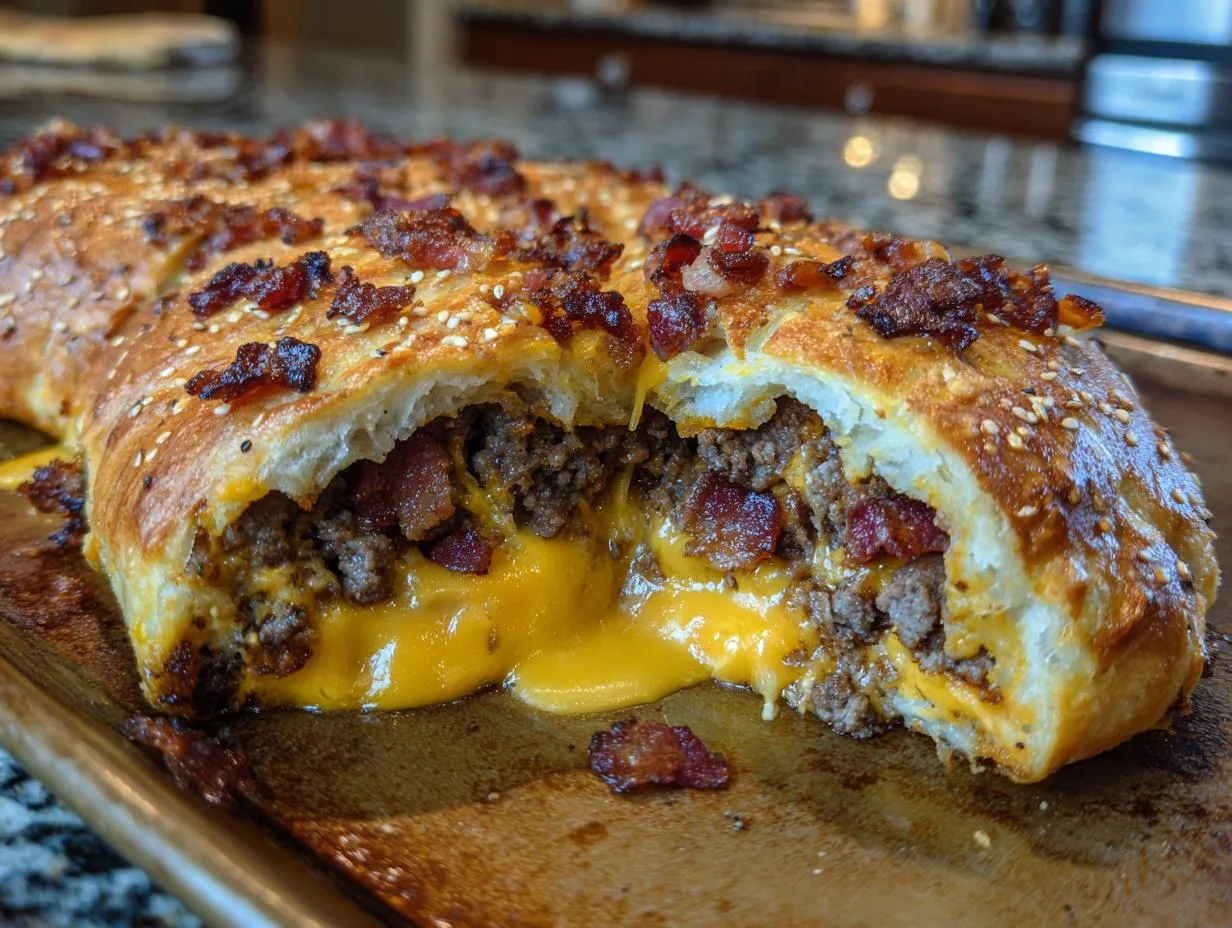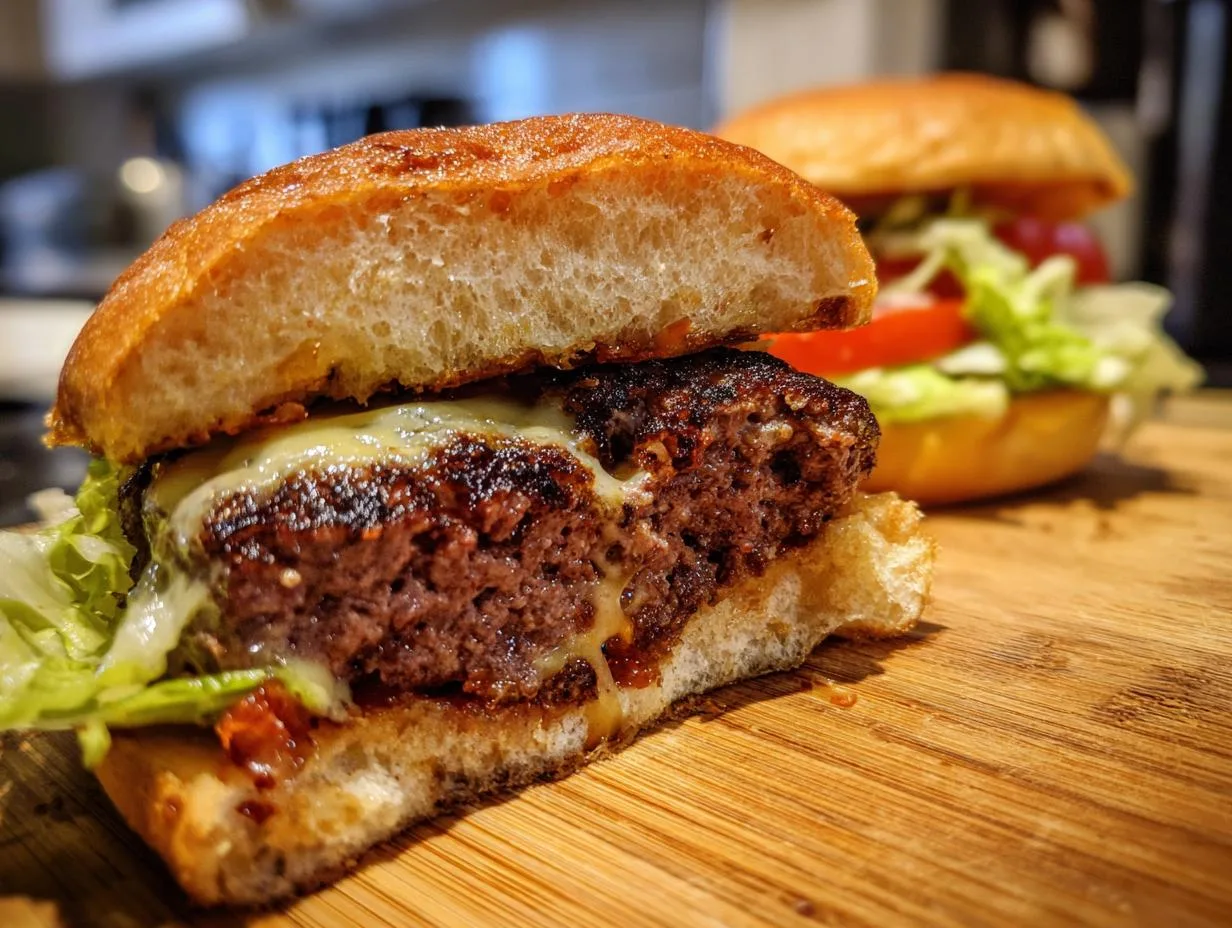
You know those nights when you just want something hearty, cheesy, and ridiculously easy? That’s where my Easy Cheeseburger Garbage Bread comes in. I first made this for a last-minute game night with friends – you should’ve seen their faces when I pulled this golden, cheesy monster out of the oven! As a chef who’s cooked everything from fancy five-course meals to late-night snacks, I can tell you this recipe hits that sweet spot between comfort food and “wow, you made that?”
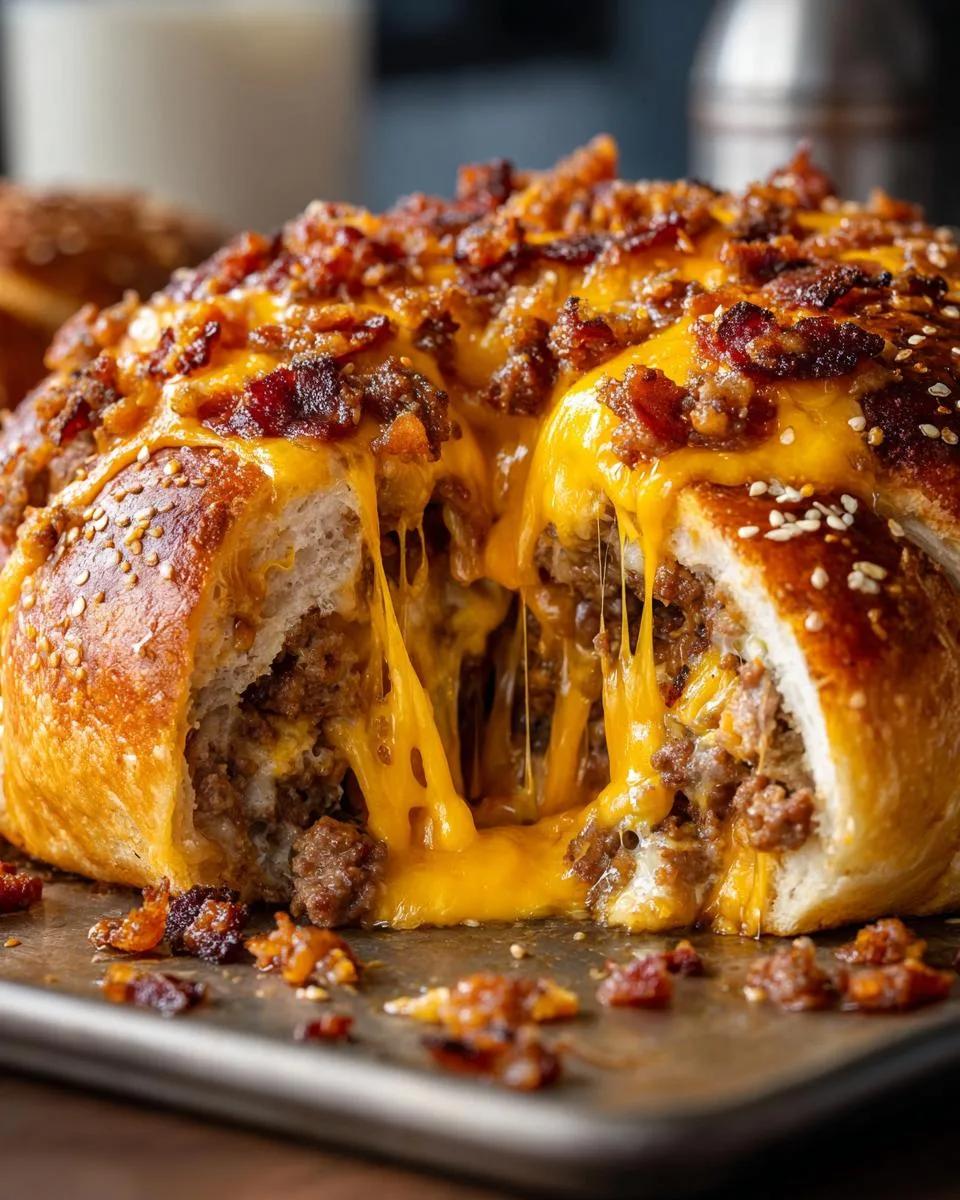
Table of Contents
Table of Contents
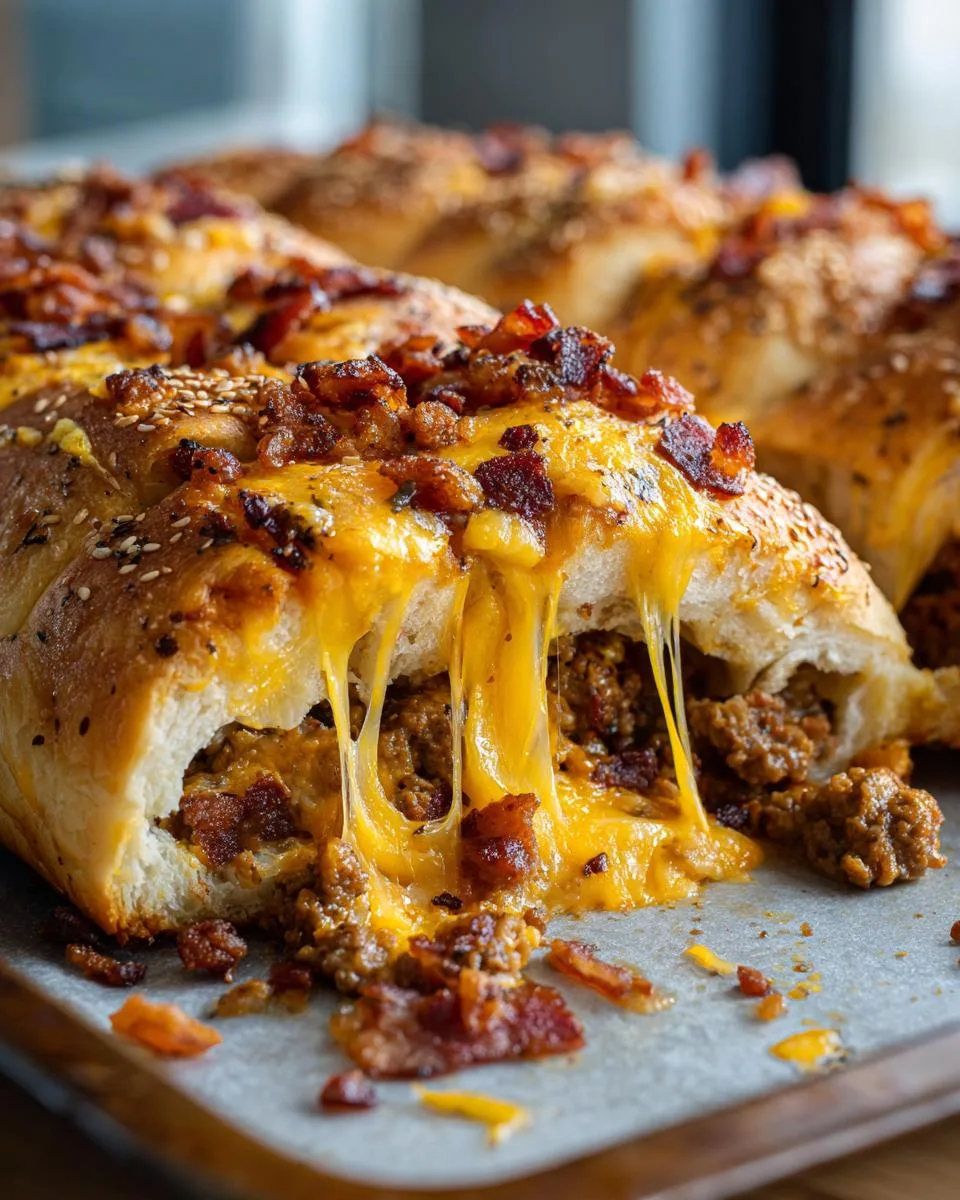
What I love about this garbage bread is how it takes all your favorite burger flavors – the crispy bacon, juicy beef, melty cheese – and wraps them up in warm pizza dough. It’s like if a cheeseburger and a soft pretzel had a delicious baby. The best part? You probably have most of these ingredients in your fridge right now, and from start to finish, we’re talking less than an hour. No fancy techniques, no weird ingredients – just pure, cheesy goodness that’ll have everyone reaching for seconds.
I’ve served this at everything from family dinners to tailgate parties, and it never fails to disappear fast. My nephew actually tried to hide the last piece under his napkin once – that’s how good it is! So roll up your sleeves (and that pizza dough), because we’re about to make the easiest, most crowd-pleasing meal you’ll want to make on repeat.
Why You’ll Love This Easy Cheeseburger Garbage Bread
Trust me, this recipe is about to become your new go-to for crazy-busy nights. Here’s why:
- One-pan wonder: Just cook everything in the same skillet – less mess means more time enjoying that first cheesy bite!
- Weeknight superhero: From fridge to table in under an hour (yes, even with my distracted “oh-I-forgot-the-pickles” moments).
- Crowd-pleaser magic: Kids go nuts for the fun shape, adults love the grown-up burger flavors – nobody complains about dinner tonight.
- Leftover dreams: Tastes even better reheated (if it lasts that long – fair warning).
- Endless variations: Swap in whatever you’ve got – jalapeños? Different cheeses? Go wild!
Seriously, it’s like hugging a cheeseburger – what’s not to love?
Ingredients for Easy Cheeseburger Garbage Bread
Okay, let’s raid the fridge! Here’s everything you’ll need to make this cheesy masterpiece. I’ve grouped them so you can prep like a pro:
- The Meaty Goodness:
- 6 slices bacon (trust me, thick-cut works best here)
- 1 1/2 pounds ground beef (80/20 blend gives perfect juiciness)
- 1 small onion, chopped (yellow or white – whatever’s lurking in your pantry)
- The Cheesy Dream Team:
- 6 slices American cheese (yes, the melty orange kind – no shame!)
- 8 ounces sharp cheddar cheese, shredded (buy pre-shredded if you’re feeling lazy – I won’t tell)
- The Burger Flavor Boosters:
- 1/2 cup diced dill pickles OR pickle relish (my secret tangy weapon)
- 2 tablespoons ketchup (don’t skimp – this adds sweetness)
- 1 tablespoon Dijon mustard (regular yellow works too in a pinch)
- 2 teaspoons Worcestershire sauce (that umami kick!)
- The Dough That Holds It All Together:
- 1 (13.8 ounce) can refrigerated pizza dough (Pillsbury® works great, but store brand is fine)
- The Finishing Touches:
- 1 large egg, beaten (for that gorgeous golden crust)
- 1 tablespoon sesame seeds (because pretty food tastes better)
- Burger sauce for topping (optional, but oh-so-worth it)
See? Nothing fancy – just good, honest ingredients that come together in the most magical way. Pro tip: measure everything out before you start cooking. It makes the whole process smoother, especially when you’re multitasking (or, like me, taste-testing the cheese as you go).
Ingredient Substitutions and Variations
Listen, I’m all about sticking to the original recipe (because it’s perfect), but life happens! Here’s how to tweak this garbage bread when you’re in a pinch or feeding different diets – because nobody should miss out on cheesy burger goodness.
For my meat-lovers with dietary twists:
- Bacon alternatives: Turkey bacon works surprisingly well here – just cook it a bit longer to get crispy. Vegetarian? Try sautéed mushrooms for that umami punch.
- Ground beef swaps: Ground turkey or chicken keeps it lighter (use 85/15 blend for moisture). Going plant-based? Crumbled Beyond Meat or seasoned lentils make great stand-ins.
Cheese changes (because we all have our favorites):
- American cheese haters: Try provolone or Swiss slices instead – they melt beautifully. Vegan? Those new plant-based chedders have come a long way!
- Cheddar alternatives: Pepper jack adds spice, mozzarella gives extra stretch. Dairy-free? Violife’s shredded “cheddar” melts shockingly well.
Flavor boosters for adventurous eaters:
- Pickle rebels: Not a dill fan? Try bread-and-butter pickles for sweetness or jalapeños for heat.
- Sauce switcheroo: Swap ketchup for BBQ sauce, or mix in some sriracha mayo if you like it spicy.
- Extra crunch: Toss in some crispy fried onions or crushed potato chips before rolling – sounds weird, tastes amazing!
The beauty of garbage bread? It’s forgiving. My cousin once made it with leftover taco meat and pepper jack – accidentally invented “Taco Garbage Bread” that’s now a family legend. The only wrong way is not trying it at all!
How to Make Easy Cheeseburger Garbage Bread
Alright, let’s get our hands dirty (in the best way possible)! This recipe comes together in three simple steps that even my kitchen-averse brother could handle. Just follow along, and you’ll have golden, cheesy perfection in no time.
Step 1: Cook the Bacon and Beef
First things first – preheat that oven to 375°F (190°C). While it’s heating up, let’s tackle the bacon. Grab your favorite skillet (I use cast iron for that perfect crisp) and cook those 6 slices over medium heat. You’ll know they’re ready when they’re golden and crispy – about 7-10 minutes. Transfer them to paper towels to drain, then crumble once they’re cool enough to handle.
Now, same skillet (don’t you dare wash it yet!), crank the heat to medium-high and add your ground beef. Break it up with a wooden spoon as it cooks until it’s nicely browned and crumbly – about 5-7 minutes. Drain off the excess grease (pro tip: tilt the skillet and use a spoon to scoop it out), then toss in your chopped onions. Reduce heat to medium and cook until they’re soft and translucent – another 5 minutes should do it.
Remove from heat and stir in your crumbled bacon, pickles, ketchup, mustard, and Worcestershire sauce. Give it a taste – it should smell like the best burger you’ve ever had!
Step 2: Assemble the Fillings
Line a baking sheet with parchment paper and sprinkle it lightly with flour. Now, unroll your pizza dough onto the sheet – don’t worry if it’s not perfect! Use your fingers to press and stretch it into roughly a 10×15-inch rectangle. It doesn’t have to be exact – mine usually ends up looking like a slightly drunk map of Texas.
Spoon that glorious meat mixture down the center lengthwise, leaving about 2 inches at each end. Layer on your American cheese slices (rip them in half if needed to cover evenly), then sprinkle with half of your shredded cheddar. This is where you’ll want to resist the urge to just eat the filling straight from the bowl – trust me, it’s worth the wait!
Step 3: Shape and Bake the Bread
Here comes the fun part! Using kitchen scissors or a sharp knife, make 2-inch cuts into the dough from both long edges toward the center, spacing them about 1 inch apart. Now, starting at the top, alternate folding the strips diagonally over the filling in a crisscross pattern – it should look like a delicious edible braid when you’re done.
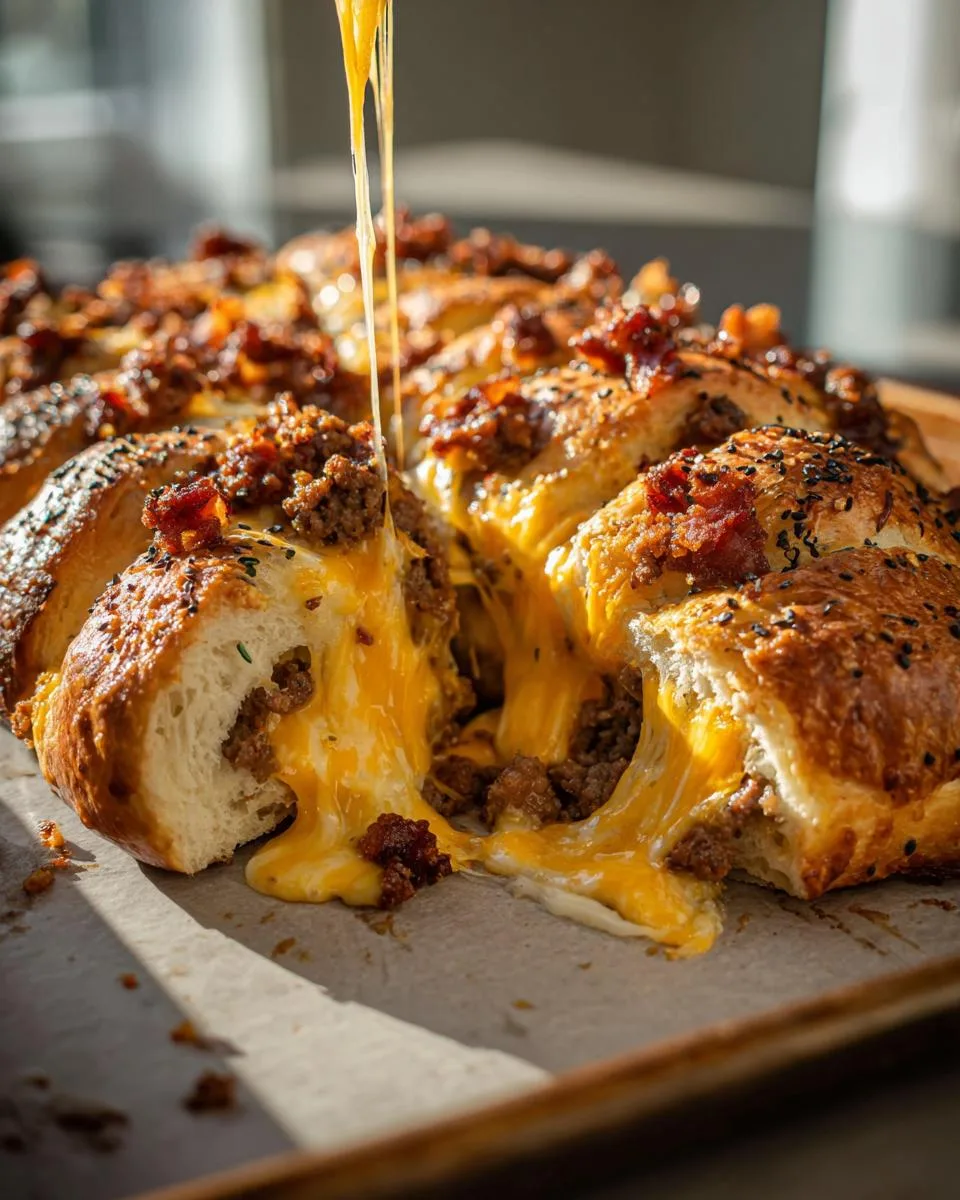
Brush the whole thing with your beaten egg (this gives it that beautiful golden shine), sprinkle with sesame seeds and the remaining cheddar. Pop it in the oven and bake for about 30 minutes, until it’s golden brown and the cheese is bubbling. Your kitchen will smell like heaven!
Let it cool for 5 minutes before slicing – I know it’s hard to wait, but this prevents all the cheesy goodness from oozing out immediately. Serve with extra burger sauce for dipping if you’re feeling fancy!
Print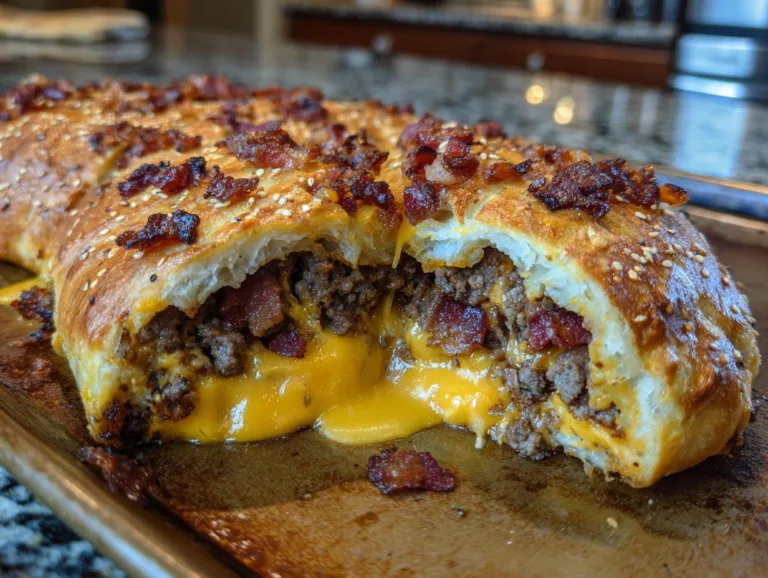
Easy Cheeseburger Garbage Bread – 1 Irresistible Cheesy
A delicious and easy-to-make cheeseburger garbage bread filled with ground beef, bacon, cheese, and classic burger toppings.
- Total Time: 50 minutes
- Yield: 6 servings 1x
Ingredients
- 6 slices bacon
- 1 1/2 pounds ground beef
- 1 small onion, chopped
- 1/2 cup diced dill pickle or dill pickle relish
- 2 tablespoons ketchup
- 1 tablespoon Dijon mustard
- 2 teaspoons Worcestershire sauce
- 1 (13.8 ounce) can refrigerated pizza dough, such as Pillsbury®
- 6 slices American cheese
- 8 ounces Cheddar cheese, shredded
- 1 large egg, beaten
- 1 tablespoon sesame seeds
- burger sauce, for topping (optional)
Instructions
- Preheat the oven to 375 degrees F (190 degrees C).
- Fry bacon in a skillet over medium heat until crisp, 7 to 10 minutes. Remove from the skillet to drain on paper towels; crumble when cool enough to handle.
- Heat a large skillet over medium-high heat. Cook and stir ground beef in the hot skillet until browned and crumbly, 5 to 7 minutes. Drain and discard grease. Add onions to the skillet, reduce heat to medium, and continue cooking until softened, about 5 minutes. Remove from heat and stir in bacon, pickles, ketchup, mustard, and Worcestershire sauce; set aside.
- Line a baking sheet with parchment, and sprinkle parchment lightly with flour. Unroll pizza dough onto the baking sheet. Press and stretch dough into a 10×15-inch rectangle.
- Spoon meat mixture down the center of the dough lengthwise. Place American cheese slices over meat; sprinkle evenly with half the Cheddar cheese.
- Make 2-inch cuts into the dough from both long edges toward the meat mixture in the center, about 1 inch apart. Starting at the top, stretch each strip across in a crisscross pattern to form a loaf.
- Brush the loaf with beaten egg. Sprinkle with sesame seeds and top with remaining Cheddar.
- Bake in the preheated oven until cheese begins to turn golden brown, about 30 minutes.
Notes
- Optional burger sauce adds extra flavor.
- Adjust cheese quantities to your preference.
- Serve warm for best taste.
- Prep Time: 20 minutes
- Cook Time: 30 minutes
- Category: Main Dish
- Method: Baking
- Cuisine: American
- Diet: Low Lactose
Nutrition
- Serving Size: 1 slice
- Calories: 450
- Sugar: 3g
- Sodium: 800mg
- Fat: 25g
- Saturated Fat: 12g
- Unsaturated Fat: 10g
- Trans Fat: 0g
- Carbohydrates: 30g
- Fiber: 2g
- Protein: 25g
- Cholesterol: 90mg
Tips for Perfect Easy Cheeseburger Garbage Bread
After making this recipe more times than I can count (and surviving a few hilarious kitchen disasters), I’ve learned some tricks to guarantee garbage bread greatness every time. Here are my hard-earned secrets:
1. The parchment paper lifeline: Don’t skip lining your baking sheet! That melty cheese wants to stick like crazy, and nothing ruins the moment faster than half your beautiful bread staying glued to the pan. A light flour dusting on the parchment gives extra insurance.
2. The Goldilocks dough principle: Your pizza dough should be just right – not too cold (it’ll tear when stretching), not too warm (gets sticky). I leave mine on the counter for about 15 minutes while prepping other ingredients. If it starts resisting, walk away for 2 minutes – dough has attitude but always relents!
3. The cheese shield: Notice how we only use half the cheddar in the filling? That’s because the other half goes on top to create a protective layer that keeps the bread from drying out. Learned this after my first attempt came out looking like a cheese-less desert landscape.
4. The patience payoff: I know it’s torture, but letting the bread rest for 5-10 minutes after baking means cleaner slices. Cut too soon, and you’ll have cheesy lava flowing everywhere (delicious, but messy). Use this time to whip up a quick burger sauce!
5. The emergency save: If your bread starts browning too fast, tent it loosely with foil. My oven runs hot, so I usually check at 20 minutes – better safe than sorry with all that cheesy investment!
Serving and Storing Easy Cheeseburger Garbage Bread
Okay, you’ve got this golden, cheesy masterpiece out of the oven – now what? First rule: resist the urge to dive in face-first (though I won’t judge if you do). Let’s talk about serving this beauty and what to do with leftovers (if you’re lucky enough to have any!).
Serving suggestions that’ll make you look fancy:
- The classic burger experience: Slice it thick and serve with extra pickles, a simple side salad, and maybe some crispy fries if you’re feeling indulgent. Don’t forget the burger sauce for dipping!
- Game day hero: Cut into smaller pieces for perfect finger food at parties. I like to arrange them on a platter with little bowls of different sauces – ranch, BBQ, even honey mustard for the adventurous eaters.
- Breakfast of champions: Hear me out – leftover garbage bread reheated with a fried egg on top? Life-changing. My husband thought I was crazy until he tried it.
Storing your precious leftovers:
Let’s be real – this bread tastes best fresh from the oven, but here’s how to keep it delicious for later:
- Room temp short-term: If you’re serving it within 2 hours, just cover loosely with foil. The cheese stays gloriously melty this way.
- Fridge storage: Cool completely, then wrap tightly in foil or store in an airtight container. It’ll keep for up to 3 days (though mine never lasts that long).
- Freezing (yes, really!): Wrap individual slices in plastic wrap, then foil. Freeze for up to 2 months. Perfect for emergency cheeseburger cravings!
Reheating like a pro:
Microwaving works in a pinch, but for that just-baked magic:
- Oven method: Wrap in foil and heat at 350°F for 10-15 minutes. Remove foil for the last 2 minutes to crisp up the crust.
- Air fryer revival: My secret weapon! 350°F for 3-5 minutes gives you that perfect crispy-chewy texture again.
- Skillet trick: For single slices, heat a dry skillet over medium-low. Add your bread and cover for 2 minutes to melt the cheese, then uncover to crisp the bottom.
Pro tip: If you’re planning ahead, you can actually assemble the whole thing (minus the egg wash) and refrigerate overnight. Just add the egg wash and sesame seeds right before baking – perfect for stress-free entertaining!
Nutritional Information
Now, let’s be real – we’re not making this cheeseburger garbage bread because it’s a salad! But I know some folks like to keep track, so here’s the nutritional breakdown per serving (about 1/6th of the loaf). Remember, these are estimates – your exact numbers might vary depending on the brands you use and how generous you are with the cheese (no judgment here!).
- Calories: Around 450 kcal (worth every single one!)
- Protein: 25g (thanks to all that beef and cheese)
- Carbs: 30g (mostly from that delicious dough)
- Sugar: 3g (just enough to balance the savory flavors)
- Sodium: 800mg (hey, bacon and pickles pack a salty punch)
- Fat: 25g (12g saturated – it’s comfort food, not health food!)
- Fiber: 2g (from the onions and whole wheat in some pizza doughs)
- Cholesterol: 90mg (mostly from the eggs and cheese)
If you’re watching certain nutrients, here are my chef-approved tweaks: Use leaner ground beef (90/10) to cut fat, low-sodium bacon (or turkey bacon), and reduced-fat cheeses to lighten it up a bit. But honestly? Sometimes you just need to enjoy the cheesy, beefy goodness as-is – life’s too short not to!
Frequently Asked Questions
I’ve gotten so many questions about this recipe from friends and family (and random neighbors who smelled it baking), so here are answers to the most common ones:
Q1. Can I use homemade pizza dough instead of canned?
Absolutely! I’ve done it both ways – just roll your homemade dough to about 1/4-inch thickness. The canned stuff is convenient, but homemade gives you that extra special touch. Pro tip: If your dough is very elastic, let it rest for 10 minutes after rolling to prevent shrinking.
Q2. Help! My bread split open while baking – what went wrong?
Oh no! This usually happens if you stretched the dough too thin or didn’t seal the ends well. Next time, leave about 3 inches of dough at each end before adding filling, and pinch those ends closed tightly. A little tear isn’t the end of the world though – just call it “rustic” and pile on extra cheese!
Q3. Can I prep this ahead of time?
You sure can! Assemble everything except the egg wash, wrap tightly in plastic, and refrigerate for up to 12 hours. When ready to bake, add the egg wash and sesame seeds, then pop it in the oven – you might need to add 5 extra minutes since it’s starting cold.
Q4. What’s the best way to reheat leftovers?
My favorite method is the air fryer at 350°F for 3-5 minutes – gets it crispy again! No air fryer? The oven at 350°F wrapped in foil for 10 minutes works great too. Microwave works in a pinch, but the crust won’t be as nice.
Q5. Can I freeze unbaked garbage bread?
Yes! Assemble completely (including egg wash), wrap tightly in plastic then foil, and freeze for up to 2 months. Bake straight from frozen, adding about 10-15 extra minutes. Just check that the center is hot before serving.
Share Your Easy Cheeseburger Garbage Bread
Nothing makes me happier than seeing your versions of this recipe come to life! Over the years, I’ve gotten the most hilarious (and delicious-looking) photos from readers who’ve made their own garbage bread creations. My favorite was from a college student who used it to impress their roommate – complete with mismatched plates and a proud thumbs-up in the background.
If you give this recipe a try, I’d love to hear how it turned out for you. Did you add any fun twists? Maybe some jalapeños for heat or swapped in different cheeses? Snap a pic of your golden, cheesy masterpiece and tag me @Dishivia on Instagram – I always get a kick out of seeing your kitchen adventures!
And hey, if you ran into any hilarious kitchen disasters along the way (we’ve all been there!), share those too. My first attempt at this recipe involved forgetting the parchment paper…let’s just say I spent more time scraping cheese off the pan than actually eating. Your stories and photos make this whole cooking community feel like one big, messy, delicious family.
Happy baking, friends – may your garbage bread always be cheesy and your kitchen adventures always be memorable!
For More recipes, Follow me on Facebook!