The moment a pot of chili starts simmering, the whole house changes—suddenly it smells like comfort, like everyone should grab a bowl and settle in.
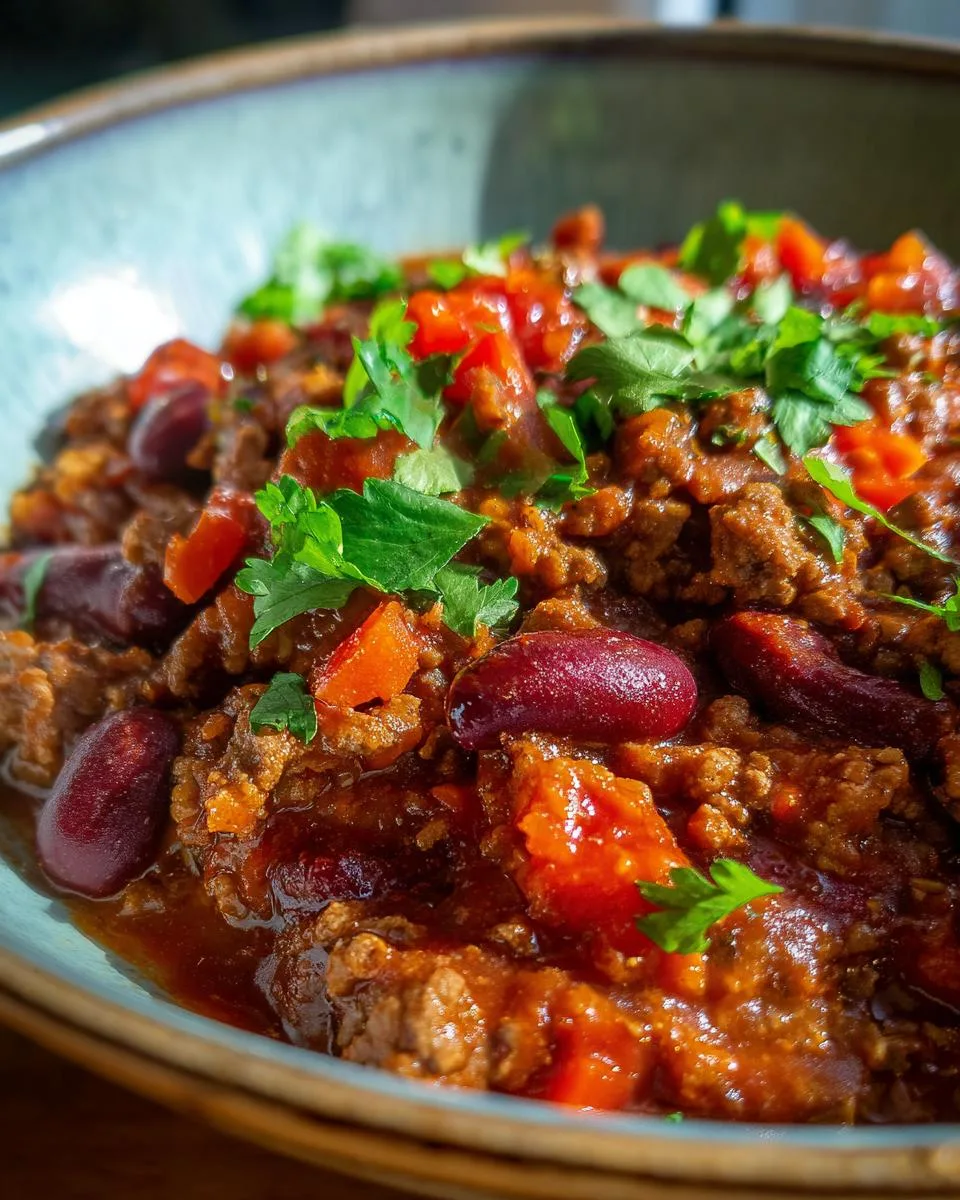
Table of Contents
Table of Contents
After making more batches of chili than I can count, this classic chili is the one I always come back to. Not because it’s fancy (it isn’t), but because it nails what matters: deep, layered flavor, tender beef, and that perfect thick, hearty texture that clings to the spoon.
The “secret” is really just smart little details—tomato paste for richness, a tiny touch of sugar to round out the spice, and adding the beans at the right time so they stay perfectly tender instead of turning mushy. It’s a reliable, crowd-feeding pot of goodness you can make in about an hour with pantry staples… and once you try it, you’ll understand why it’s the chili that never leaves my rotation.
Why You’ll Love The Best Classic Chili
Oh, where do I even begin? This chili recipe has been my kitchen companion through countless cozy nights and rowdy game day parties. Here’s why it’ll become your favorite too:
- Effortless magic: Just brown, stir, and simmer – no fancy techniques needed. Even my teenage nephew can make this without calling for help!
- Flavor fireworks: That perfect blend of cumin and chili powder creates layers of taste that’ll make your taste buds dance. The secret pinch of sugar? Pure genius.
- Crowd-pleaser extraordinaire: I’ve lost count of how many times this pot has saved me when unexpected guests show up. It always disappears fast!
- Your heat, your rules: Love it spicy? Add extra cayenne. Prefer mild? Leave it out. This recipe bends to your taste like a good friend should.
The best part? Leftovers taste even better the next day – if you manage to have any left!
Ingredients for The Best Classic Chili
You know what I love about this chili? It’s made with simple ingredients that pack a huge flavor punch. Here’s everything you’ll need to make magic happen in your pot:
- 1 tablespoon olive oil – Just enough to get those onions going without making things greasy
- 1 medium yellow onion – diced (about 1 cup) – Don’t rush the dice – even pieces mean even cooking!
- 1 pound 90% lean ground beef – The perfect balance of flavor and leanness, trust me on this
- 2 1/2 tablespoons chili powder* – The heart and soul of any great chili (I use a blend of ancho and regular)
- 2 tablespoons ground cumin – That warm, earthy note that makes chili taste like home
- 2 tablespoons granulated sugar – My secret weapon to balance all those bold flavors
- 2 tablespoons tomato paste – Look for the tubes – they last forever in the fridge!
- 1 tablespoon garlic powder – Because fresh garlic burns too easily when browning meat
- 1 1/2 teaspoons salt – Start with this, then adjust at the end if needed
- 1/2 teaspoon ground black pepper – Freshly cracked if you’ve got it
- 1/4 teaspoon ground cayenne pepper** – Optional, but gives that nice back-of-the-throat warmth
- 1 1/2 cups beef broth – Low-sodium if you’re watching salt intake
- 1 (15 oz.) can petite diced tomatoes – With their juices – that liquid gold goes right in!
- 1 (16 oz.) can red kidney beans, drained and rinsed – The classic choice, but see my swaps below
- 1 (8 oz.) can tomato sauce – Not paste! Sauce gives body without overpowering
*Pro tip: If your chili powder has been sitting in the pantry for ages, do yourself a favor and grab fresh – it makes ALL the difference in flavor!
Ingredient Substitutions
Listen, I get it – sometimes you’re staring into your pantry thinking “I don’t have THAT!” No worries – this chili is crazy flexible. Here are my favorite swaps that still deliver amazing flavor:
- Ground turkey or chicken instead of beef – just add an extra tablespoon of olive oil since they’re leaner
- Black beans or pinto beans work beautifully if kidney beans aren’t your thing (or you forgot to buy them)
- Fire-roasted tomatoes add a nice smoky twist if you’re out of regular diced
- Vegetable broth makes this vegetarian-friendly – just skip the meat or use plant-based crumbles
- Brown sugar or honey can stand in for white sugar in a pinch
The beauty of chili? It forgives almost any substitution – except maybe skipping the chili powder. That’s where we draw the line!
How to Make The Best Classic Chili
Alright, let’s get cooking! I promise this is easier than it looks – just follow these simple steps and you’ll have a pot of chili that’ll make your whole house smell amazing.
Step 1: Sauté the Onions
First, grab your favorite big pot (I use my trusty Dutch oven) and warm up that olive oil over medium-high heat. Give it about 2 minutes to get nice and shimmery.
Toss in your diced onions and let them work their magic! Stir them occasionally while they cook for about 5 minutes – you’ll know they’re ready when they turn translucent and smell sweet. This step builds your flavor foundation, so don’t rush it!
Step 2: Brown the Ground Beef
Now for the beef! Crumble it into the pot with your onions – I like to use a wooden spoon to really break it up as it cooks. Keep stirring occasionally while it browns for 6-7 minutes. You want those little crumbles to get some nice color but not dry out. Pro tip: If there’s a lot of fat, you can drain some off – but leave about a tablespoon for flavor!
Step 3: Add Spices and Simmer
Here’s where the magic happens! Sprinkle in all those beautiful spices – chili powder, cumin, sugar, tomato paste, garlic powder, salt, pepper, and cayenne if you’re using it. Stir everything really well until your kitchen smells incredible and the beef is perfectly coated.
Now pour in the broth, tomatoes (with their juice!), beans, and tomato sauce. Give it a good stir, bring it to a low boil, then reduce the heat to a gentle simmer. Let it bubble uncovered for 20-25 minutes, stirring occasionally – this is when all those flavors become best friends.
Step 4: Adjust Consistency and Serve
Almost there! Turn off the heat and let your chili rest for 5-10 minutes – this helps the flavors settle and the perfect thickness develop. If it seems too thick, stir in a splash more broth.
Too thin? Let it simmer a bit longer. Then grab your bowls – this chili is ready to make someone’s day! The resting time is crucial, so resist the urge to dive right in (though I know it’s hard when it smells this good).
Print
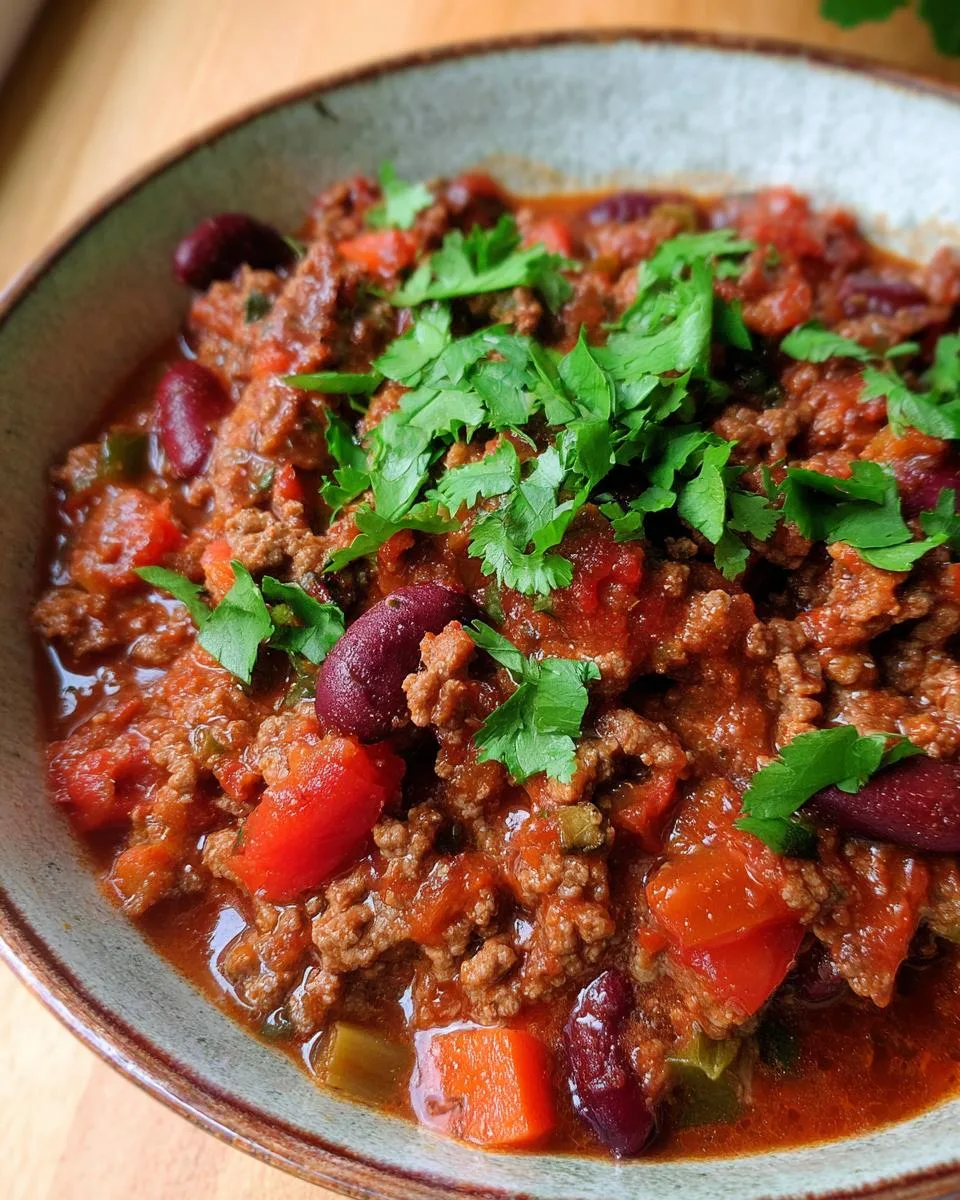
The Best Classic Chili Recipe – 1 Pot Comfort Magic
A hearty and flavorful classic chili recipe that’s easy to make and perfect for any occasion.
- Total Time: 50 minutes
- Yield: 6 servings 1x
Ingredients
- 1 tablespoon olive oil
- 1 medium yellow onion -diced
- 1 pound 90% lean ground beef
- 2 1/2 tablespoons chili powder*
- 2 tablespoons ground cumin
- 2 tablespoons granulated sugar
- 2 tablespoons tomato paste
- 1 tablespoon garlic powder
- 1 1/2 teaspoons salt
- 1/2 teaspoon ground black pepper
- 1/4 teaspoon ground cayenne pepper** -optional
- 1 1/2 cups beef broth
- 1 (15 oz.) can petite diced tomatoes
- 1 (16 oz.) can red kidney beans, drained and rinsed
- 1 (8 oz.) can tomato sauce
Instructions
- Add the olive oil to a large soup pot and place it over medium-high heat for two minutes. Add the onion. Cook for 5 minutes, stirring occasionally.
- Add the ground beef to the pot. Break it apart with a wooden spoon. Cook for 6-7 minutes, until the beef is browned, stirring occasionally.
- Add the chili powder, cumin, sugar, tomato paste, garlic powder, salt, pepper, and optional cayenne. Stir until well combined.
- Add the broth, diced tomatoes (with their juice), drained beans, and tomato sauce. Stir well.
- Bring the liquid to a low boil. Then, reduce the heat (low to medium-low) to gently simmer the chili, uncovered, for 20-25 minutes, stirring occasionally.
- Remove the pot from the heat. Let the chili rest for 5-10 minutes before serving.
Notes
- Adjust the cayenne pepper to your preferred spice level.
- For a thicker chili, simmer longer. For a thinner consistency, add more broth.
- Prep Time: 15 minutes
- Cook Time: 35 minutes
- Category: Main Course
- Method: Stovetop
- Cuisine: American
- Diet: Low Lactose
Nutrition
- Serving Size: 1 bowl
- Calories: 320
- Sugar: 8g
- Sodium: 850mg
- Fat: 12g
- Saturated Fat: 4g
- Unsaturated Fat: 6g
- Trans Fat: 0g
- Carbohydrates: 30g
- Fiber: 7g
- Protein: 22g
- Cholesterol: 50mg
Tips for Perfect The Best Classic Chili
After making this chili more times than I can count, I’ve picked up some tricks that’ll take yours from good to “wow!” Here are my can’t-live-without tips:
- Spice control is everything: That 1/4 teaspoon cayenne is just a starting point! Add a pinch more if you love heat, or skip it entirely for kid-friendly mildness. Taste as you go – you can always add but you can’t take away!
- Patience makes perfect thickness: Want a chili that coats your spoon? Let it simmer uncovered those full 25 minutes (even 30 won’t hurt!). The liquid reduces, concentrating all those amazing flavors.
- Rest time is magic time: I know it’s tempting to eat immediately, but letting it sit 10 minutes off heat transforms the texture. The starches relax and everything comes together beautifully.
- Bean secret: Rinse those kidney beans extra well – the starchy liquid in the can can make your chili gloppy. Cold water is your friend here!
Remember – great chili isn’t rushed. The longer those flavors mingle, the happier your taste buds will be!
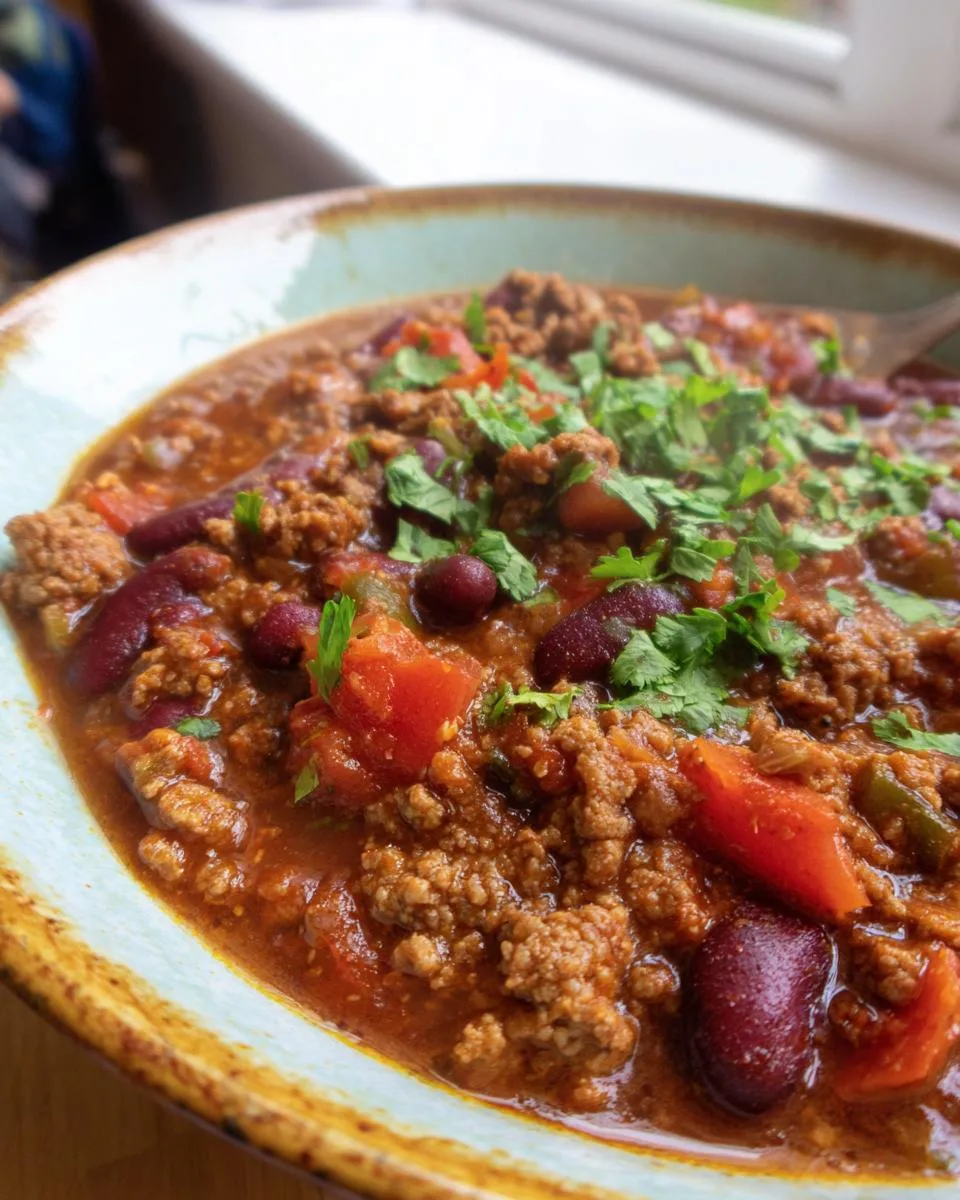
Serving Suggestions for The Best Classic Chili
Now for the fun part – dressing up your masterpiece! A bowl of this chili is like a blank canvas just waiting for your personal touch. My absolute must-have? A big hunk of warm cornbread – that sweet crumbly goodness is chili’s best friend. But don’t stop there! Here’s how I love to serve it:
- A dollop of cool sour cream swirled on top cuts through the richness
- Shredded sharp cheddar that melts into gooey perfection
- Fresh diced red onions or scallions for crunch
- Sliced jalapeños if you’re feeling spicy
- A handful of crushed tortilla chips for texture
Pro tip: Set up a “chili bar” with all the fixings – it turns dinner into a party!
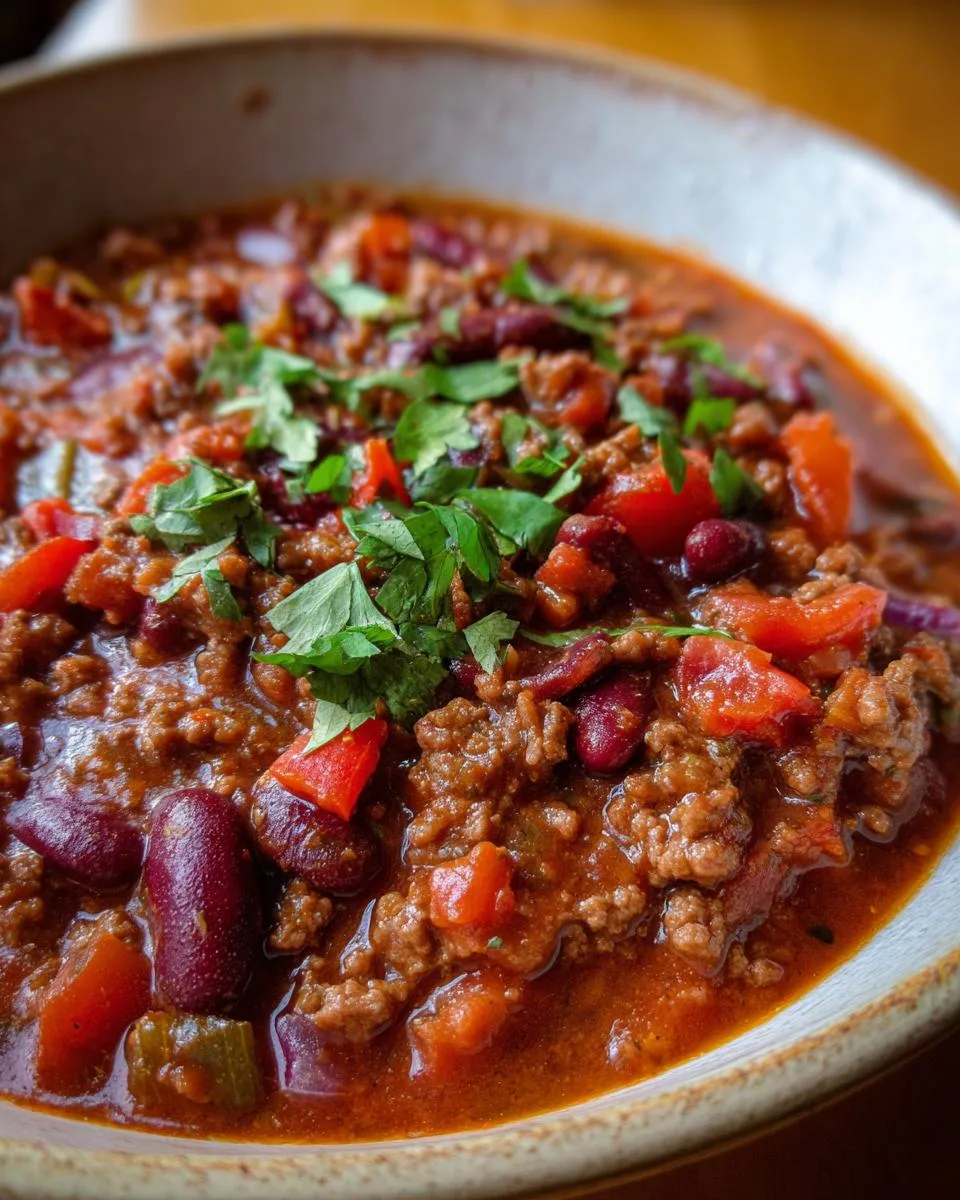
Storing and Reheating The Best Classic Chili
Here’s the beautiful thing about this chili – it might actually taste better the next day! When I make a big batch (which is always), I store leftovers in airtight containers in the fridge for up to 3 days. The flavors just keep getting happier together!
For longer storage, freeze it in portion-sized containers – it keeps beautifully for 3 months. When reheating, do it gently on the stove with a splash of broth to bring back that perfect saucy consistency. Microwave works in a pinch, but stir every minute – nobody likes cold spots in their chili!
Pro tip: Write the date on freezer containers with a sharpie. Future you will be so grateful when you find this treasure on a busy night!
Nutritional Information
Now, I know what you’re thinking – “Chili can’t possibly be good for me!” But surprise – this classic chili packs some serious nutrition in every bowl. Here’s the scoop on what you’re getting per serving (about 1 1/2 cups):
- 320 calories – Perfectly portioned for a satisfying meal
- 22g protein – Thanks to that lean ground beef and fiber-rich beans
- 7g fiber – From the kidney beans and tomatoes – your gut will thank you!
- 30g carbs – Just enough for energy without overdoing it
- 12g fat (only 4g saturated) – The good kind from olive oil and that 90% lean beef
Now, here’s my chef’s disclaimer – these numbers can vary based on your exact ingredients. Used turkey instead of beef? Numbers change slightly. Went heavy on the cheese topping? Well… we won’t judge! The beauty is you can tweak this recipe to fit your nutritional needs while still enjoying every delicious bite.
What I love most is how this chili gives you serious comfort food vibes while actually being pretty balanced. It’s got protein to keep you full, fiber for digestion, and just enough carbs to feel satisfied. Not bad for a bowl that tastes this good, right?
Frequently Asked Questions
Over the years, I’ve gotten so many great questions about this chili recipe – here are the ones that pop up most often:
Can I make this chili vegetarian?
Absolutely! Just swap the ground beef for plant-based crumbles or an extra can of beans, and use vegetable broth instead of beef broth. The spices and everything else stay the same – it’ll still have that classic chili flavor you love. My vegetarian friends go crazy for this version!
How can I reduce the sodium?
Easy fixes here! Use low-sodium or no-salt-added canned goods (tomatoes, beans, sauce), and opt for low-sodium beef broth. You can also cut the added salt in half – the other spices provide plenty of flavor. Taste at the end and add just a pinch more if needed.
Why add sugar to chili?
I know it sounds weird, but trust me – that little bit of sugar balances all the bold flavors beautifully. It’s not enough to make it sweet, just enough to round out the acidity from the tomatoes and the heat from the spices. If you’re skeptical, try making it without first – then you’ll see what I mean!
Can I make this in a slow cooker?
You bet! Just brown the beef and onions first (this step is crucial for flavor), then dump everything in your crockpot. Cook on low for 6-8 hours or high for 3-4 hours. The longer cook time actually makes the flavors even richer!
What’s the best way to freeze leftovers?
I freeze chili in individual portions using freezer-safe containers or heavy-duty ziplock bags (laid flat to save space). Leave about an inch of room at the top since liquids expand. Thaw overnight in the fridge or reheat straight from frozen – just add a splash of broth when warming to bring back that perfect consistency.
Share Your Experience
Nothing makes me happier than seeing your chili adventures! Did you add an extra kick of cayenne? Maybe you discovered the perfect cheese topping combo? I want to hear all about it. Drop a comment below and tell me how your version turned out – your tweaks might just inspire someone else’s perfect pot!
Snapped a photo of that gorgeous bowl? Tag me @Dishivia on Instagram – I love featuring your creations in my stories! And if this recipe became your new go-to, I’d be over the moon if you left a star rating. It helps other chili lovers find this recipe too. You can also find more delicious recipes on our recipes page.
Remember, cooking is all about sharing the love – just like my grandma taught me. Now grab a spoon, dig in, and let’s keep this chili conversation going!
For More recipes, Follow me on Facebook!