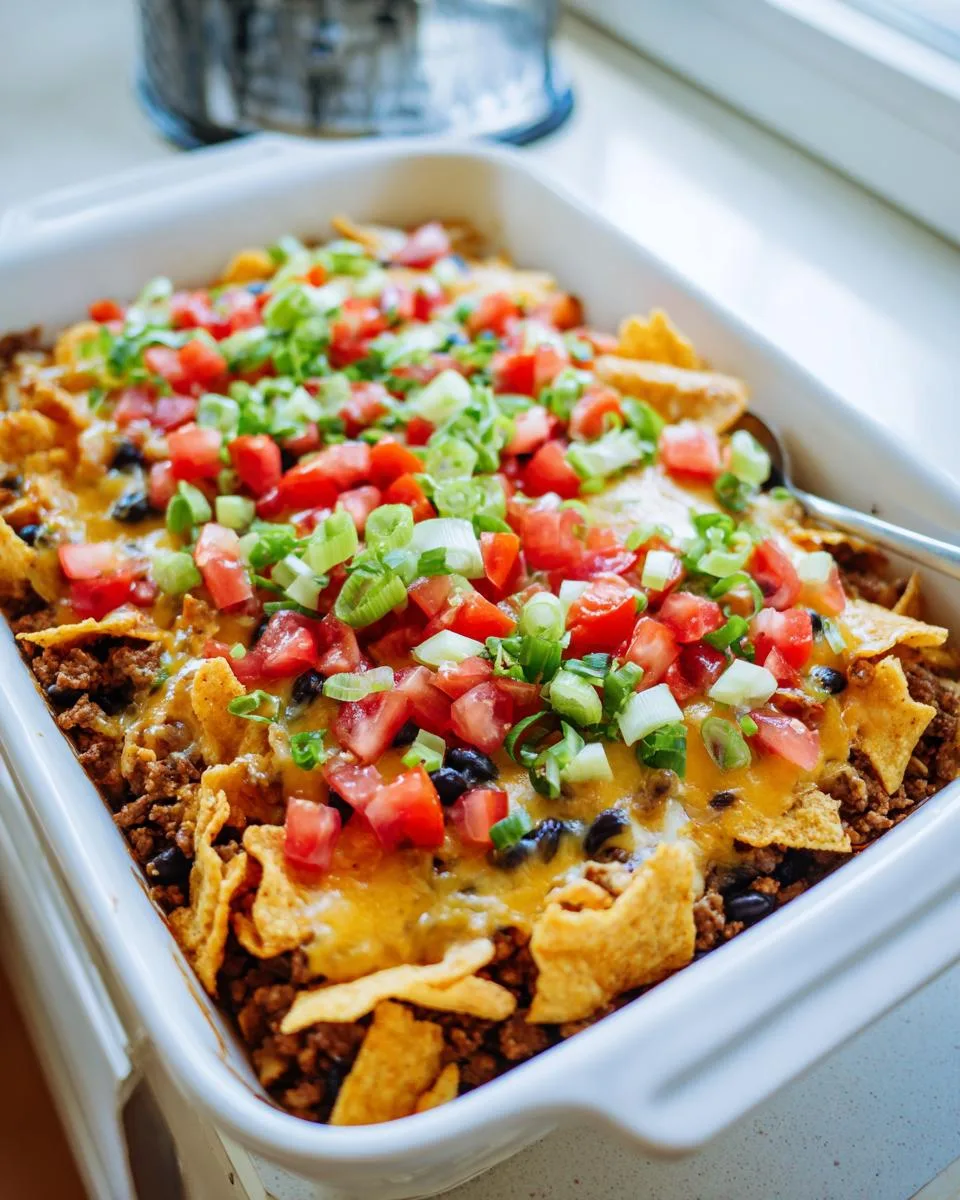
Oh my gosh, you guys – this Walking Taco Casserole is my absolute go-to when I need something quick, delicious, and guaranteed to disappear fast! Picture all the messy fun of walking tacos – that perfect crunch of Fritos, melty cheese, and savory taco meat – but in one easy-to-scoop baked dish. No more chasing runaway toppings across your plate!
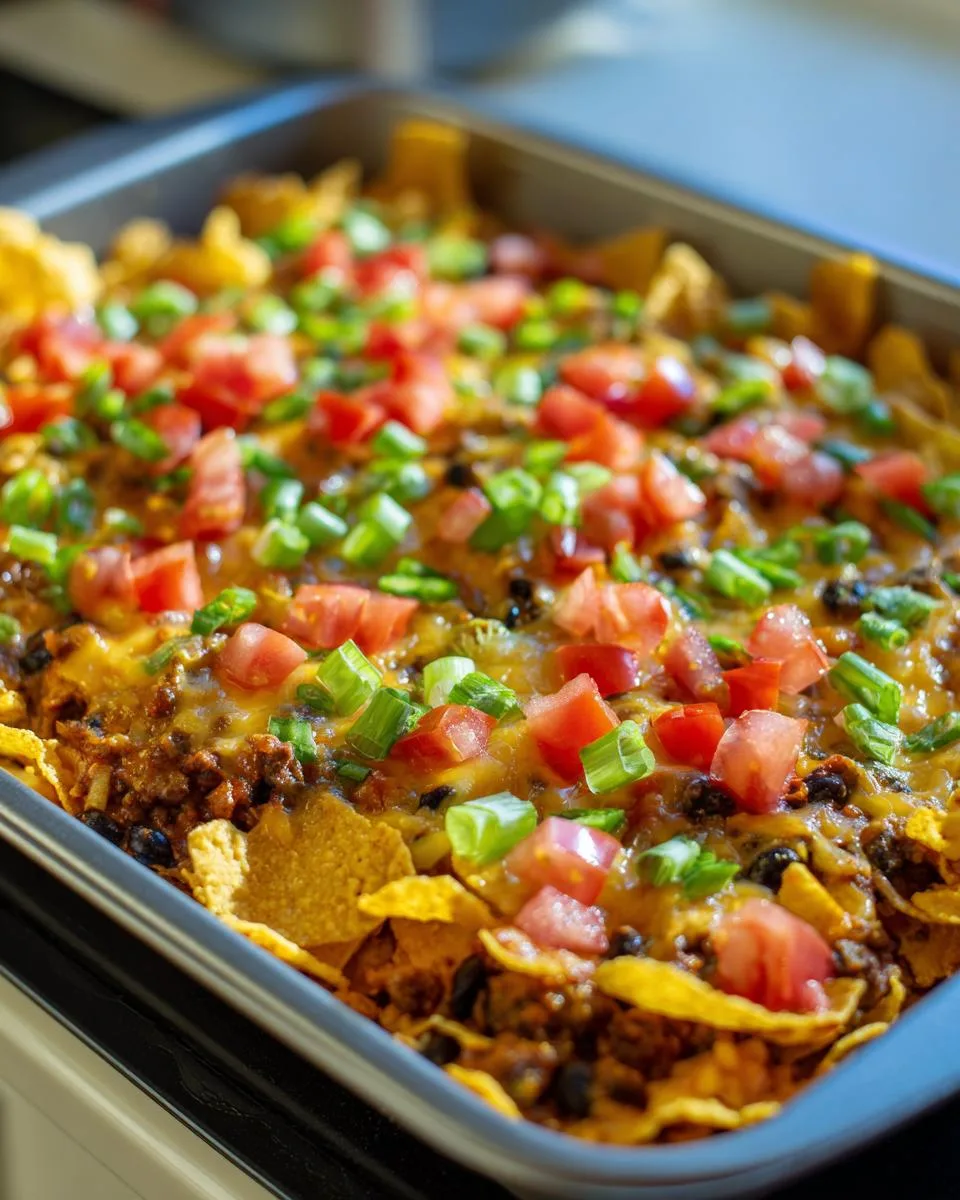
Table of Contents
Table of Contents
I first made this for a chaotic family game night when my nephew declared regular tacos “too much work.” One bite and we were all hooked – the flavors blend together beautifully while baking, and those corn chips stay perfectly crisp on top. It’s become my secret weapon for potlucks, busy weeknights, and anytime I want that taco fix without the fuss.
The best part? You probably have most ingredients already. Ground beef, some pantry staples, and whatever toppings you love – done in about 40 minutes flat. Trust me, this is the kind of comfort food that’ll have everyone asking for seconds!
Why You’ll Love This Walking Taco Casserole
Listen, I don’t just like this recipe—I’m obsessed! Here’s why you will be too:
- Weeknight lifesaver: From fridge to table in 40 minutes flat—even faster than waiting in line at a taco truck!
- Customizable magic: Swap toppings like you’re at a taco bar—extra jalapeños for me, extra guac for you.
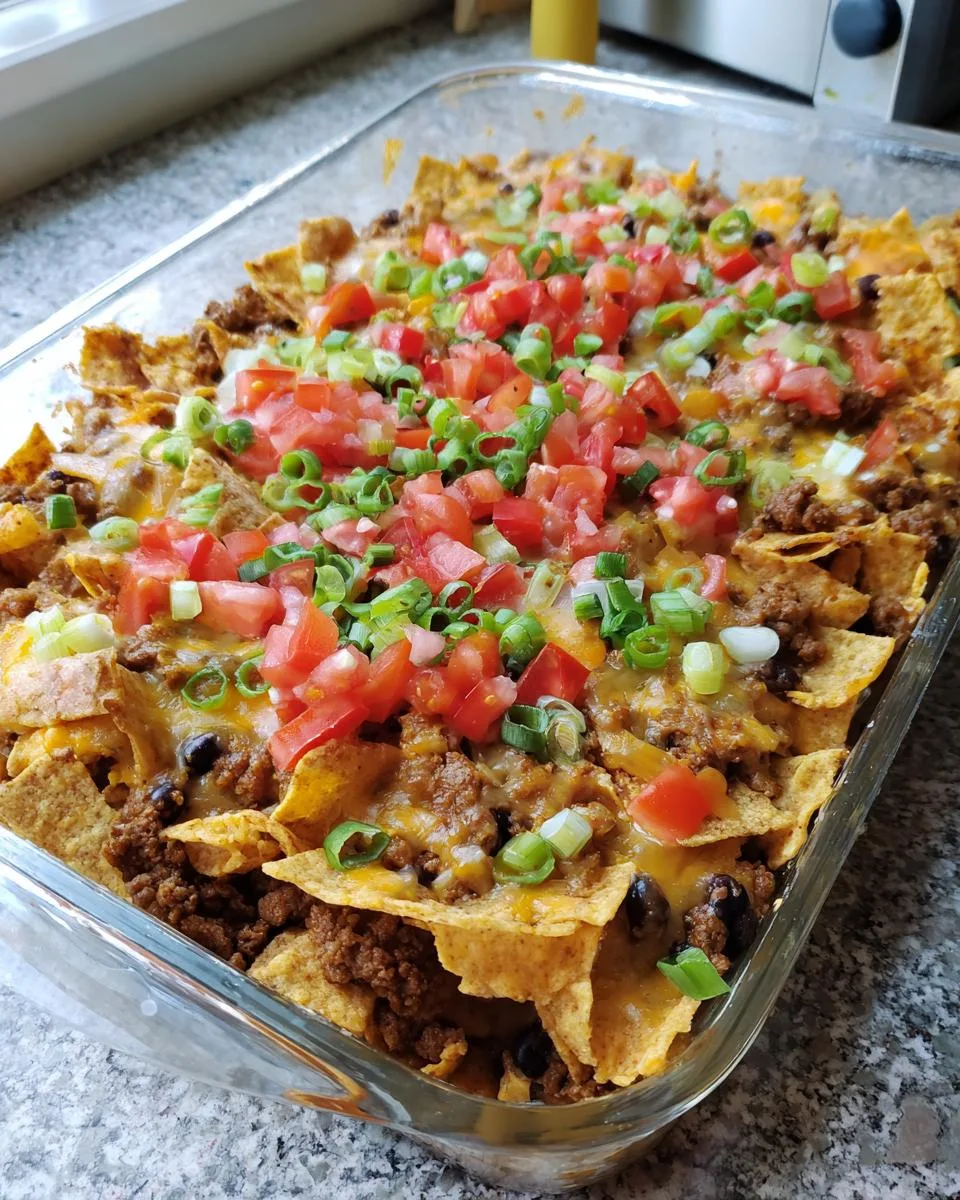
- Crowd-pleasing crunch: That perfect Fritos texture stays crisp even after baking (no sad, soggy chips here).
- One-pan wonder: Minimal cleanup means more time for seconds… or thirds.
Seriously, this dish disappears faster than my willpower near queso dip.
Ingredients for Walking Taco Casserole
Okay, let’s raid the pantry – here’s exactly what you’ll need for that perfect Walking Taco Casserole magic:

- The savory base: 1 pound ground beef (I use 85% lean), 1 small onion chopped finely (white or yellow both work great)
- Taco vibes: 1 package taco seasoning (my secret? Use half the water it calls for – just ½ cup), 1 can (15 oz) black beans drained/rinsed, 1 can (10 oz) diced tomatoes with green chiles (don’t drain these!)
- Creamy touch: ½ cup sour cream (full-fat gives the best texture)
- The CRUNCH: 1 bag (9.25 oz) Fritos corn chips (trust me, no substitutes here!)
- Cheese glory: 2 cups Mexican-style shredded cheese blend
- Toppings bar: Sliced green onions, extra sour cream, guacamole, salsa, jalapeños – go wild!
Pro tip: Keep those Fritos sealed until the very end – nothing worse than stale chips when you’re craving that perfect crunch!
Equipment You’ll Need
Don’t worry—you won’t need anything fancy for this Walking Taco Casserole! Just grab:
- A trusty 13×9-inch baking dish (glass or ceramic works great)
- A large skillet for browning that beef
- Aluminum foil (for that perfect melt-and-bubble action)
- Basic kitchen tools: spatula, measuring cups, and a can opener
That’s it—now let’s get cooking!
How to Make Walking Taco Casserole
Alright, let’s dive into making this glorious Walking Taco Casserole! I promise it’s easier than folding a taco shell without cracking it. Just follow these simple steps:
Step 1: Brown the Meat and Onions
First things first – crank that oven to 350°F and grab your favorite skillet. Brown the ground beef over medium-high heat, breaking it up with your spatula like you’re mad at it. When it’s about halfway done, toss in those chopped onions – the sizzle sound is music to my ears! Cook until the meat’s no longer pink and onions turn translucent (about 5-7 minutes total). If there’s excess grease, drain it now – we want flavor, not a swimming pool!
Step 2: Simmer with Seasonings
Here’s where the magic happens! Stir in that taco seasoning and water, letting it bubble away for a minute. Now add your black beans (drained!), undrained tomatoes with chiles, and that glorious sour cream. Reduce heat to medium-low and let it simmer for 8-10 minutes until thickened slightly – you want it saucy but not runny. Pro tip: If it looks too thick, add a splash of water. Too thin? Let it cook another minute or two.
Step 3: Layer and Bake
Time to assemble! Spray your baking dish, then make a Fritos foundation – just one even layer (resist snacking!). Sprinkle half the cheese over the chips like you’re making it rain. Spoon that delicious meat mixture on top, then finish with the remaining cheese. Cover with foil and bake for 15 minutes – this helps everything get cozy together. Remove the foil and bake 5 more minutes until the cheese is gloriously melted and bubbly at the edges. Oh, that smell!
Pull it out and immediately top with more Fritos for that signature crunch. Let it rest 5 minutes (I know, torture!) before diving in with your favorite toppings. Warning: Your kitchen will smell like a fiesta, and neighbors might suddenly “stop by”!
Print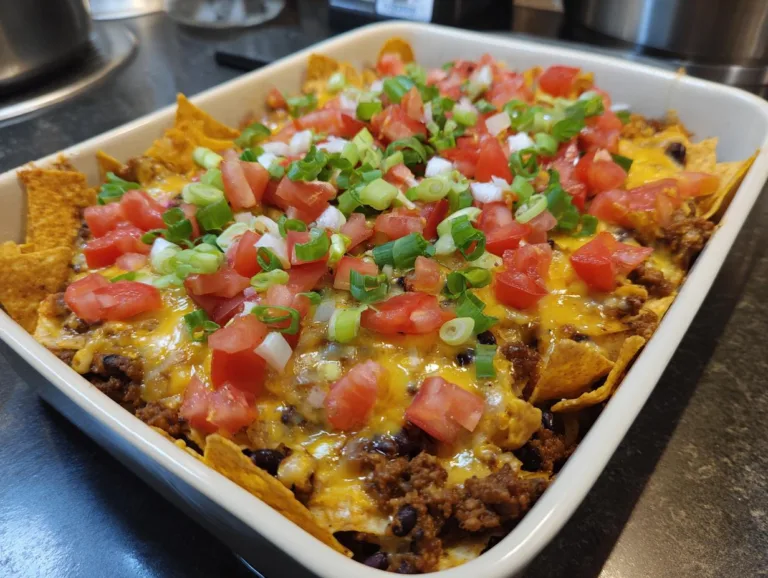
Irresistible Walking Taco Casserole Ready in 40 Minutes
A delicious and easy-to-make Walking Taco Casserole that combines all the flavors of your favorite tacos in a convenient baked dish.
- Total Time: 40 minutes
- Yield: 6 servings 1x
Ingredients
- 1 pound ground beef
- 1 small onion, chopped finely
- 1 package taco seasoning
- ½ cup water
- 1 can black beans (15 ounces), drained and rinsed
- 1 can diced tomatoes with green chiles (10 ounces)
- ½ cup sour cream
- 1 bag Fritos corn chips (9.25 ounces)
- 2 cups Mexican-style shredded cheese
- Green onions, sliced
- Sour cream
- Guacamole
- Salsa
- Jalapenos
Instructions
- Preheat oven to 350 degrees F. Spray a 13×9 baking dish with nonstick cooking spray.
- In a large skillet, brown ground beef until almost done. Add onions and cook until soft and meat is no longer pink.
- Stir in taco seasoning and water and heat to boiling.
- Reduce heat and stir in beans, diced tomatoes with chiles, and sour cream. Cook for 8-10 minutes or until heated and mixture slightly thickens.
- Add a single layer of corn chips to the bottom of the prepared baking dish. Sprinkle 1 cup shredded cheese on top. Add a layer of the ground beef mixture. Finish with remaining cheese.
- Cover with foil and bake for 15 minutes. Remove foil and bake for 5 more minutes or until cheese is melted and casserole is bubbly around the edges.
- Remove from oven and top with more corn chips and your favorite toppings.
Notes
- Use lean ground beef for a healthier option.
- Customize toppings to your preference.
- Leftovers can be stored in the fridge for up to 3 days.
- Prep Time: 15 minutes
- Cook Time: 25 minutes
- Category: Main Dish
- Method: Baking
- Cuisine: Mexican
- Diet: Low Lactose
Nutrition
- Serving Size: 1 serving
- Calories: 450
- Sugar: 5g
- Sodium: 800mg
- Fat: 25g
- Saturated Fat: 10g
- Unsaturated Fat: 12g
- Trans Fat: 0g
- Carbohydrates: 35g
- Fiber: 5g
- Protein: 20g
- Cholesterol: 60mg
Tips for the Best Walking Taco Casserole
After making this Walking Taco Casserole more times than I can count, here are my can’t-live-without tips:
- Go lean: 85% lean ground beef gives great flavor without too much grease pooling in your pan (nobody wants soggy Fritos!)
- Chip control: Lightly crush some chips before layering – helps create an even base so you don’t get chip-free bites
- Patience pays: Let it rest 5 minutes after baking – trust me, it helps the layers set so you get perfect slices
Bonus tip: Leftovers? Reheat in the oven to keep that crunch – microwaving turns chips into sad mush!
Customize Your Walking Taco Casserole
Ohhh, this is where the real fun begins – making this Walking Taco Casserole YOUR masterpiece! Here are my favorite twists:
- Meat swap: Ground turkey or chicken works great (just add a splash of olive oil for moisture)
- Bean bonanza: Try pinto or kidney beans instead of black beans – or go crazy and use both!
- Cheese please: Pepper jack gives a spicy kick, while queso fresco adds creamy tang
- Veggie boost: Stir in sautéed bell peppers or corn for extra color and crunch
The beauty? No wrong answers – just more delicious ways to love this casserole!
Serving Suggestions
Oh, let’s talk about the perfect sides to make this Walking Taco Casserole a full fiesta! I love serving it with:
- A big, crisp green salad with lime vinaigrette (cuts through that rich cheese beautifully)
- Classic Mexican rice – the fluffy kind that soaks up all those taco flavors
- Simple charred corn on the cob with chili powder and lime
And don’t forget the margaritas – because why should the food have all the fun?
Storing and Reheating
Okay, confession time – I rarely have leftovers because this Walking Taco Casserole disappears too fast! But when I do, here’s how to keep it tasting fresh: Store cooled portions in an airtight container in the fridge for up to 3 days. When reheating, skip the microwave (it turns those perfect chips into mush!) and pop it in a 350°F oven for about 15 minutes instead. Pro tip: Sprinkle a few fresh Fritos on top after reheating to bring back that signature crunch. Trust me, it makes all the difference!
Walking Taco Casserole Nutrition
Now, I’m no nutritionist, but here’s the scoop on what’s in this delicious Walking Taco Casserole (based on my exact ingredients – yours might vary slightly):
- Per serving: About 450 calories (worth every single one!)
- Protein power: 20g to keep you full and happy
- Carbs: 35g (mostly from those glorious Fritos and beans)
- Fiber boost: 5g thanks to the black beans
Remember, these are estimates – your exact amounts will depend on your topping choices and ingredient brands. But hey, we’re here for flavor first, right?
Common Questions About Walking Taco Casserole
I get asked about this Walking Taco Casserole ALL the time – here are the answers to those burning questions:
Can I use Doritos instead of Fritos?
Oh honey, I’ve tried – and while the neon orange Nacho Cheese Doritos look fun, they get weirdly soft when baked. Stick with sturdy Fritos for that perfect crunch. Though if you’re feeling wild, the Chili Cheese Fritos can be an amazing spicy twist!
Can I make this walking taco bake ahead?
Absolutely! Prep everything up through the layering step, cover tightly, and refrigerate overnight. Just add 5-10 minutes to the baking time since it’s going in cold. Pro tip: Wait to add the final Fritos topping until right before serving.
Is this casserole freezer-friendly?
You bet! Freeze it before baking (wrap that dish tight with foil AND plastic wrap). Thaw overnight in the fridge, then bake as directed. The texture’s best within 2 months – not that it’ll last that long!
Got your own twist on this Walking Taco Casserole? Rate the recipe or share your genius ideas in the comments – I’m always looking for new ways to make this even more delicious! Check out more delicious recipes on our site.
For More recipes, Follow me on Facebook!