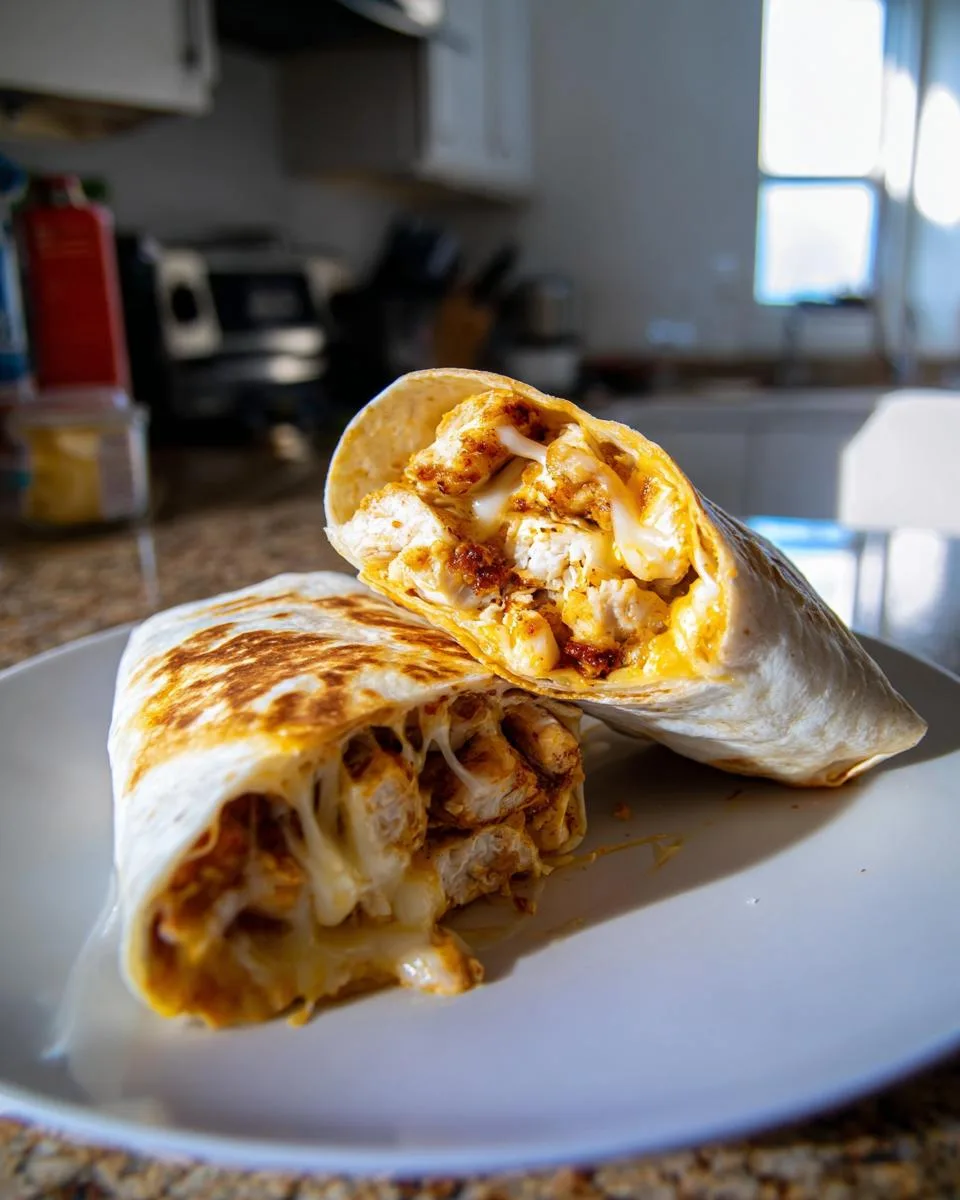
Oh, let me tell you about my love affair with these cheesy garlic chicken wraps! It all started one crazy Tuesday when the kids had soccer practice, my work deadline was looming, and my fridge was looking desperately bare. I threw together some leftover chicken, garlic (because let’s be real – garlic makes everything better), and the last bits of cheese in the drawer. Ten minutes later, we were all standing around the stove, nibbling crispy, melty corners straight from the pan. Now? These wraps are our go-to “I need something delicious NOW” meal – perfect for lunchboxes, lazy dinners, or even midnight snack attacks. The best part? You probably have everything you need to make them tonight.

Table of Contents
Table of Contents
Why You’ll Love These Cheesy Garlic Chicken Wraps
Listen, I know we’re all just trying to survive the week without eating cereal for dinner again. That’s where these wraps come in – they’re basically a hug in food form. Here’s why they’ve earned a permanent spot in my recipe rotation:
- Speed demon: From fridge to plate in under 25 minutes – faster than pizza delivery!
- Pantry hero: Uses simple ingredients you likely have on hand (no fancy grocery runs needed)
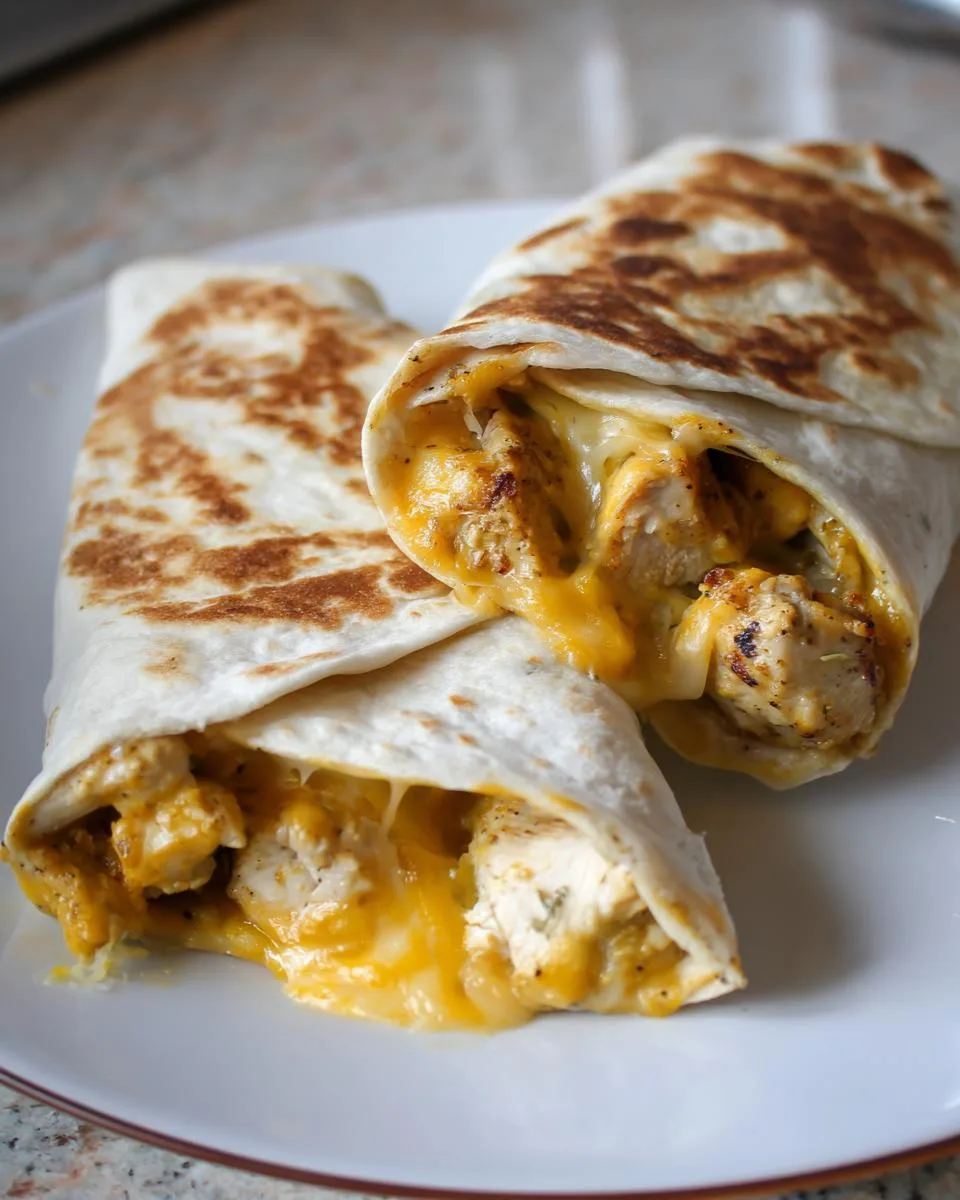
- Crispy-cheesy magic: That golden, buttery crunch gives way to melty garlicky goodness in every bite
- Kid-approved: My picky eaters gobble these up without noticing they’re eating protein and veggies
- Meal prep MVP: Makes amazing leftovers – just crisp them up in the toaster oven next day
Trust me, once you try these, you’ll be making them on repeat like we do. They’re that good.
Ingredients for Cheesy Garlic Chicken Wraps
Alright, let’s talk ingredients! The beauty of these wraps is their simplicity—just a handful of basics come together for something magical. Here’s what you’ll need:
- 2 cups cooked chicken breast – diced into bite-sized pieces (leftover rotisserie chicken works wonders here)
- 4 cloves garlic – minced finely (don’t skimp—this is the flavor powerhouse!)
- 1 tablespoon olive oil – for that perfect garlic sauté
- 1 cup shredded mozzarella – the stretchy, melty dream team
- 1 cup shredded cheddar – for that sharp, creamy kick
- 4 medium flour tortillas – burrito-sized, so they hold all that cheesy goodness
- 1 tablespoon butter – for that golden, crispy finish
- Salt and black pepper – to taste (a good pinch of each)
- Chopped parsley – optional, but that fresh pop of green makes it pretty
See? Nothing fancy—just real, honest ingredients ready to work some weeknight magic. Now, let’s get cooking!
How to Make Cheesy Garlic Chicken Wraps
Okay, friends, let’s get down to business! Making these wraps is so easy, you’ll wonder why you haven’t been eating them every day. I’ll walk you through each step – just follow along and you’ll have crispy, cheesy perfection in no time.
Step 1: Prepare the Chicken
First things first – that chicken! If you’re starting with raw chicken breasts (about 2 medium-sized ones), here’s my go-to method: season them generously with salt and pepper, then either bake at 375°F for 20-25 minutes, grill for 6-8 minutes per side, or sauté in a skillet with a drizzle of oil until no longer pink. Dice it into small, bite-sized pieces once cooked. Pro tip: Leftover rotisserie chicken works beautifully here – just shred or dice about 2 cups worth. The chicken should still be warm when you mix in the cheese – that meltiness is key!
Step 2: Sauté the Garlic
Now for the garlic magic! Heat your olive oil in a skillet over medium heat – not too hot, or you’ll burn the garlic (and bitter garlic = sad wraps). Add those 4 minced cloves and stir constantly for just 30 seconds to 1 minute. You’ll know it’s ready when your whole kitchen smells amazing and the garlic turns golden (not brown!). Toss in your diced chicken, coating it all in that fragrant garlic oil. Remove from heat immediately – we don’t want to overcook our chicken.
Step 3: Assemble the Wraps
Here comes the fun part! Working with one tortilla at a time, spoon about 1/2 cup of the cheesy chicken mixture down the center, leaving about 2 inches at each end. Important folding tip: Fold the sides in first, then roll tightly from the bottom up, tucking as you go – think burrito technique! If your wraps feel loose, they might unroll in the pan. A little cheese oozing out is fine (hello, crispy cheese bits!), but we want them mostly sealed.
Step 4: Crisp the Wraps
Time for that golden crunch! Melt your butter in a clean skillet over medium heat. Place the wraps seam-side down – this helps them stay closed. Cook for 2-3 minutes per side, pressing gently with your spatula, until beautifully golden and crispy. Listen for that satisfying sizzle! Let them rest for just a minute before slicing (trust me, that cheese needs a second to set). The wait will be worth it when you see that perfect cheese pull!
Share Your Cheesy Garlic Chicken Wraps Experience
Did you make these wraps? I’d love to hear how they turned out! Snap a photo of your cheesy masterpiece and tag me – or leave a comment below sharing your favorite twist on the recipe. Happy cooking, friends!
Print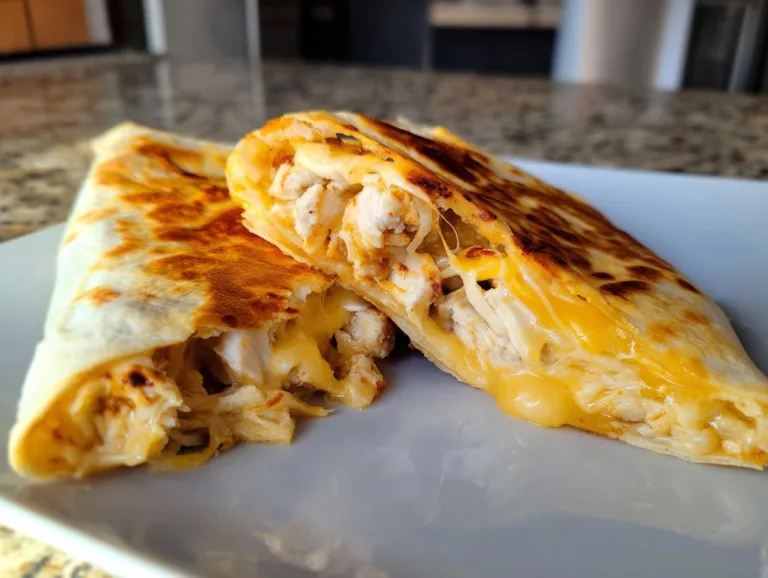
25-Minute Cheesy Garlic Chicken Wraps That Wow Every Time
Cheesy Garlic Chicken Wraps are a delicious and easy-to-make meal, perfect for a quick lunch or dinner. They combine tender chicken with melted cheese and garlic for a flavorful bite.
- Total Time: 25 minutes
- Yield: 4 wraps 1x
Ingredients
- 2 cups cooked, diced chicken breast
- 4 cloves minced garlic
- 1 tablespoon olive oil
- 1 cup shredded mozzarella cheese
- 1 cup shredded cheddar cheese
- 4 medium flour tortillas
- 1 tablespoon butter
- 1 tablespoon chopped parsley (optional)
- Salt and black pepper to taste
Instructions
- Cook the chicken if not already done. Season with salt and pepper, then bake, sauté, or grill until fully cooked. Dice into small pieces.
- Heat olive oil in a pan over medium heat. Add minced garlic and sauté until golden and fragrant (30 seconds to 1 minute).
- Add diced chicken to the pan and toss with garlic oil.
- Remove from heat and stir in mozzarella and cheddar cheese while chicken is still hot.
- Place a tortilla flat and spoon the cheesy garlic chicken mixture into the center. Fold sides and roll tightly like a burrito.
- Melt butter in a skillet over medium heat. Place wraps seam-side down and cook for 2-3 minutes per side until golden brown and crispy.
- Let wraps rest for 1-2 minutes before slicing. Sprinkle with parsley if desired and serve warm.
Notes
- Use pre-cooked chicken for quicker preparation.
- Adjust cheese quantities to taste.
- For extra crispiness, lightly toast tortillas before filling.
- Prep Time: 10 minutes
- Cook Time: 15 minutes
- Category: Main Dish
- Method: Stovetop
- Cuisine: American
- Diet: Low Lactose
Nutrition
- Serving Size: 1 wrap
- Calories: 350
- Sugar: 1g
- Sodium: 450mg
- Fat: 18g
- Saturated Fat: 8g
- Unsaturated Fat: 7g
- Trans Fat: 0g
- Carbohydrates: 22g
- Fiber: 1g
- Protein: 25g
- Cholesterol: 80mg
Tips for Perfect Cheesy Garlic Chicken Wraps
After making these wraps approximately 437 times (give or take), I’ve picked up some tricks that’ll take yours from good to “oh wow, can I have another?” Here are my can’t-live-without tips:
- Warm those tortillas! 10 seconds in the microwave or a quick toast in a dry pan makes them way more pliable.
- Room temp cheese melts better – take it out of the fridge while prepping other ingredients.
- Don’t overstuff! That extra spoonful seems tempting, but you’ll end up with a cheesy explosion.
- Medium heat is key – too hot and the outside burns before the cheese melts inside.
- Let them rest for 2 minutes before slicing – the cheese needs to set so it doesn’t all ooze out.
Bonus tip: Keep napkins handy – things might get deliciously messy!
Serving Suggestions for Cheesy Garlic Chicken Wraps
These wraps are delicious on their own, but here’s how I like to serve them for a full meal: a crisp green salad with lemon vinaigrette cuts through the richness perfectly. For dipping? Try ranch dressing mixed with hot sauce, or my personal favorite – a quick garlic aioli (mayo + extra minced garlic + lemon juice). Game changer!
Storage and Reheating Instructions
These wraps keep beautifully! Store any leftovers (if you’re lucky enough to have any) in an airtight container in the fridge for up to 3 days. When reheating, skip the microwave – it makes them soggy. Instead, pop them in a 350°F oven or air fryer for 5-7 minutes to bring back that wonderful crispy texture. My kids swear they’re even better the next day!
Cheesy Garlic Chicken Wraps Variations
Once you’ve mastered the basic version, get creative with these fun twists! Try adding diced jalapeños or a dash of cayenne for heat. Swap the cheeses – pepper jack gives a nice kick, while smoked gouda adds depth. Veggie lovers can toss in sautéed bell peppers or spinach. The possibilities are endless!
Nutritional Information
Here’s the skinny on one wrap (but let’s be real, you’ll probably eat two!): Around 350 calories, 25g protein, and all that cheesy goodness. Remember: Nutrition varies based on your ingredients and brands – this is just a general guide.
Frequently Asked Questions
Q1. Can I use rotisserie chicken?
Absolutely! Rotisserie chicken is my secret weapon for these wraps. Just shred or dice about 2 cups – the flavor’s already there, and it saves so much time. Bonus: The chicken stays extra juicy!
Q2. How do I make these wraps gluten-free?
Easy swap! Use your favorite gluten-free tortillas – I’ve had great success with almond flour or cassava flour versions. Just warm them slightly first since they tend to crack more easily than regular tortillas.
Q3. My cheese keeps leaking out – help!
Ah, the cheesy escape artist problem! First, make sure you’re not overfilling – 1/2 cup filling max per wrap. Second, press firmly when rolling and really tuck those ends in. And third? Embrace the crispy cheese that does escape – it’s the cook’s reward!
Q4. Can I prep these ahead?
You bet! Assemble the wraps (without cooking) and store them seam-side down in the fridge for up to 24 hours. When ready, just crisp them up in the pan as directed – they’ll take maybe 1 minute longer per side.
Q5. What’s the best cheese blend?
While mozzarella and cheddar are classics, don’t be afraid to experiment! My family loves adding a sprinkle of parmesan for extra savoriness. The key is using cheeses that melt well – steer clear of hard cheeses like aged gouda unless mixed with softer ones.
For More recipes, Follow me on Facebook!